Relax
For the Relax Project, I wanted to create a render that would give out a warm and comfortable feeling so that people can feel relaxed.
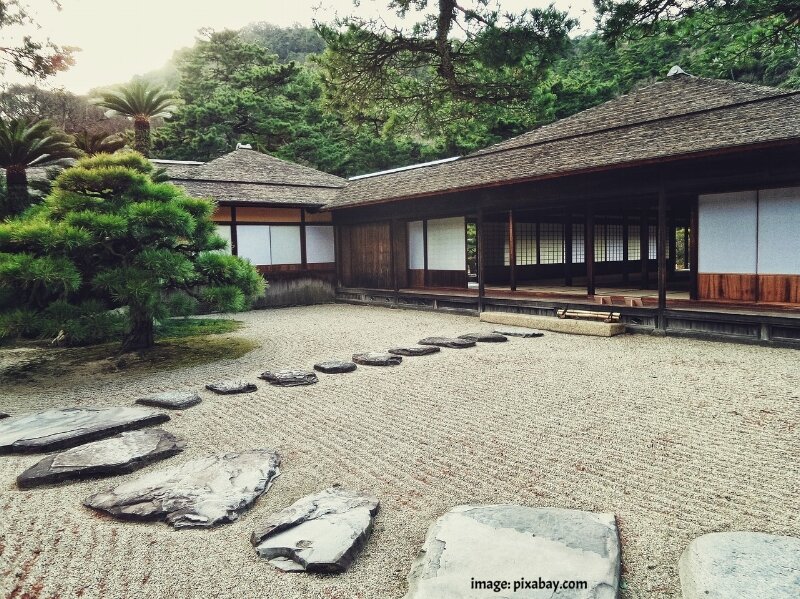
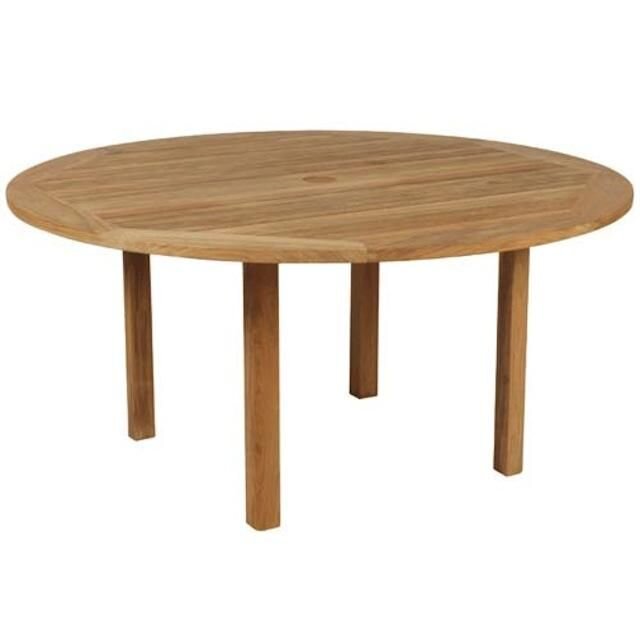
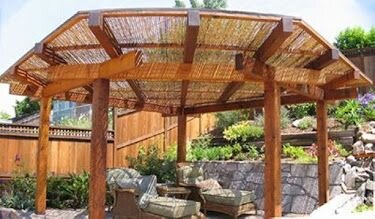
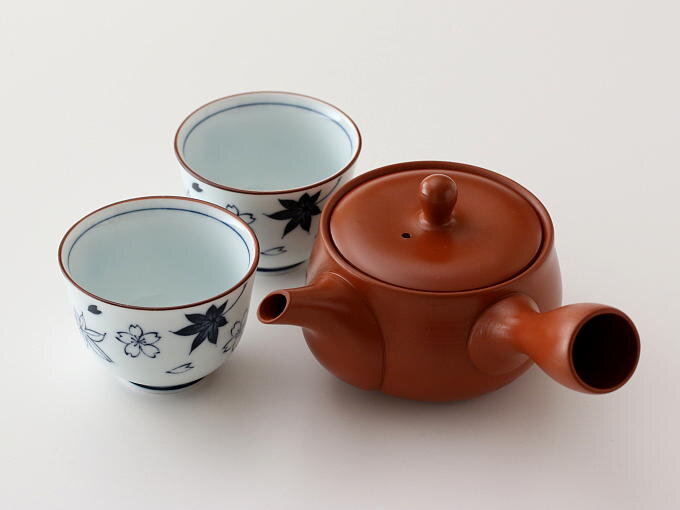
Reference
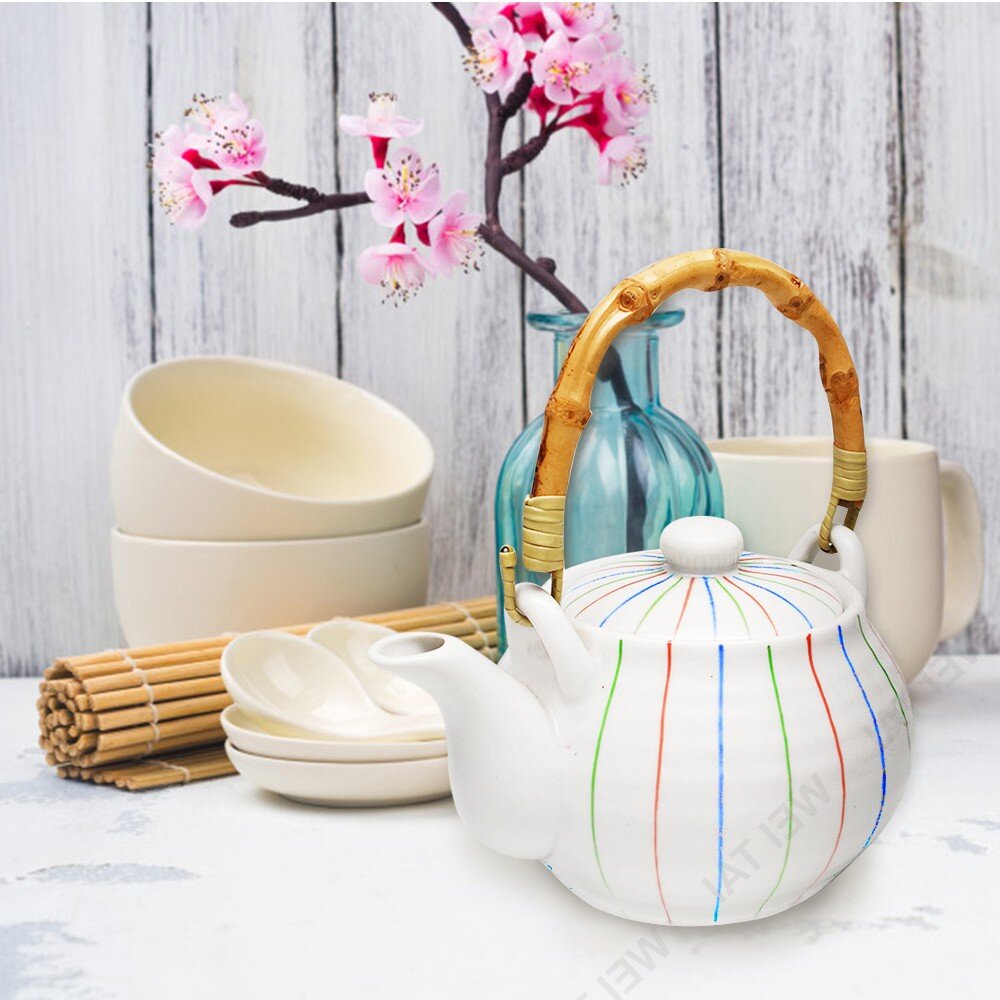
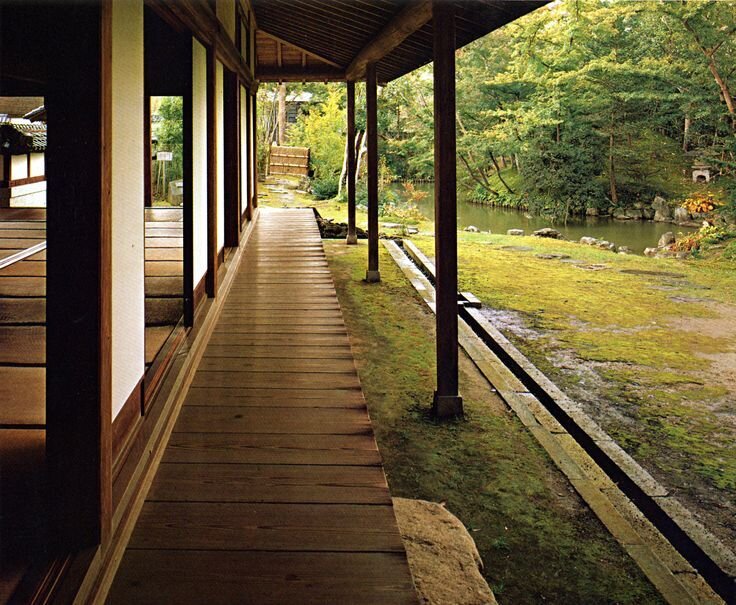
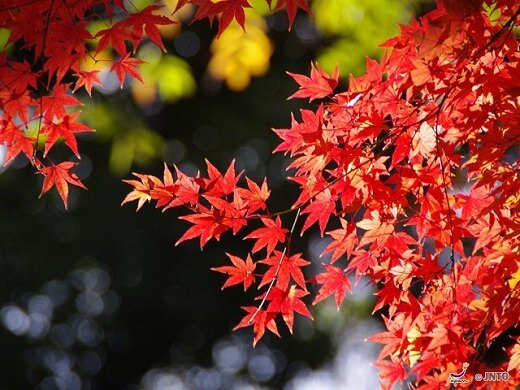
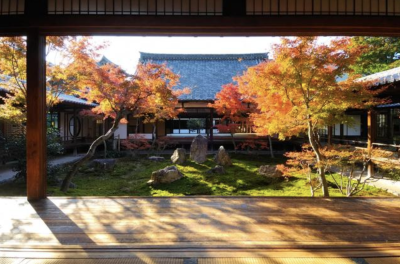
I first started with getting images of the types of things I wanted to add to this scene and made a preview of it in Photoshop

For this Project Specifically I had a good idea of what I wanted in my scene so I got references that really helped me get an idea of the type of materials and lighting mood I want.


Creating the scene
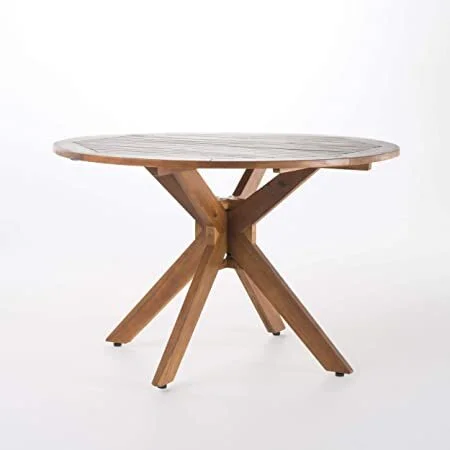
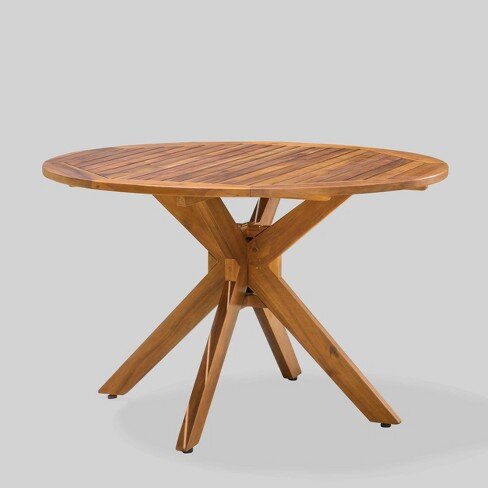
After getting my references I looked online for models of the objects I needed and if I could not find models then I would then model them myself.
In this project, I modeled the Chawanmushi with the Lid. then after modeling, I added a quick light source and rendered out a previz of what everything would look like.
Texturing

First I started with the reference
For this project, I created all my textures from my reference images through Photoshop by warping them into the shape of my UVs For this particular example I am using the Chawanmushi
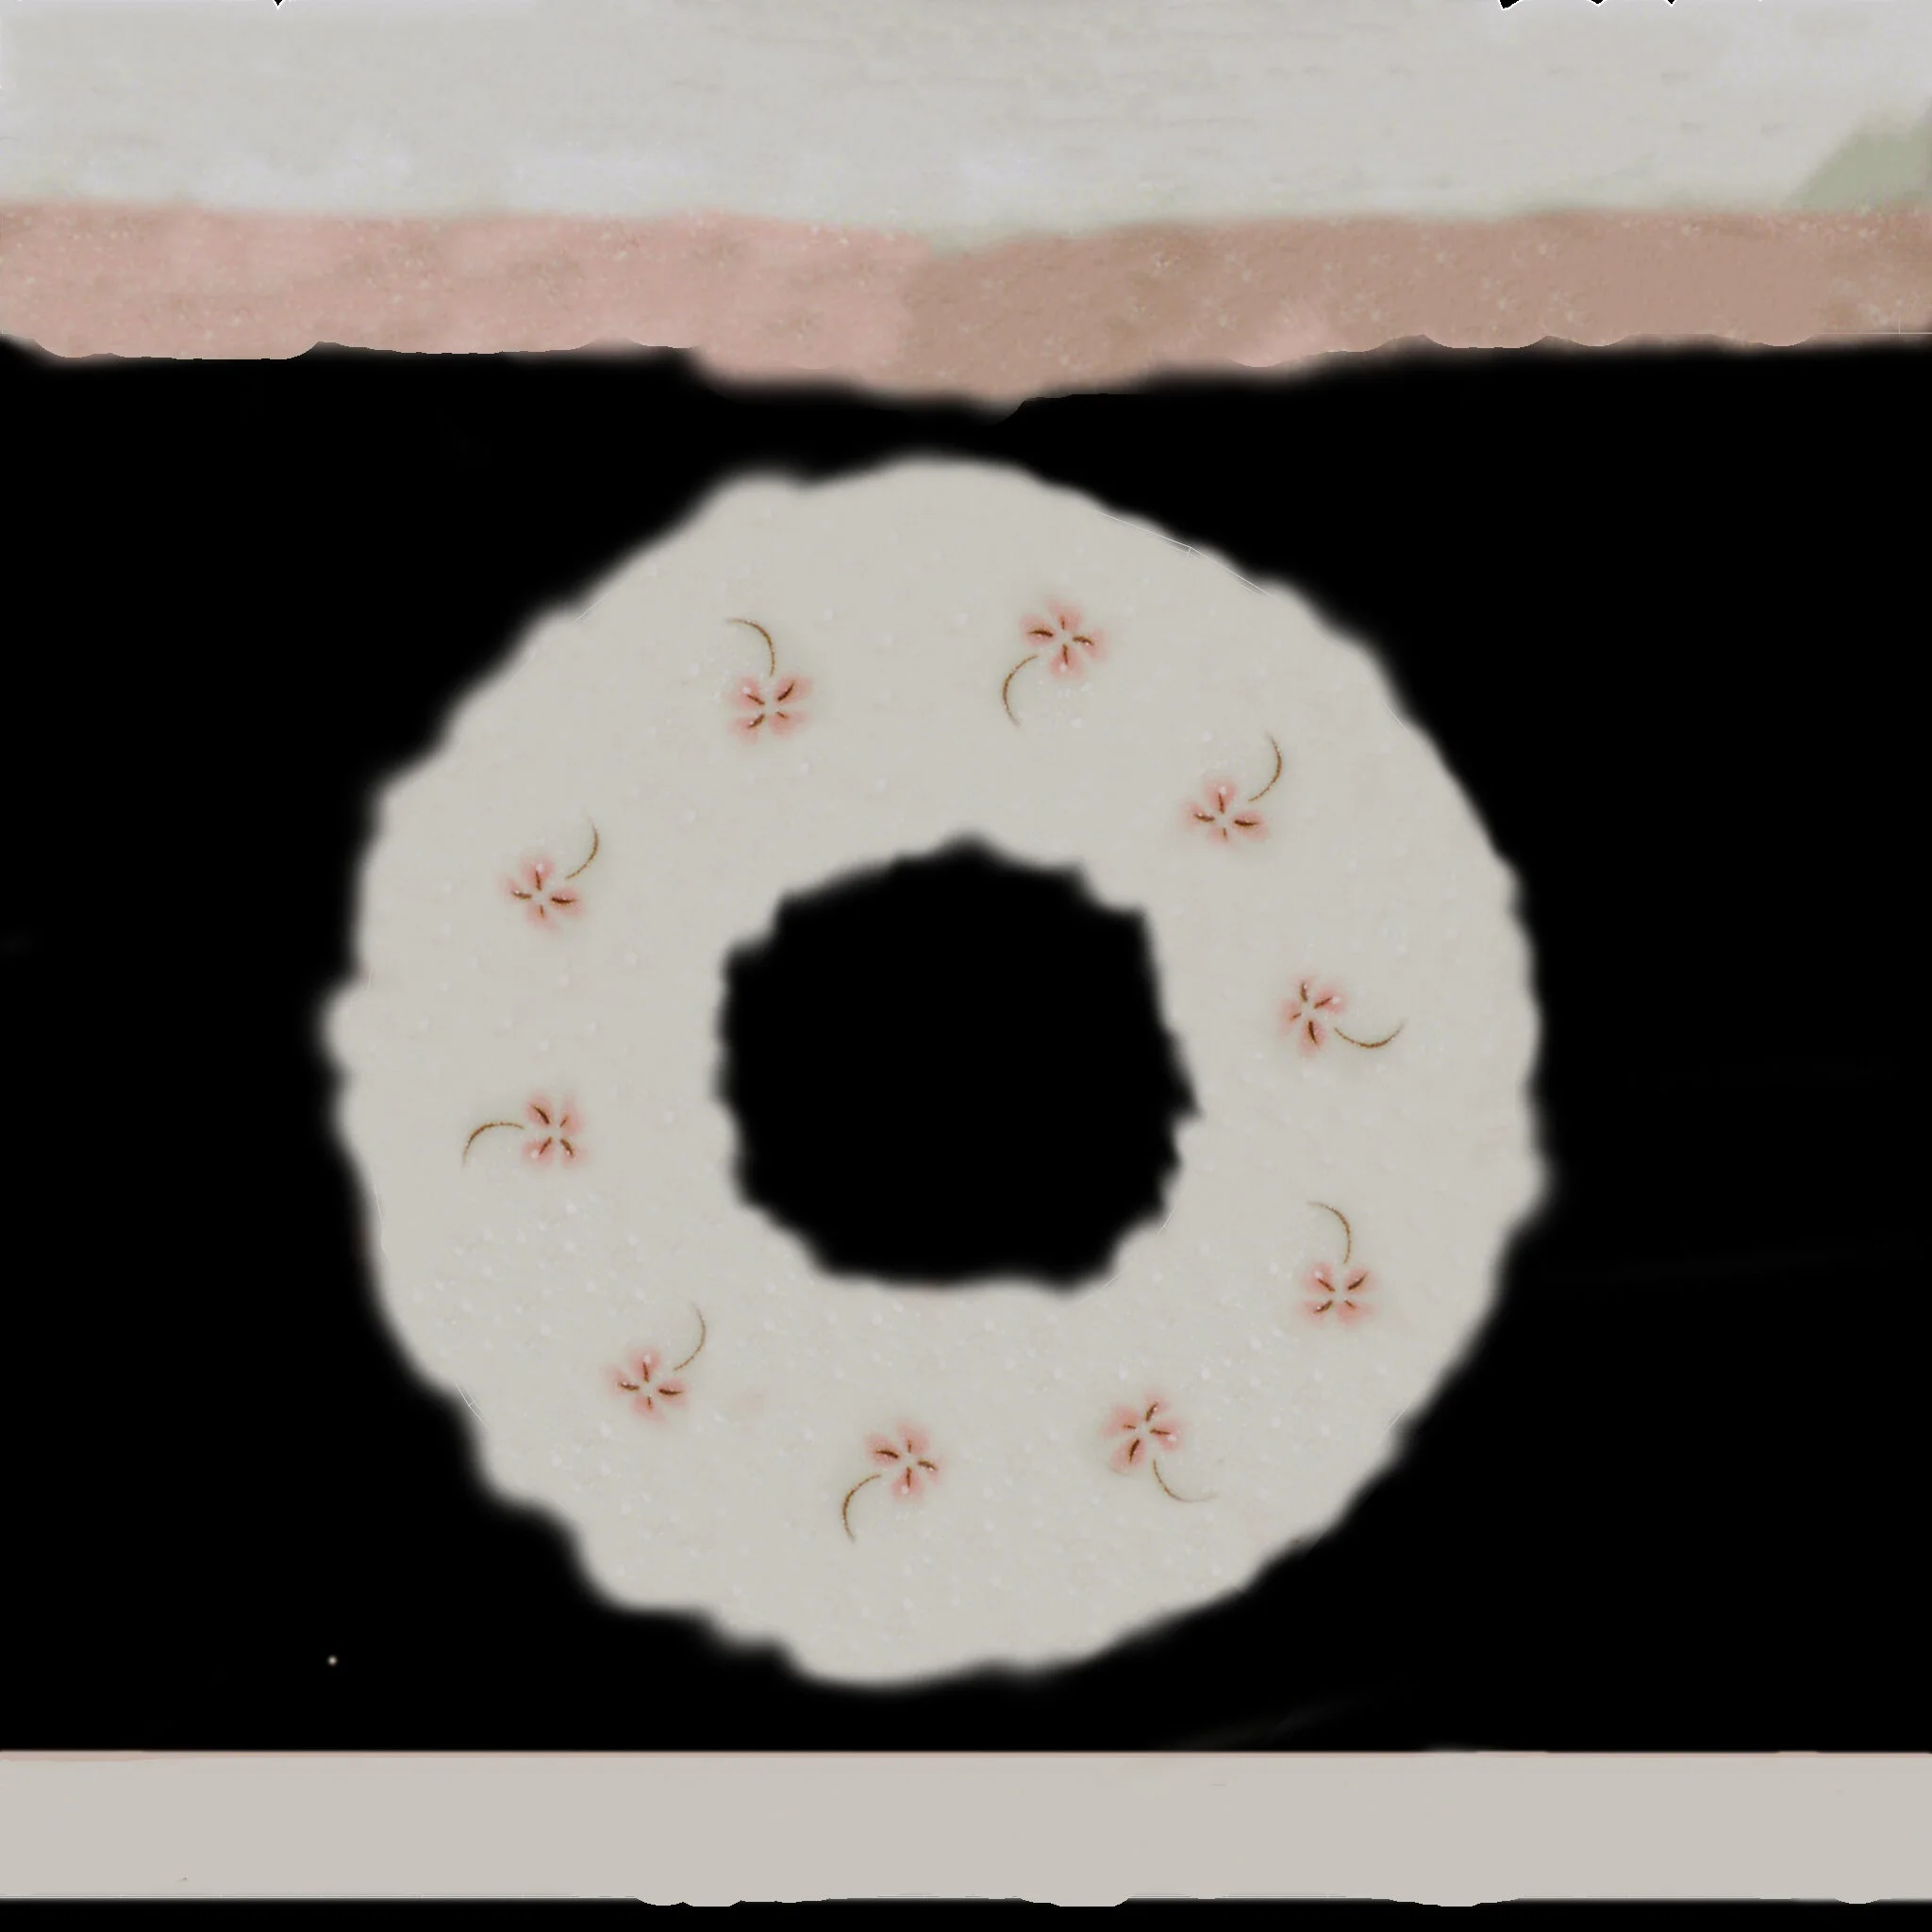
Export UV and Line up
Then after lining up the reference to the UV I then used the stamp tool to recreate the pattern around the UV map. For this example, I used the Lid of the Chawan

Render
Then after the textures are in I rendered it and used the Arnold shader in Maya to make the chawanmushi look real. I would then do this for all my materials that have patterns or needed a texture map.

Persimmon problem
For my Persimmon I used subsurface and while it rendered out fine on my computer I realized that when I would render it on another computer it would come out as if the subsurface was too high

Fixing the Issue
After looking into it I found out that the Arnold version on my Maya was a lower version thus the subsurface had a problem and would be a lot lower than what it should be in the newer versions. So I updated my Arnold version of my Maya and changed the values in my shader again to get the persimmon to look right.
The new version is on the bottom

Background Problem

After this Issue, I ran into another issue which was the Background. Currently, I had it was two image planes so it looks very shallow so I tried to make it seem more 3 dimensional by separating the two planes and making it like a matte painting but in the end, it also did not go very well.
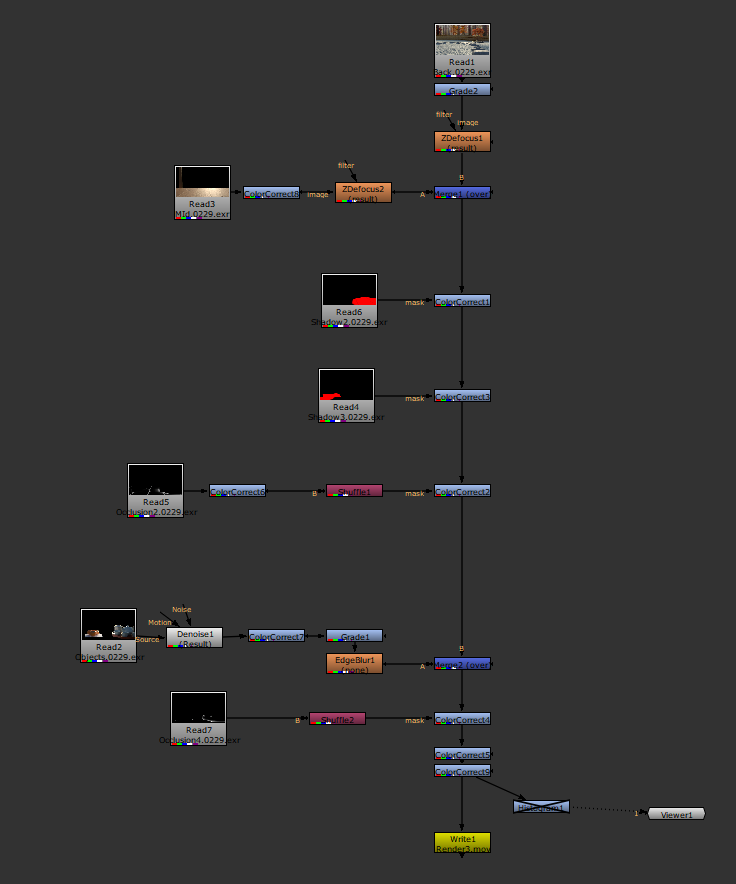
Nuke
After rendering everything out I used Nuke to color correct and get the final render
