Amtrak Commerical Process
Project
Amtrak Commerical
Commercial Breakdown
The Group
Ideation and process
To start the project as a group we met and looked at references and created a storyboard for the project
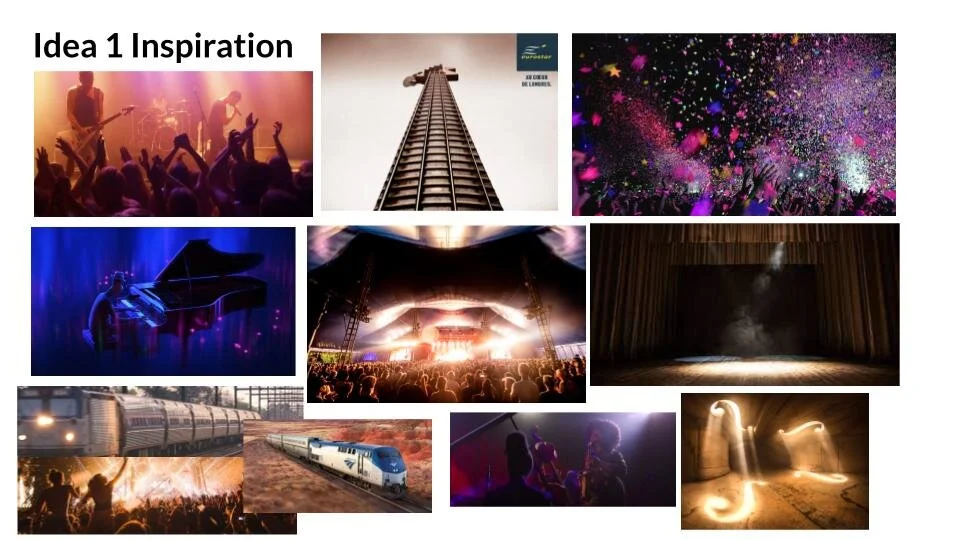
To start we looked at inspiration images for ideation and form this we made a storyboard
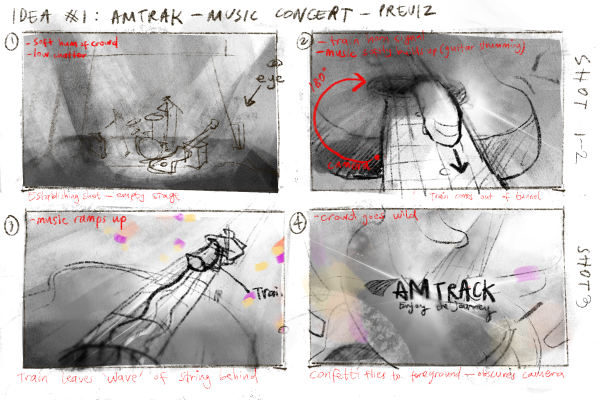
(Storyboard is drawn by Amanda Jayapurna)
This was our initial storyboard and we wanted to do a commercial for Amtrak. We thought of a few ideas but we decided to focus on this idea as it would fit our team’s strength and would incorporate everyone’s skills.
Idea
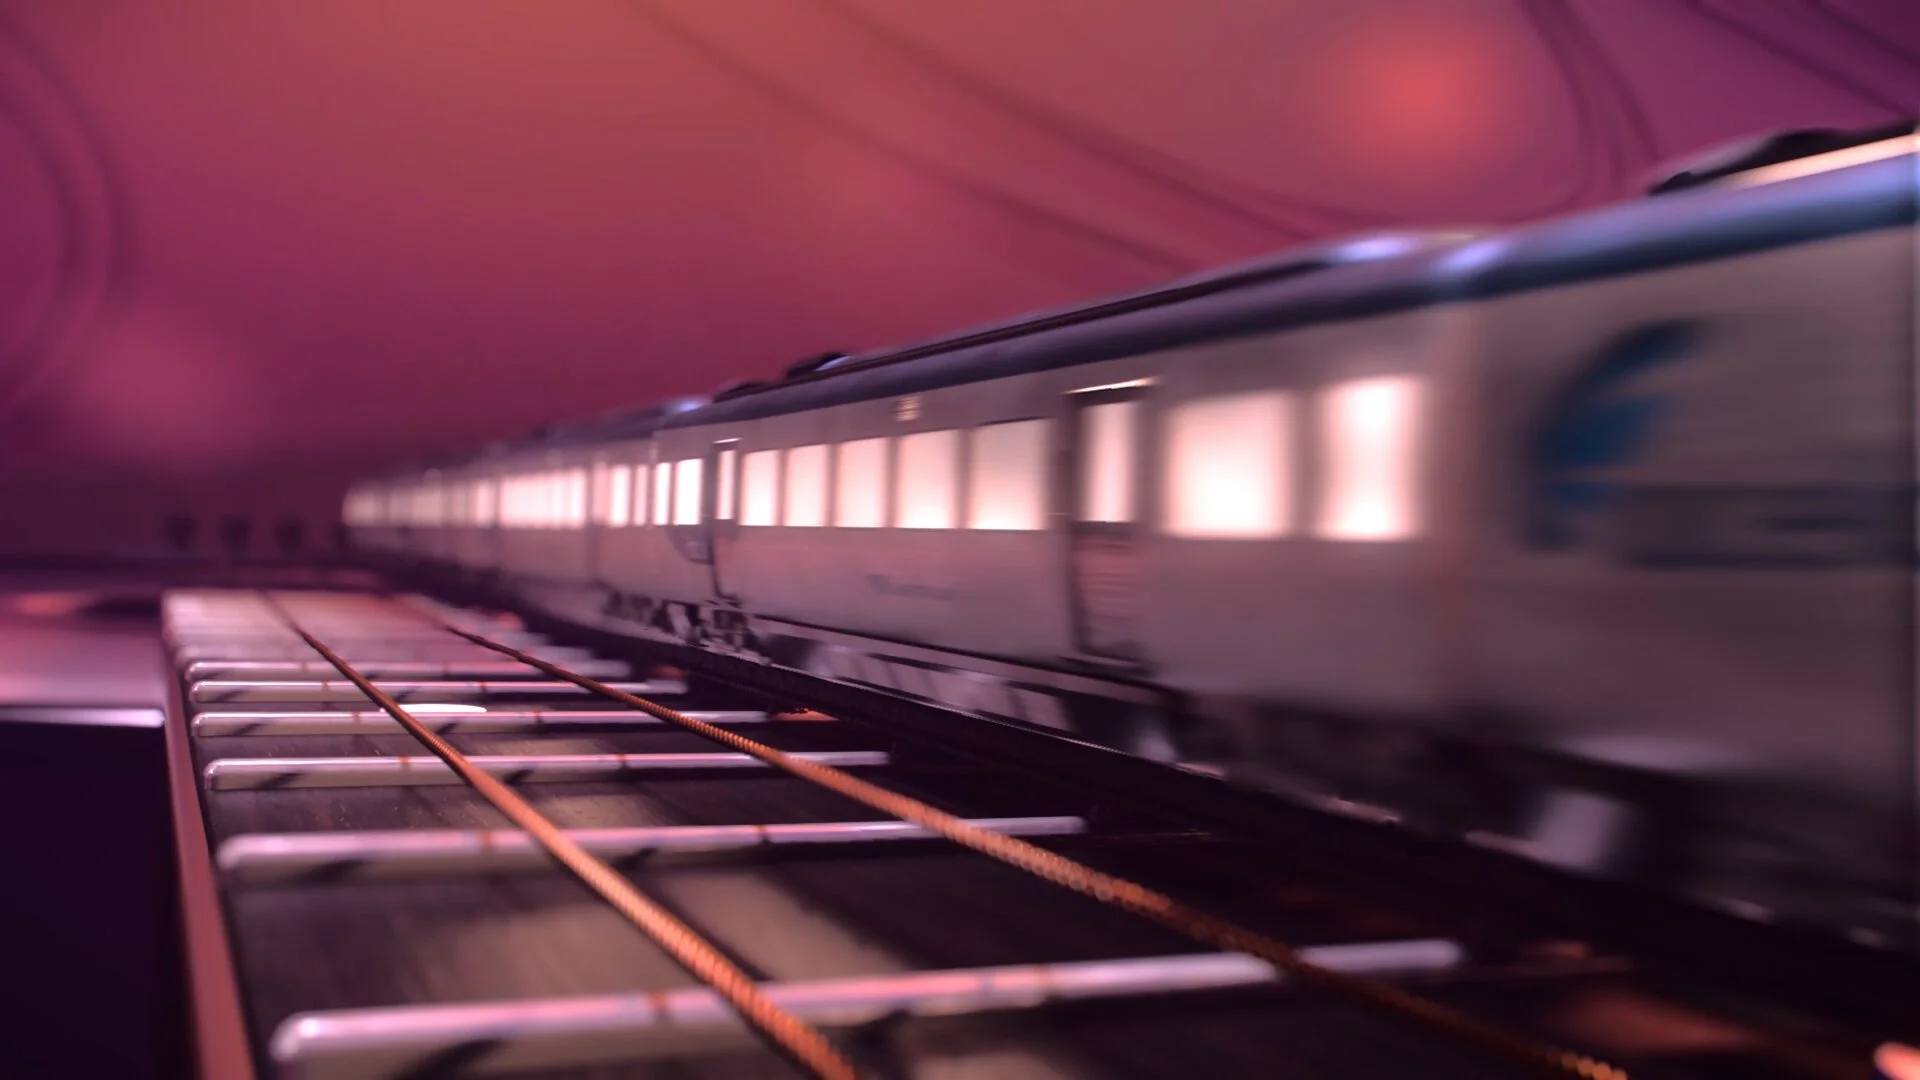
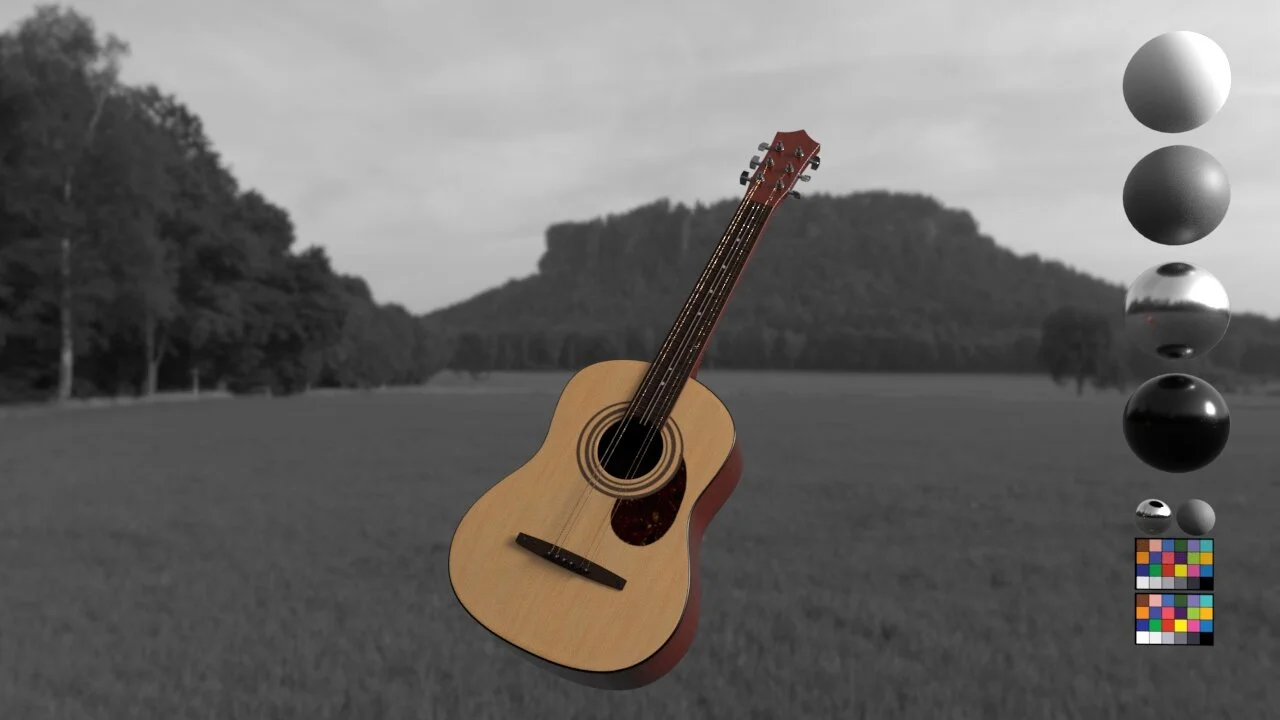
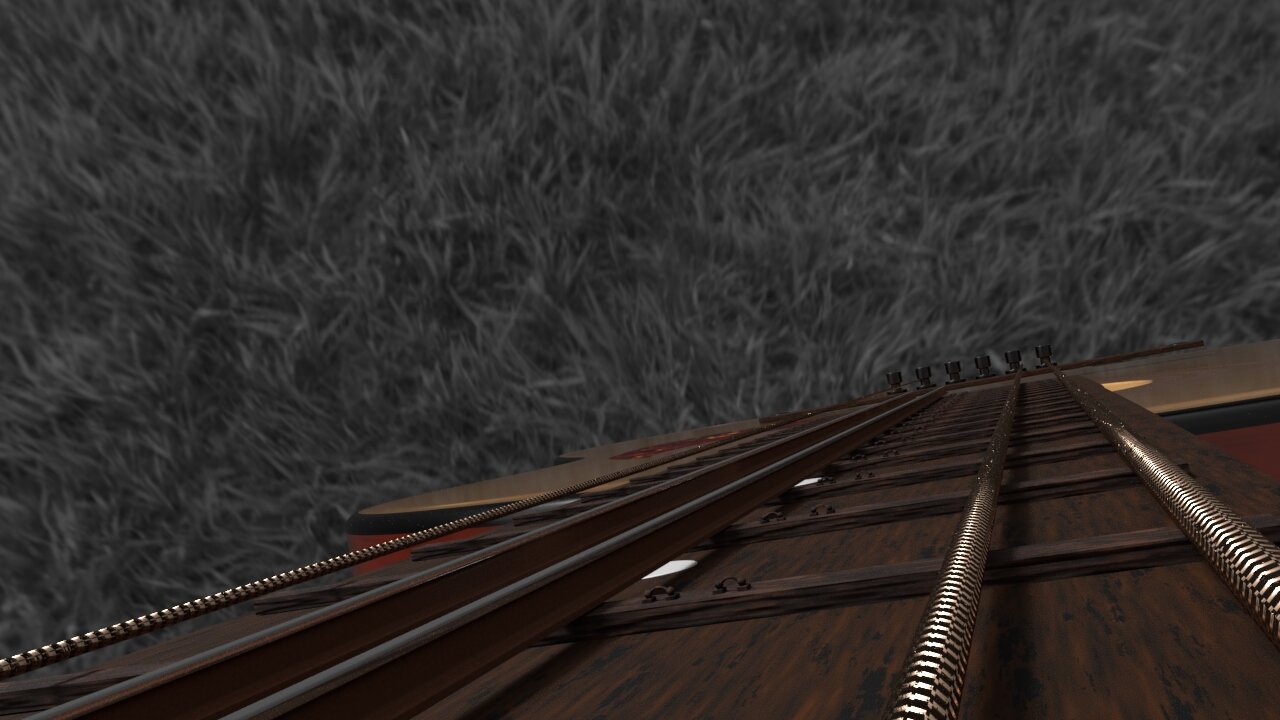
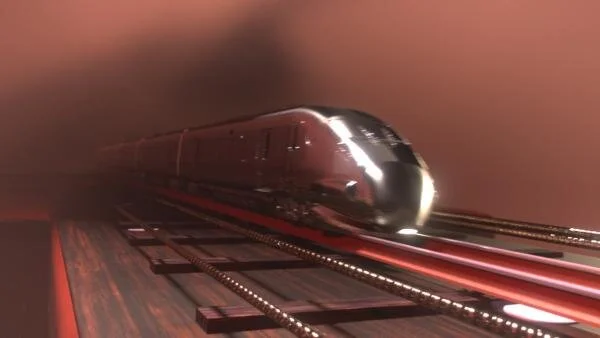
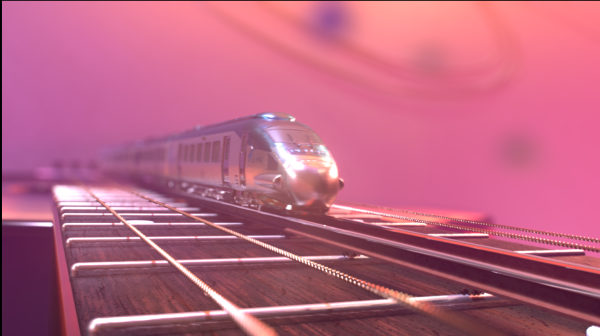
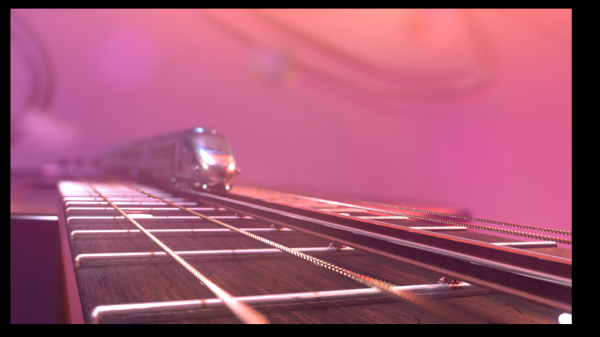
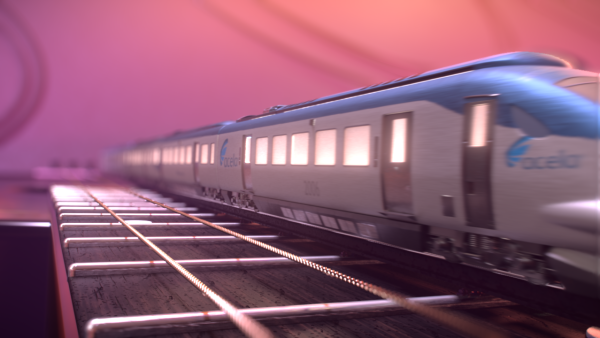
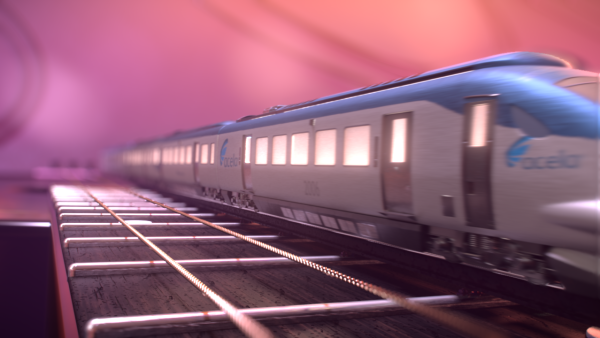
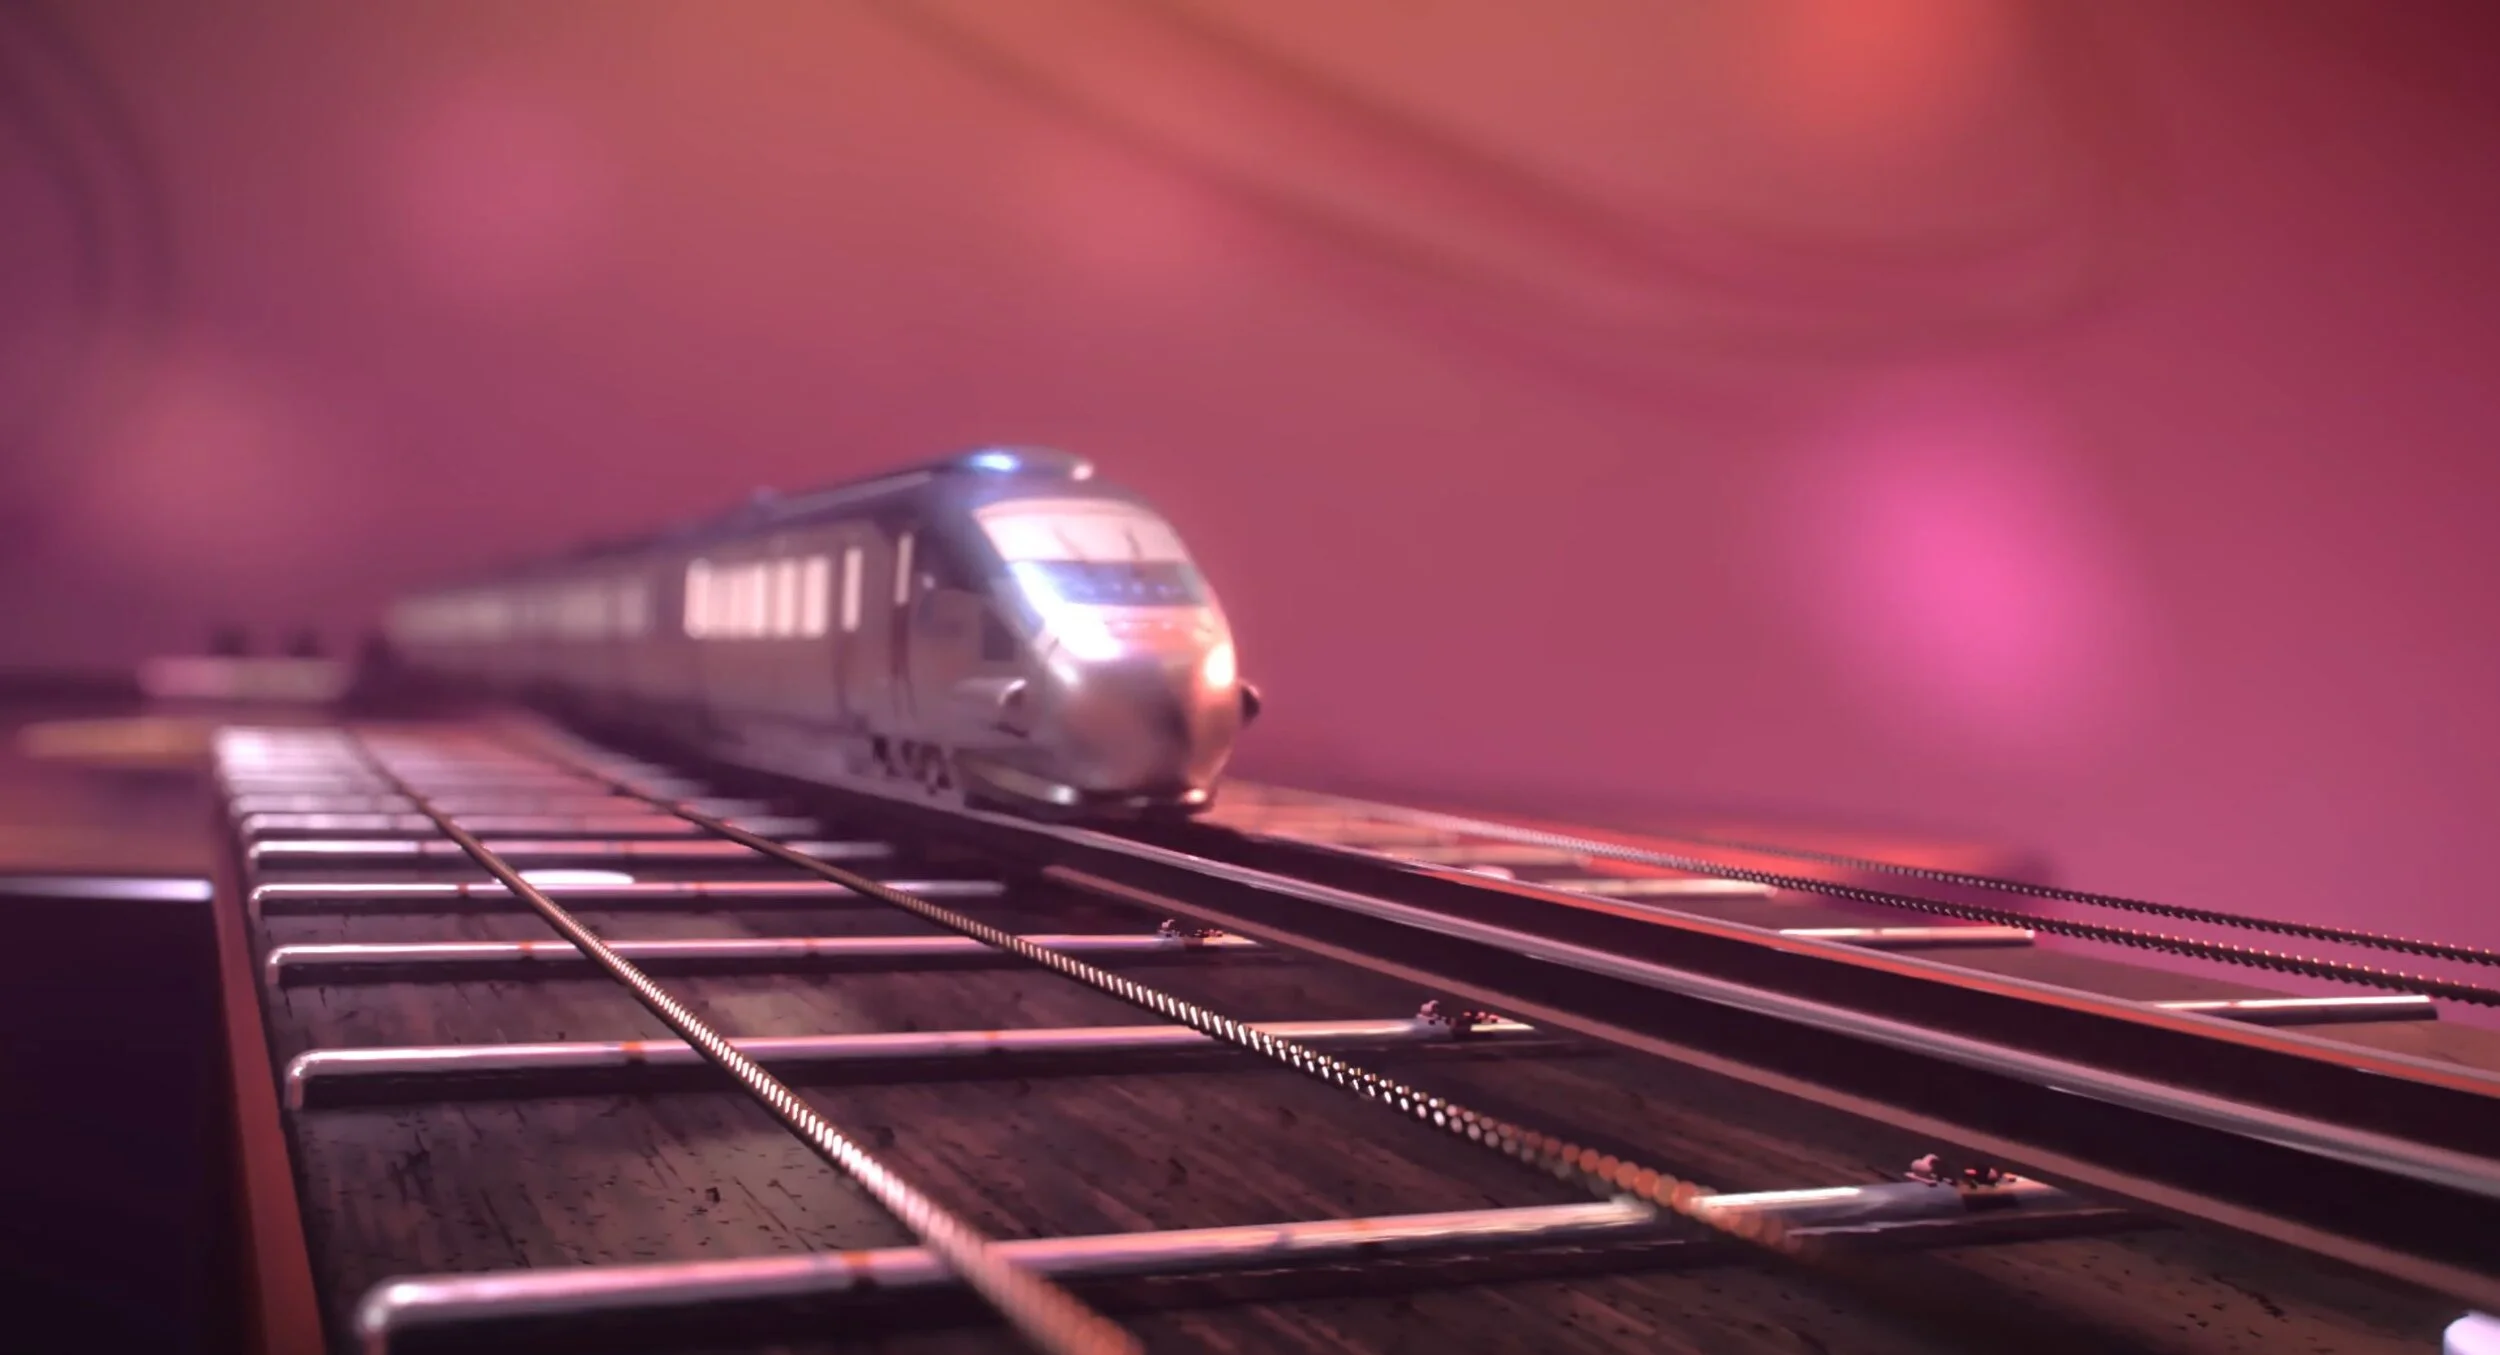
The idea we came up with was an Amtrak commercial where a train travels across a guitar in a concert. The train will make the strings of the guitar as it moves past it move with the beat of the music.
We wanted to give a feeling of nostalgia and excitement for an adventure through this story.
Then we gathered references for the general look we would want the commercial to look, then went on to look for specific reference images for Look development

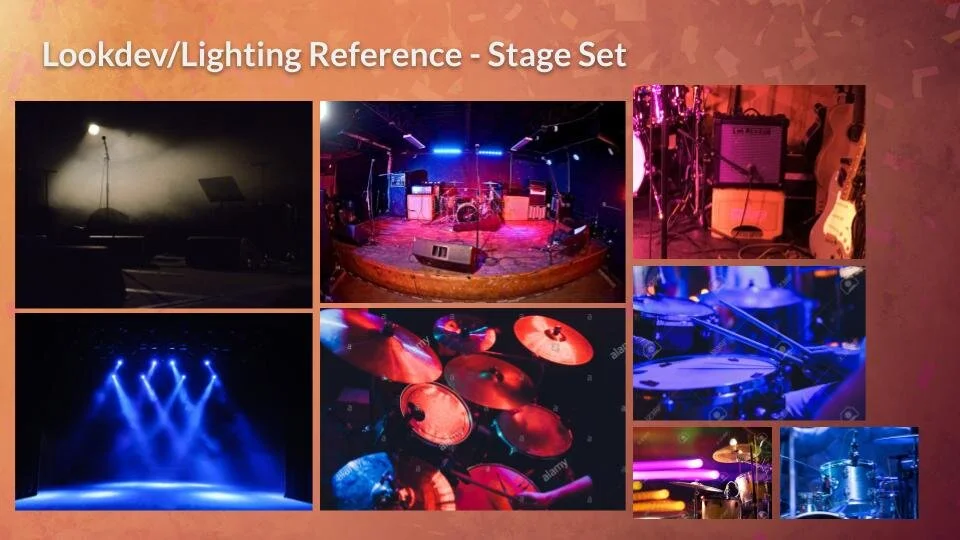
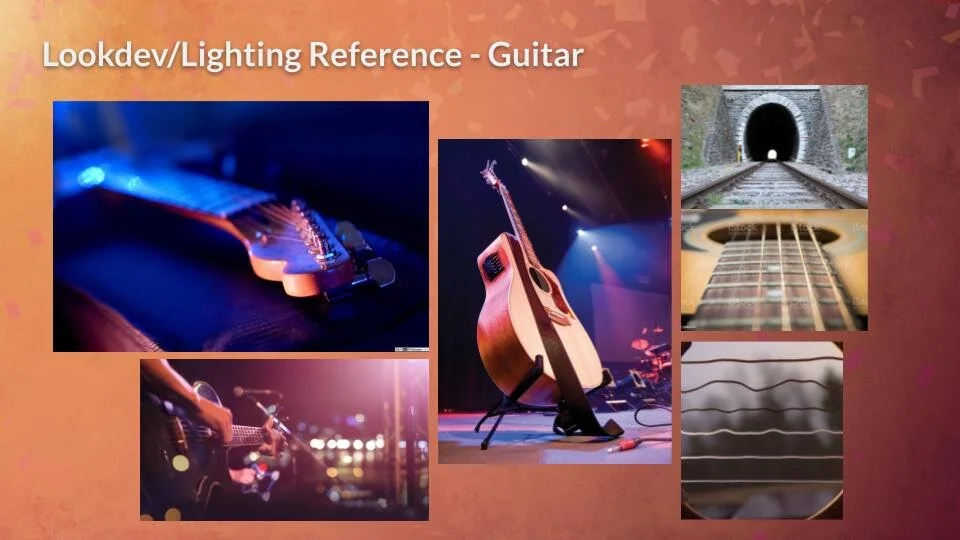
After this, we looked for references for shaders for materials that would be used in this project. I looked for the guitar and railroad shaders as I would probably be making them.

We also looked for references for how the confetti, train, and guitar would would look like in motion.
Specifically for this one we were looking at this lens flare affect at 8:11 for the train moving past the camera.
This was the effect of the strings we want for when the train moves past it and it vibrates with the beat of the music

Here are some early lookdev tests for the quilts that I started to make. The others in the group are also making textures
More look development
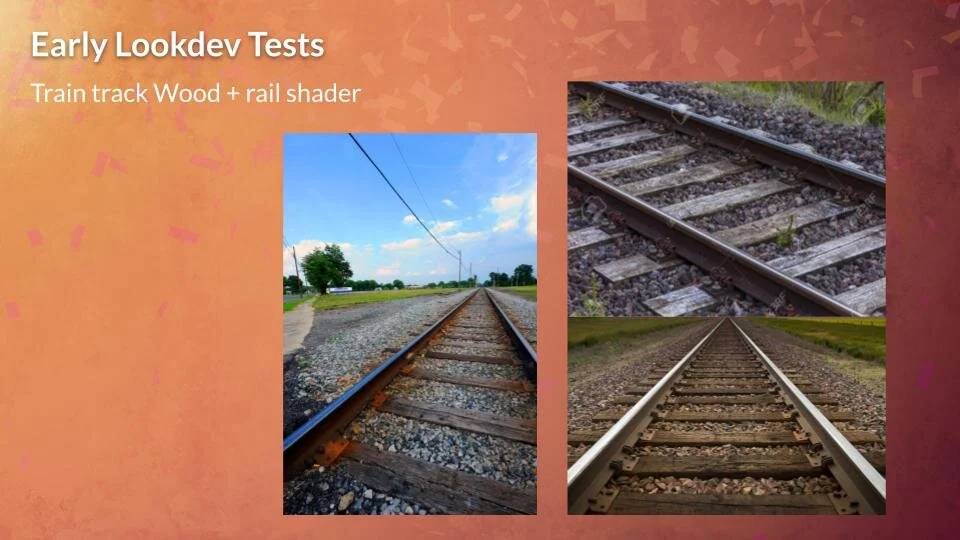
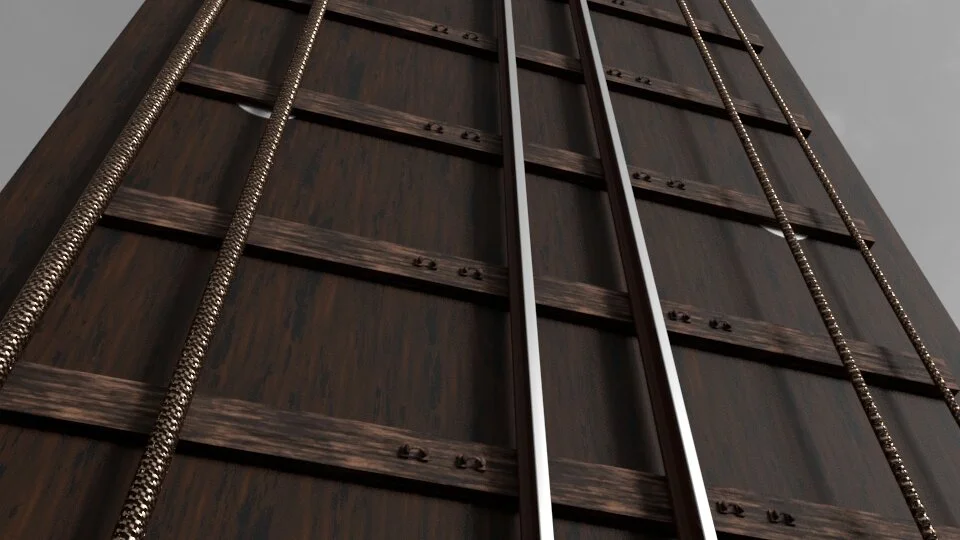
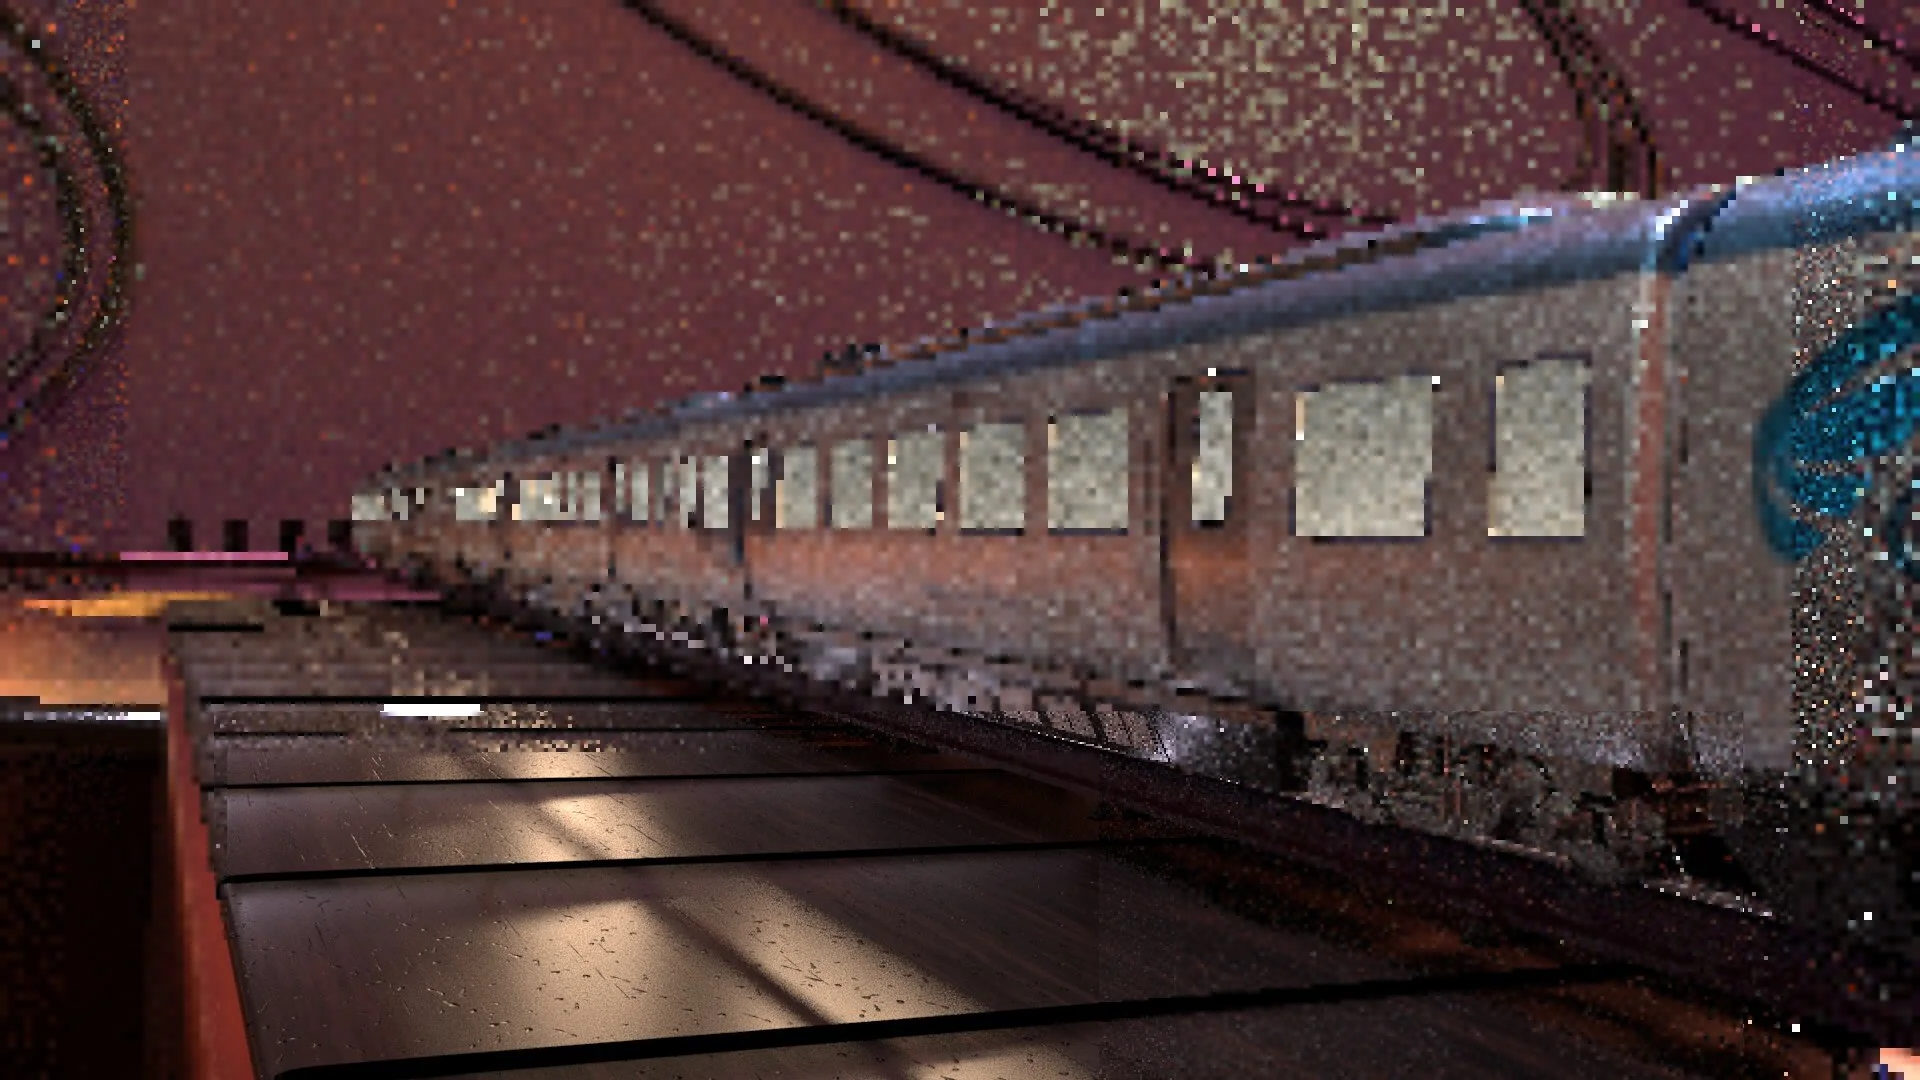
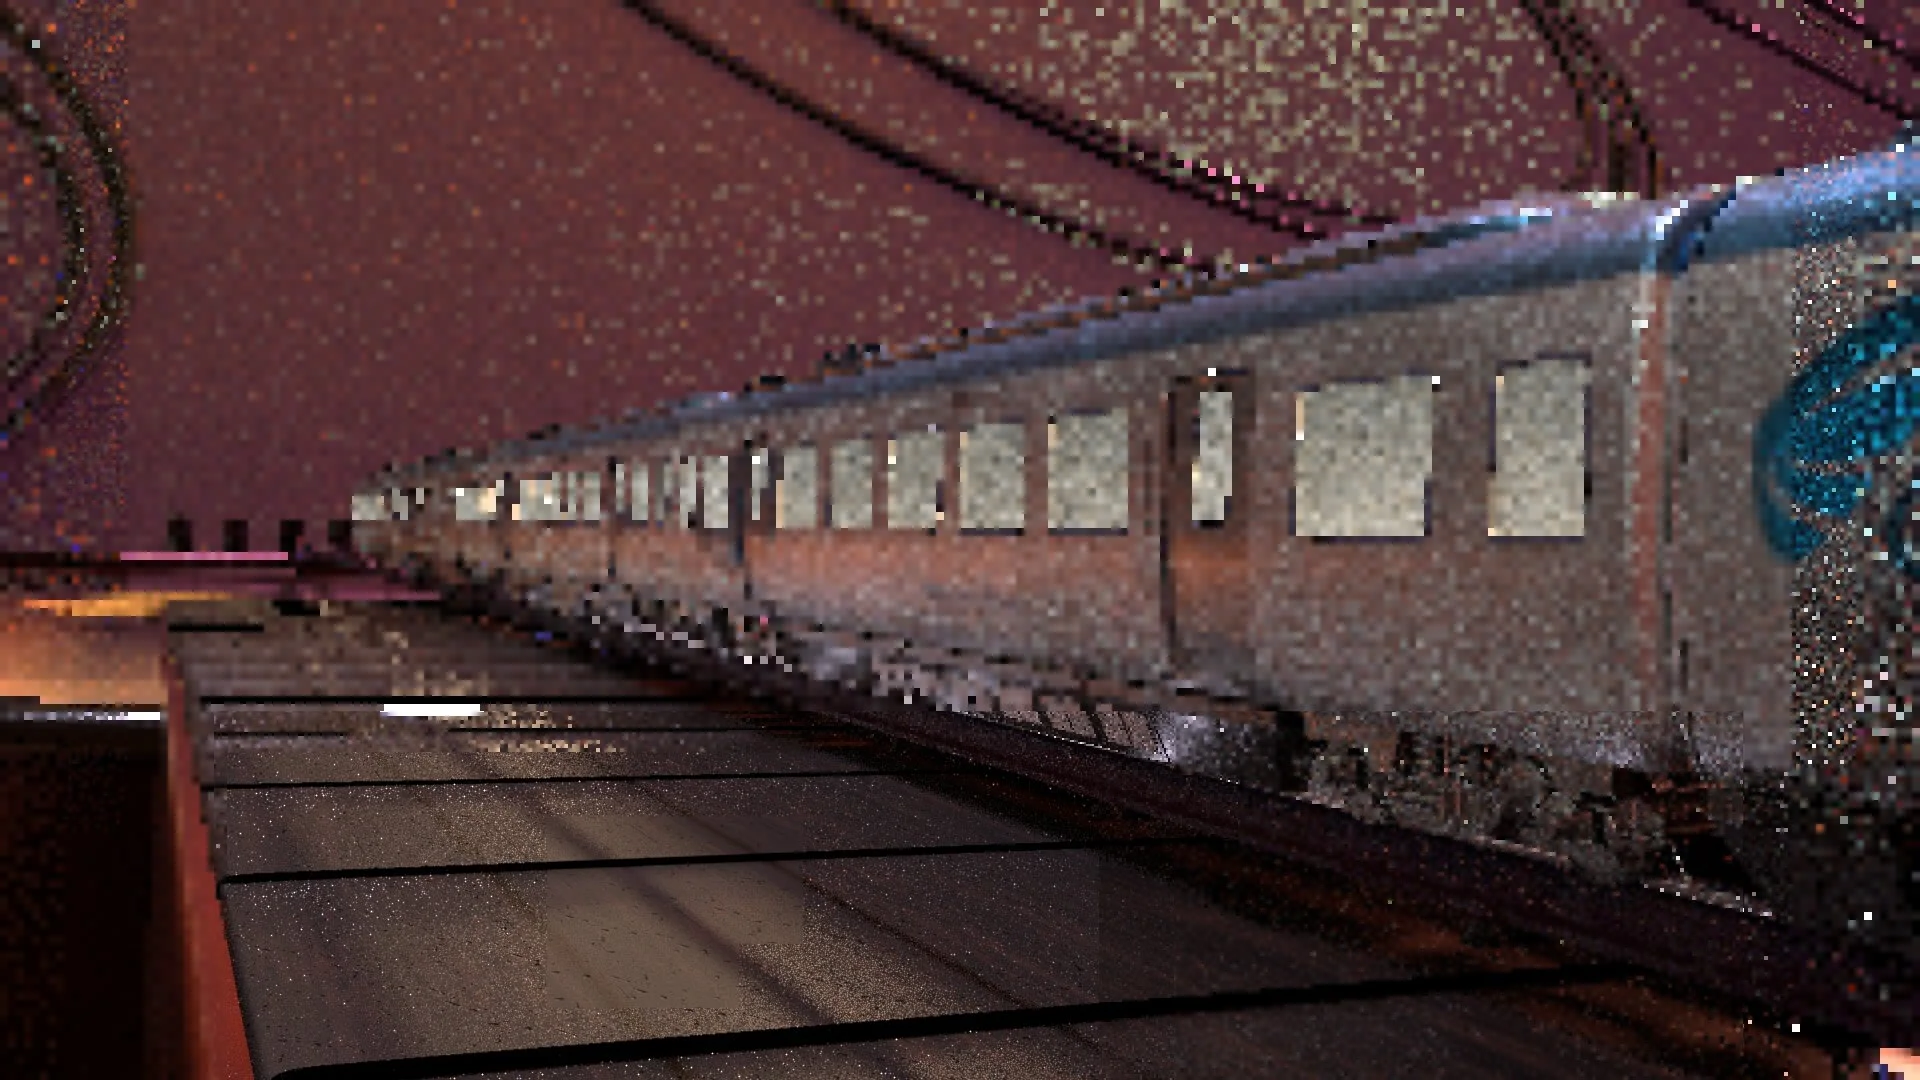
Early train track shader
For my train track shader I started with basic wood with bump maps but I then decided to add more variation through the texture map. For the other shaders I liked how they came out

Later iterations on the train track shaders
Then I decided to do more iterations of the wood and this was the one I got finished
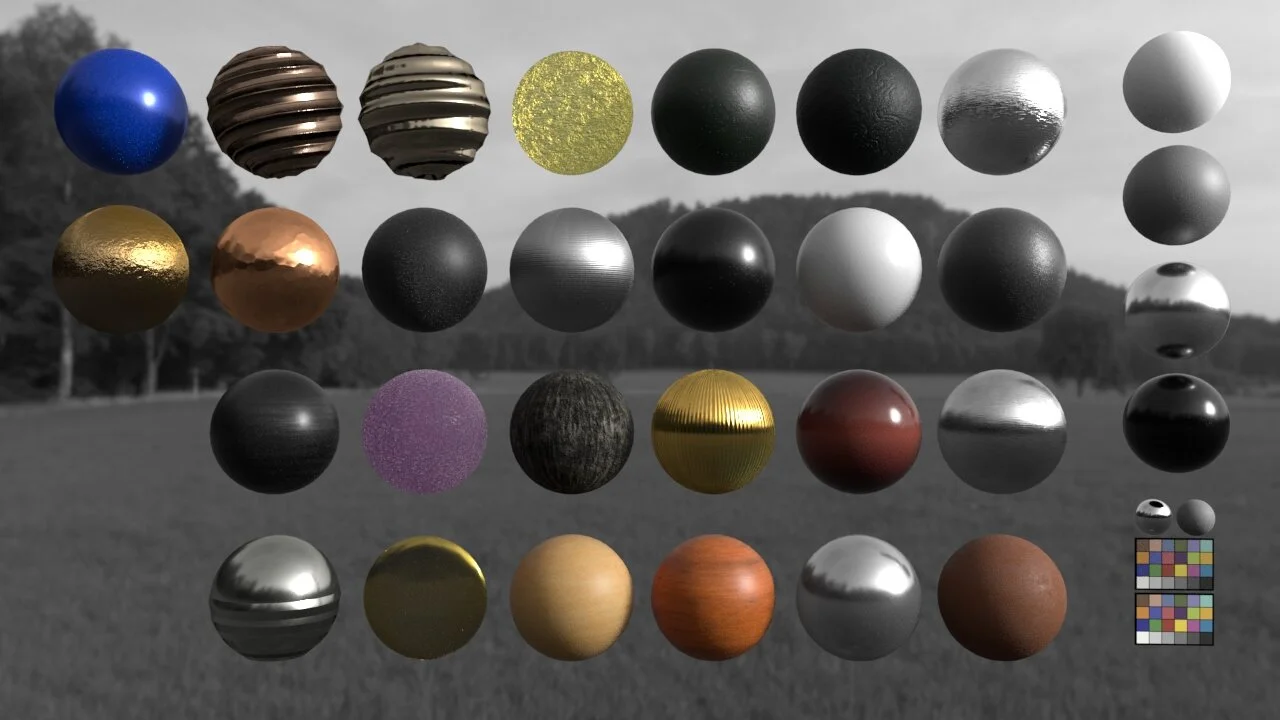
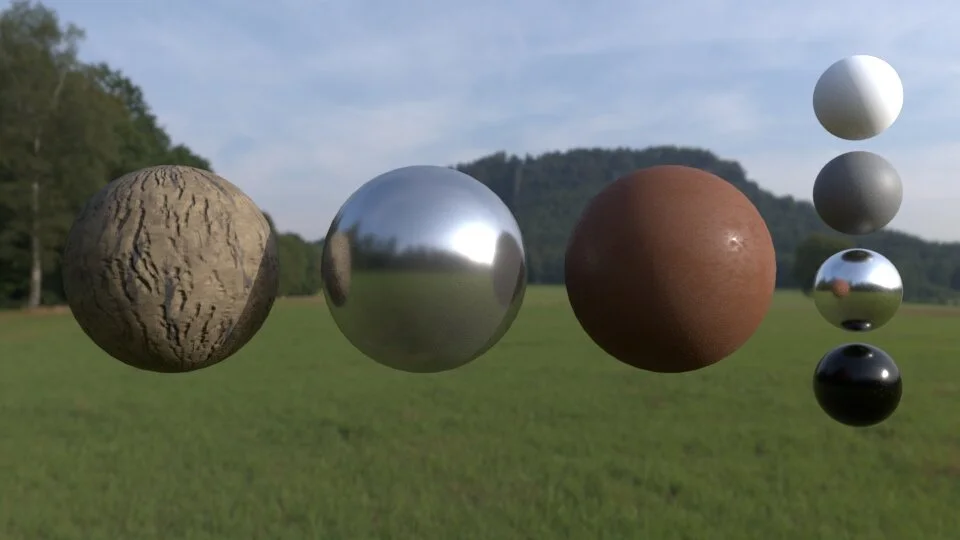
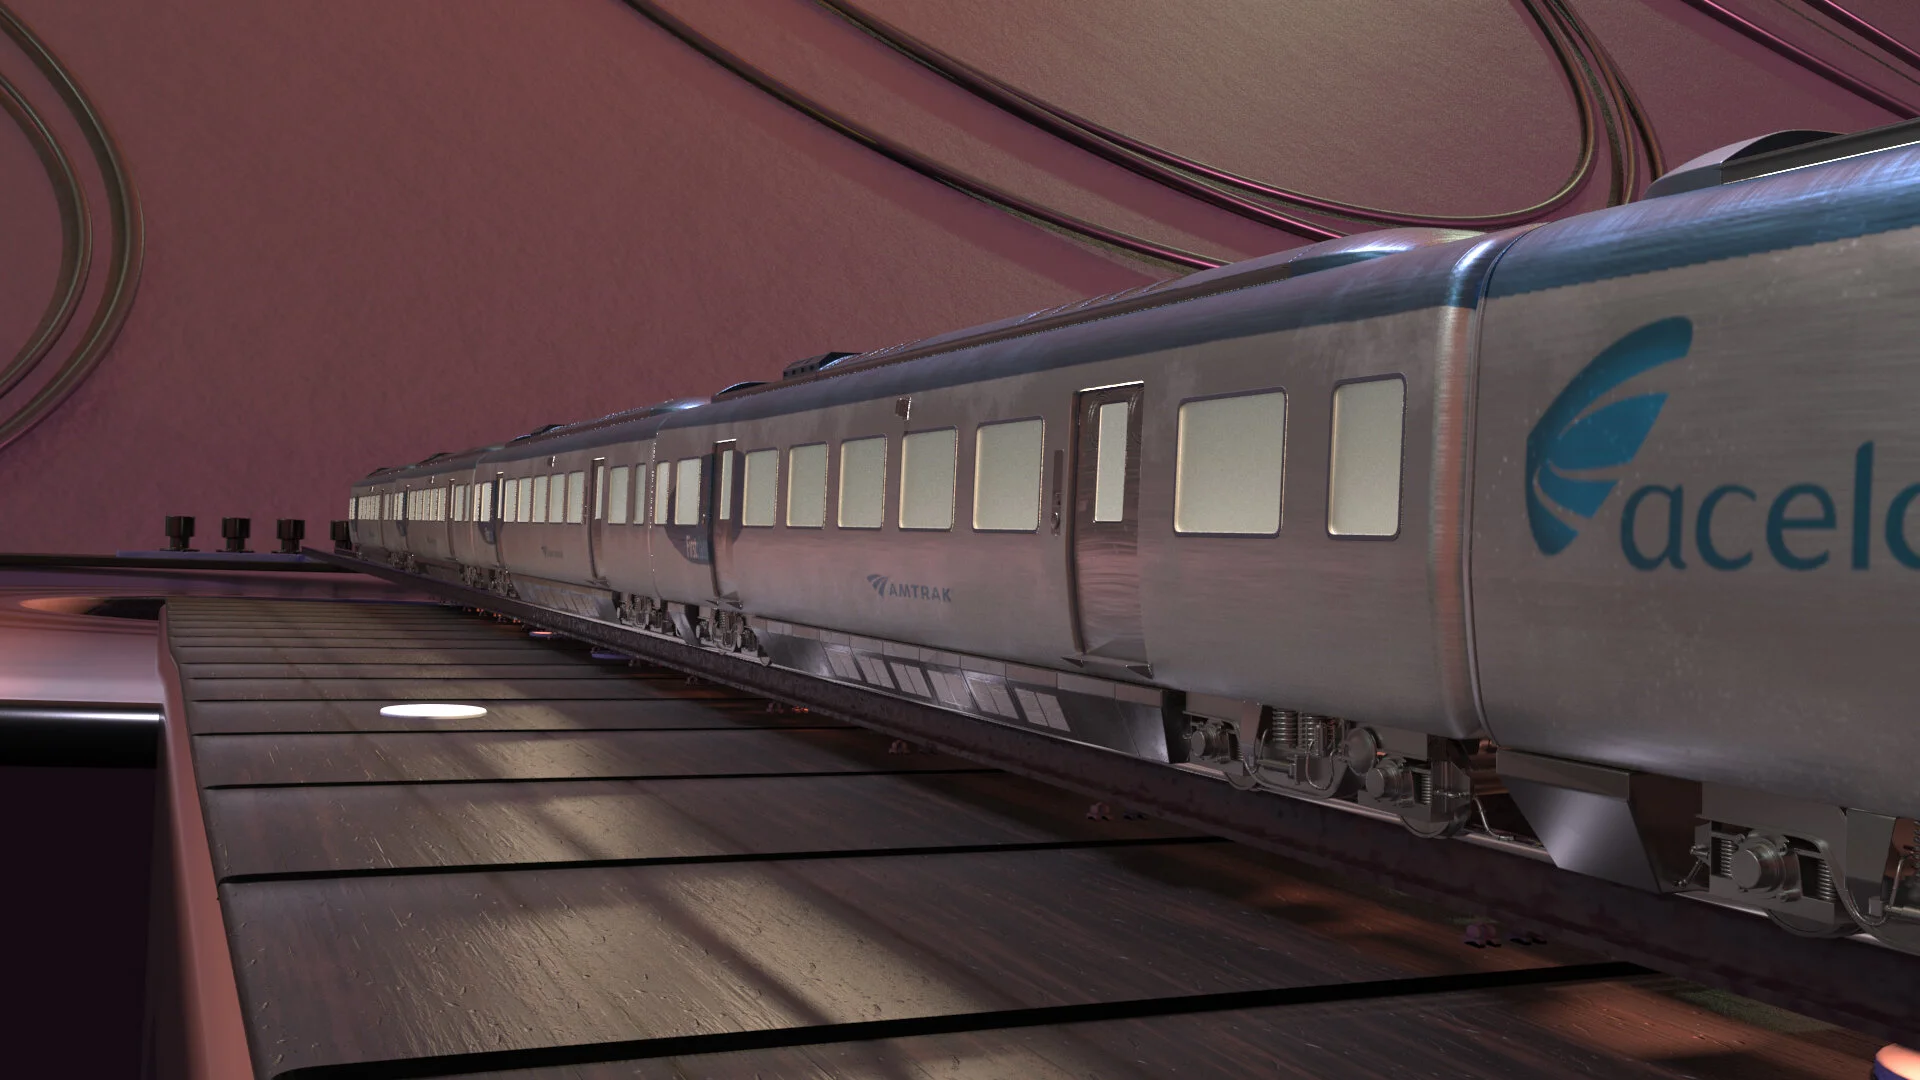
Final Shader quilt
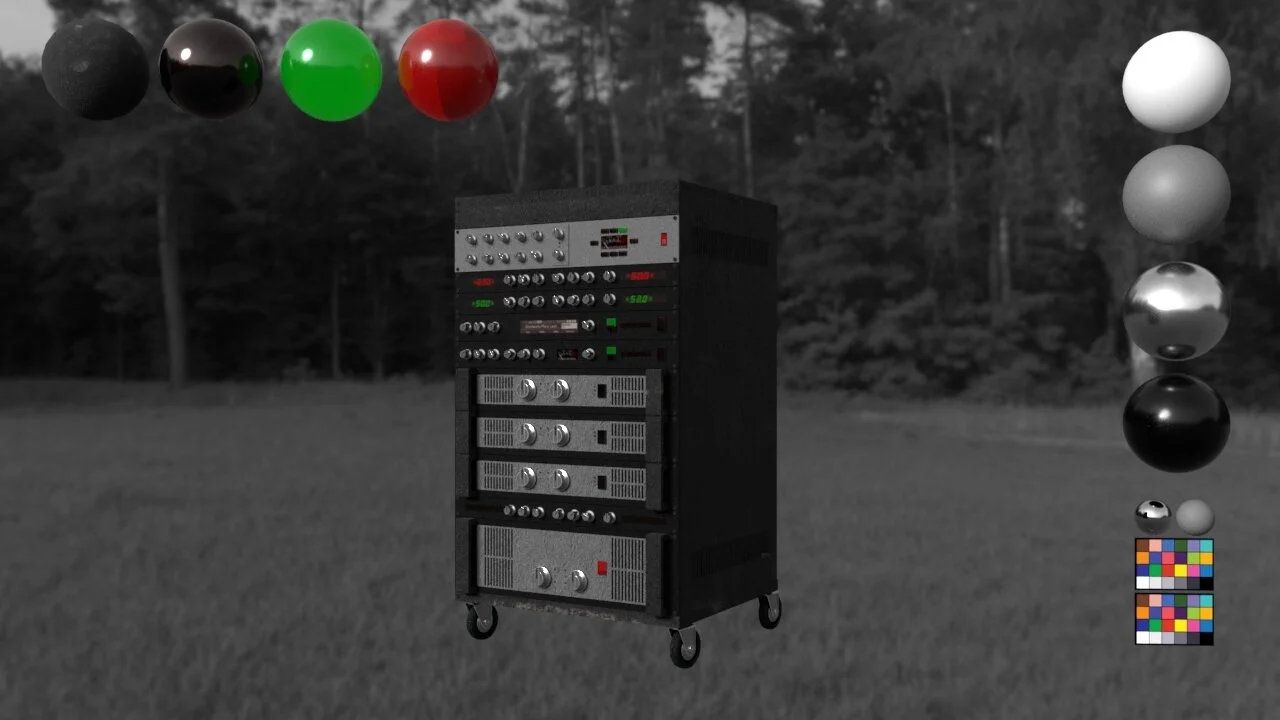
For the shader Quilt my group created the shaders for the materials we would use to get an idea of how things will look. Then we put them together and rendered them out.
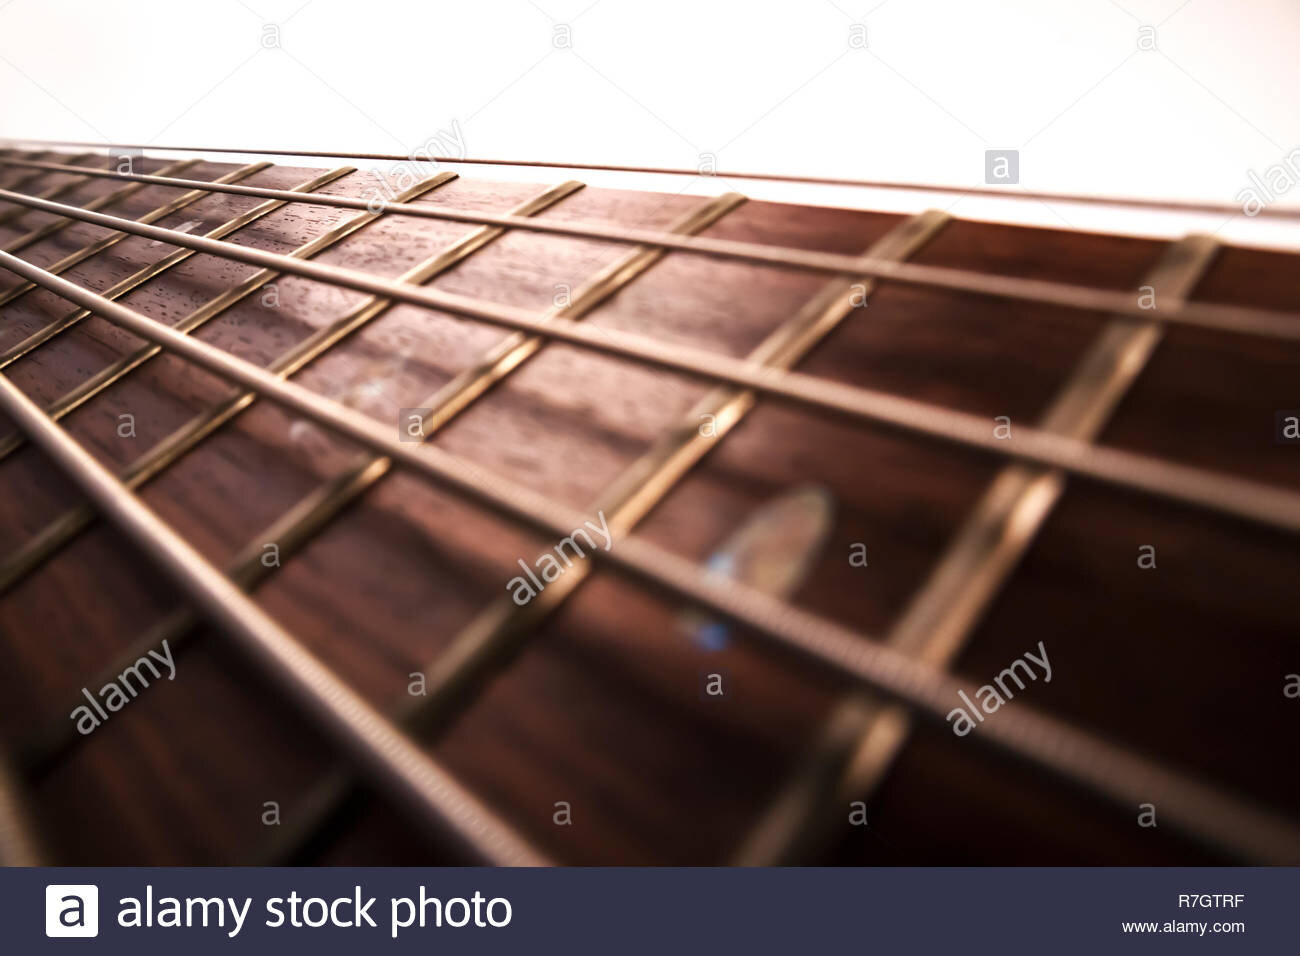
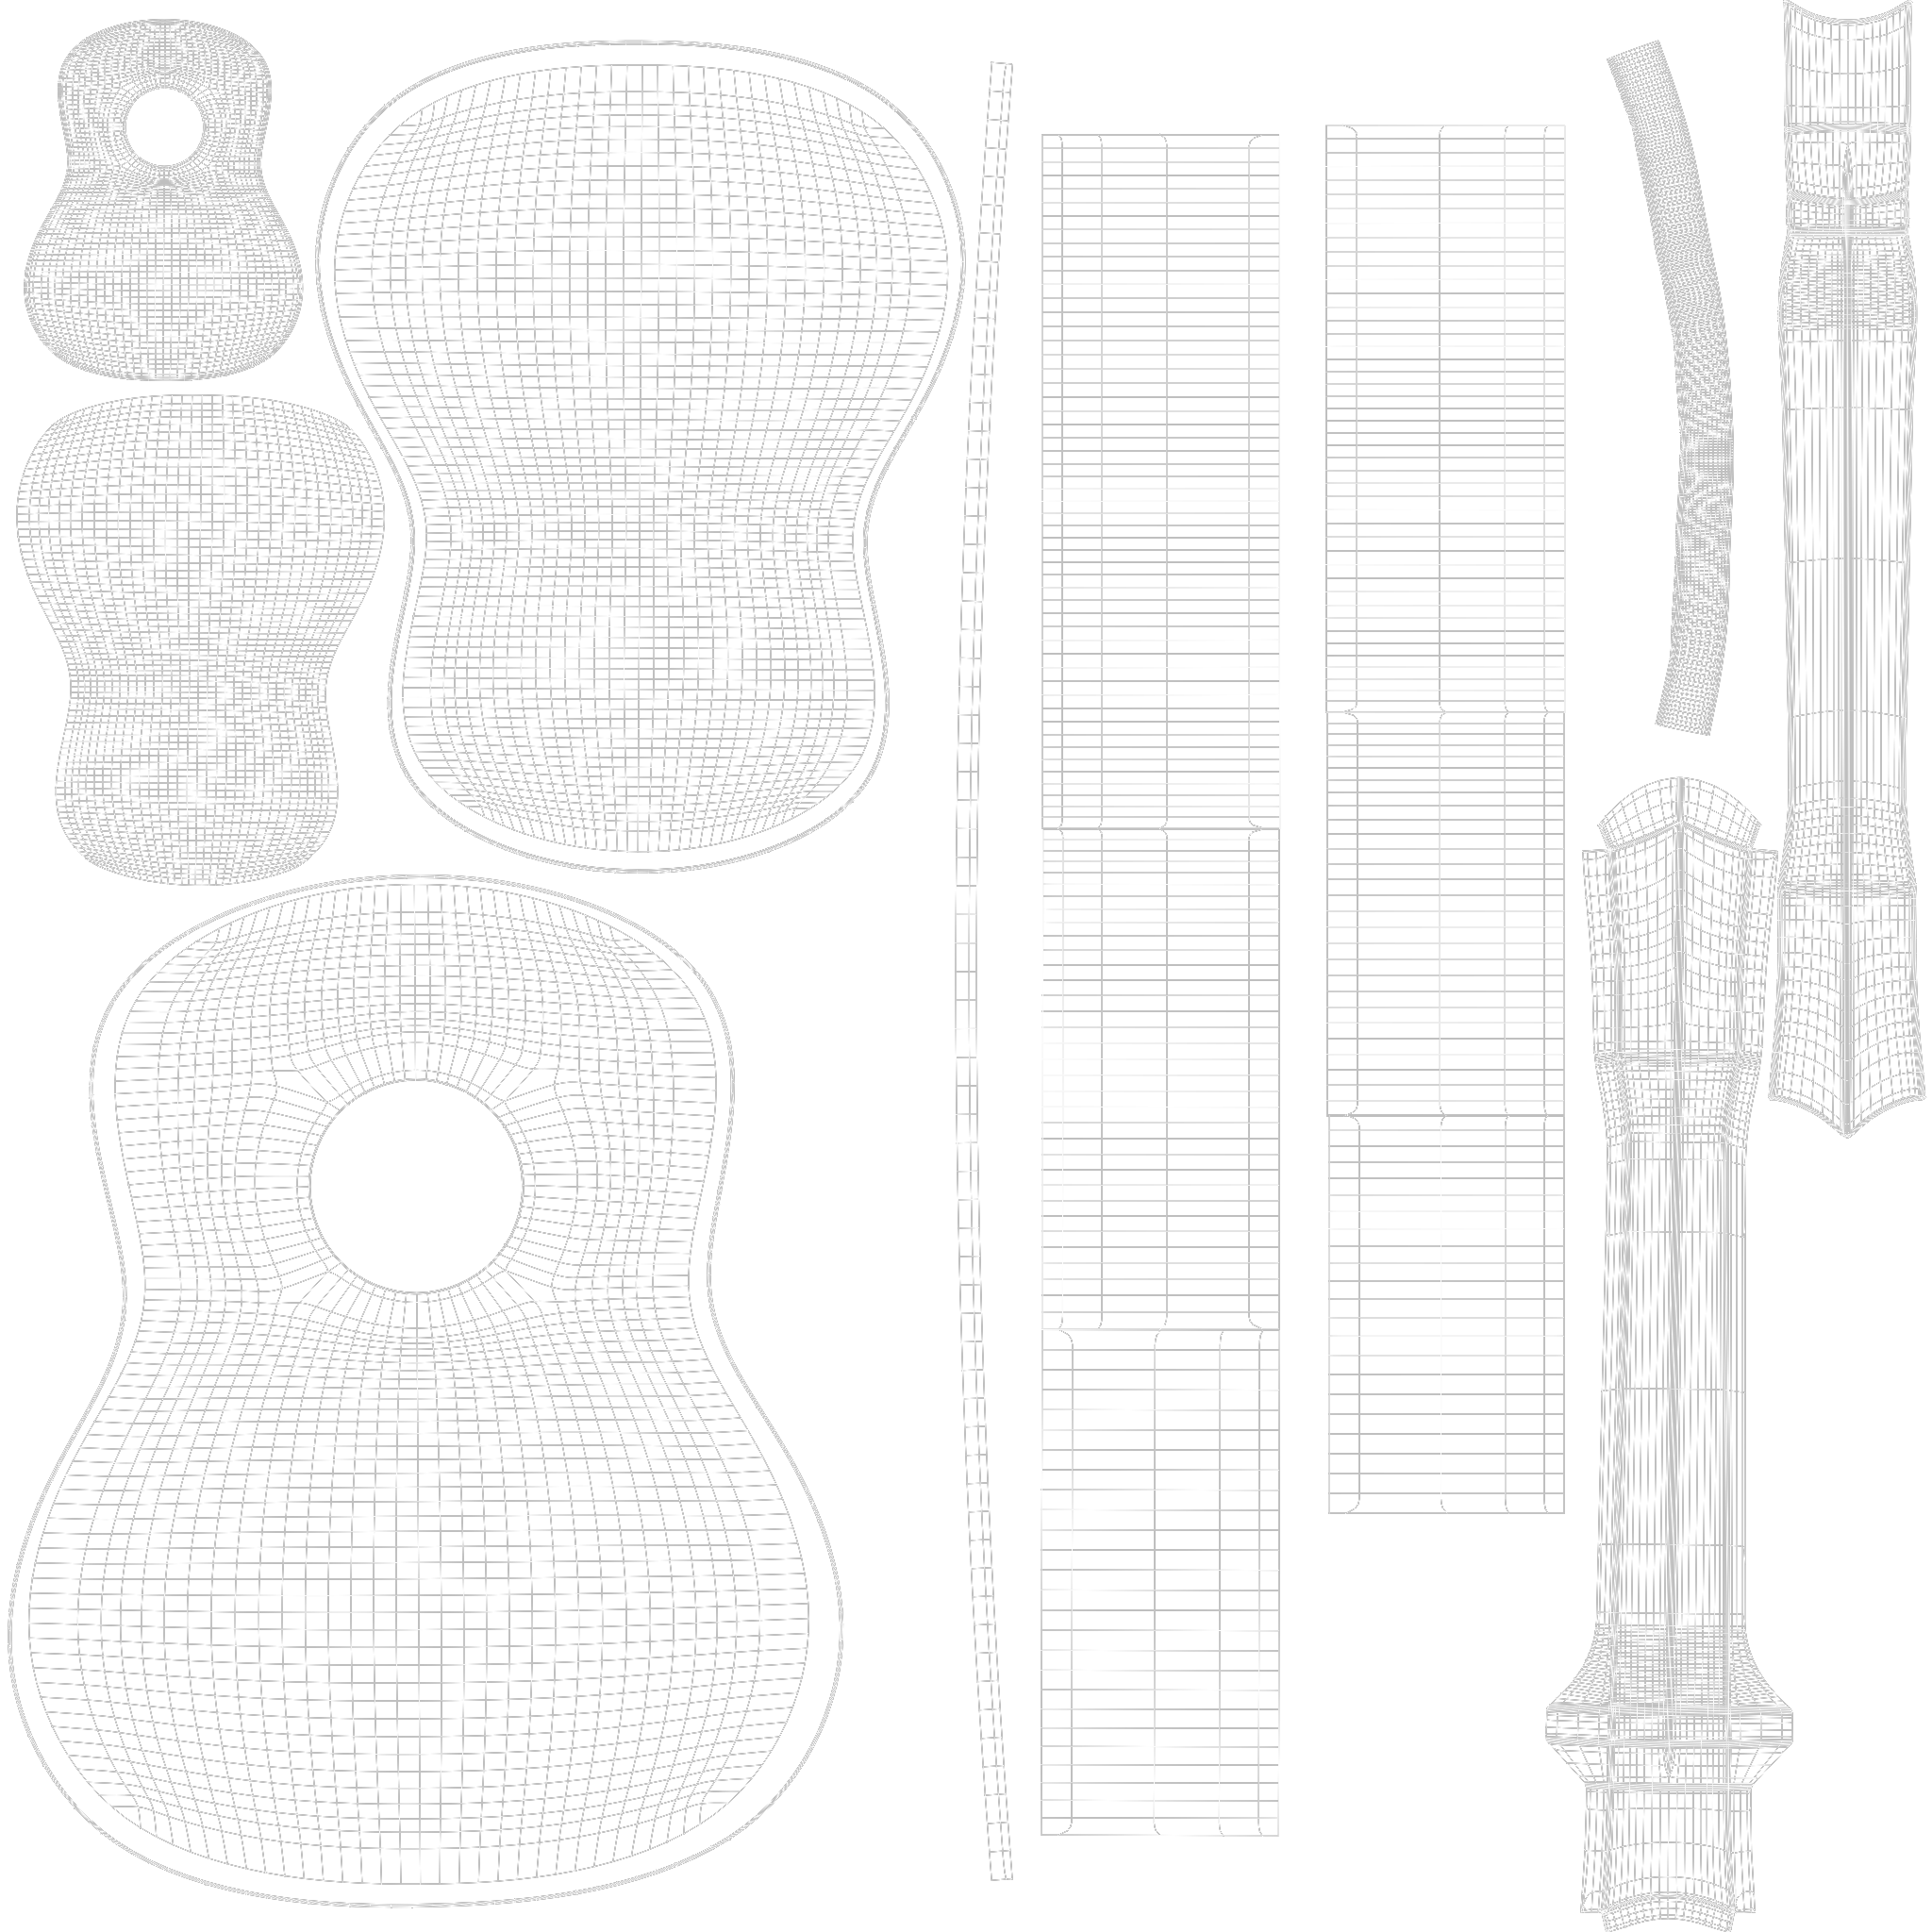
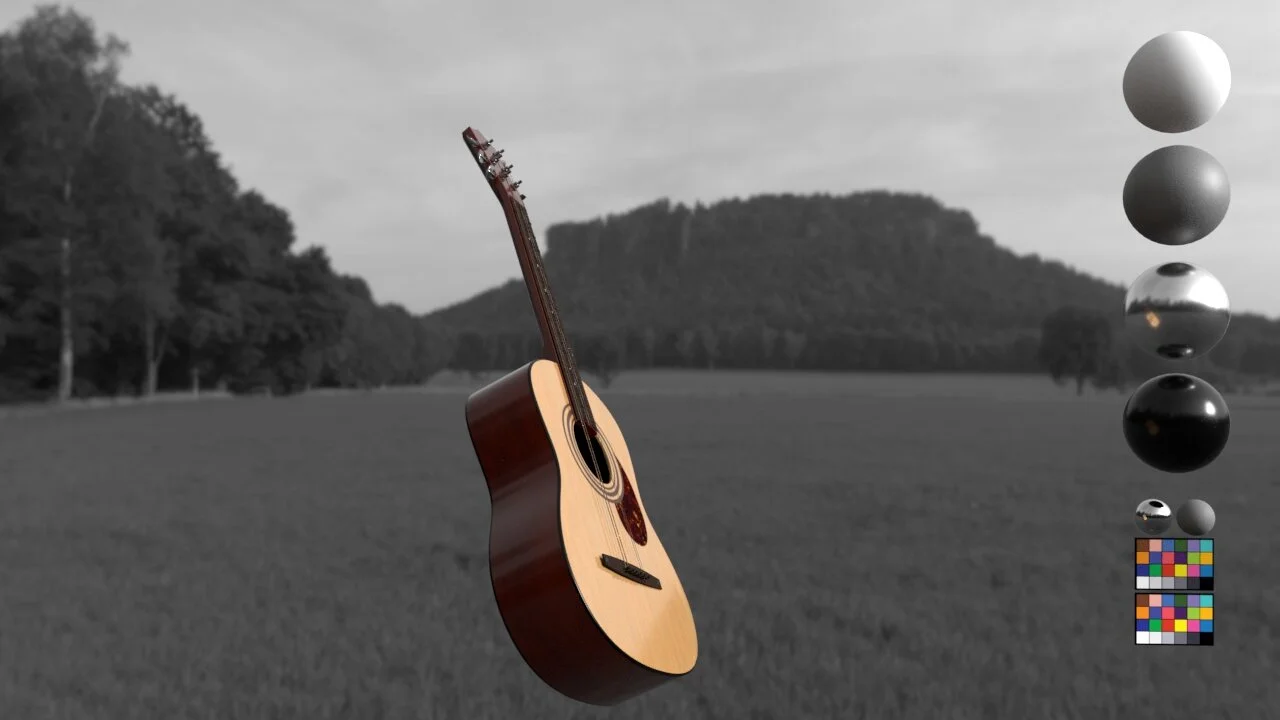
Guitar Process
Process step 1
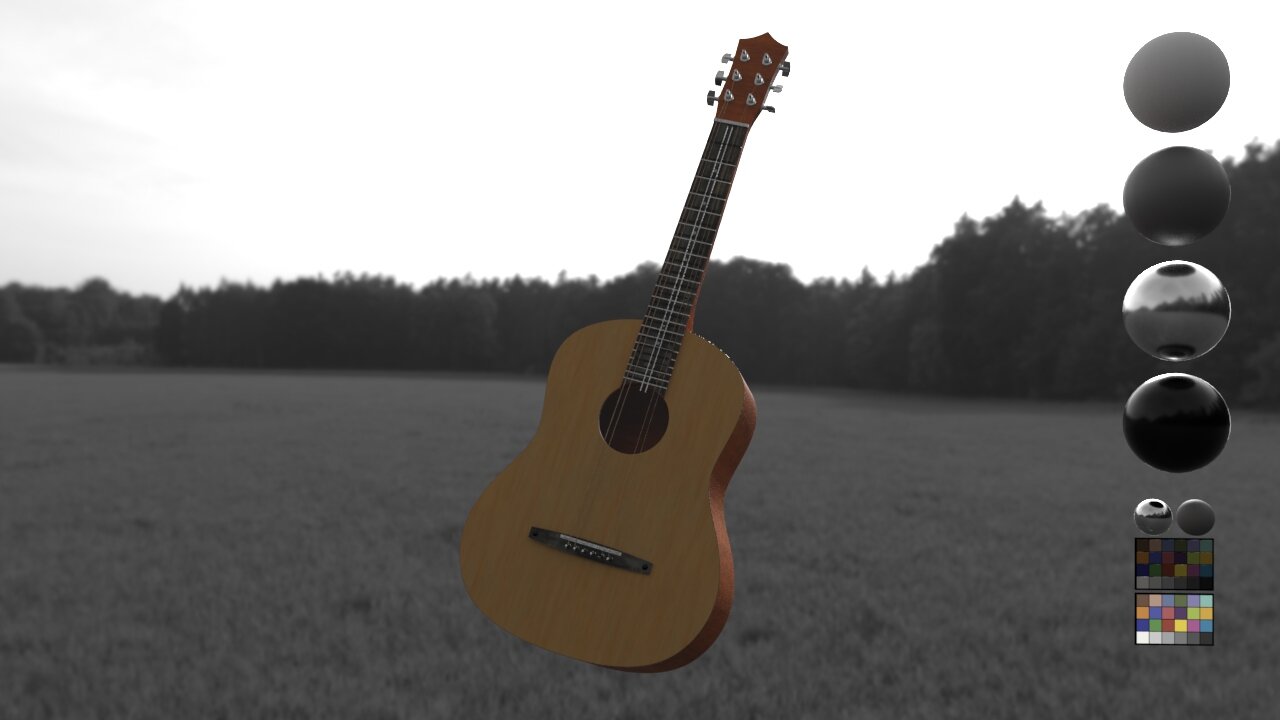
I then went to the guitar model that we had and UV’d them so that I would be able to add the textures and added all the basic shaders we had for the guitar onto the guitar model.
The next step from here is to actually put them into substance painter and texture everything using the shaders that we had as a base. I think that the specularity should be done better and have a coat.
Also on the guitar bridge, I am going to have the wood be less dark and browner similar to the reference images we had.
For the Machineheads or the metal part where you tune the guitar, I think I want the meal to have variating roughness so that it doesn’t look too perfect and weird.


Week 3
UVing and textures
UV Snapshots
Because of the variety of shaders for the guitar's main body, I decided that I would use an aiMix shader to get the separate components of the guitar body.
Alpha for separate shaders
I then went into photoshop and created a black and white mask on top of the UV snapshot to create an alpha to separate the shaders with AiMix

Shading tree
I then went into the hypershader and imported the files in to use along with the two other shaders that I created.
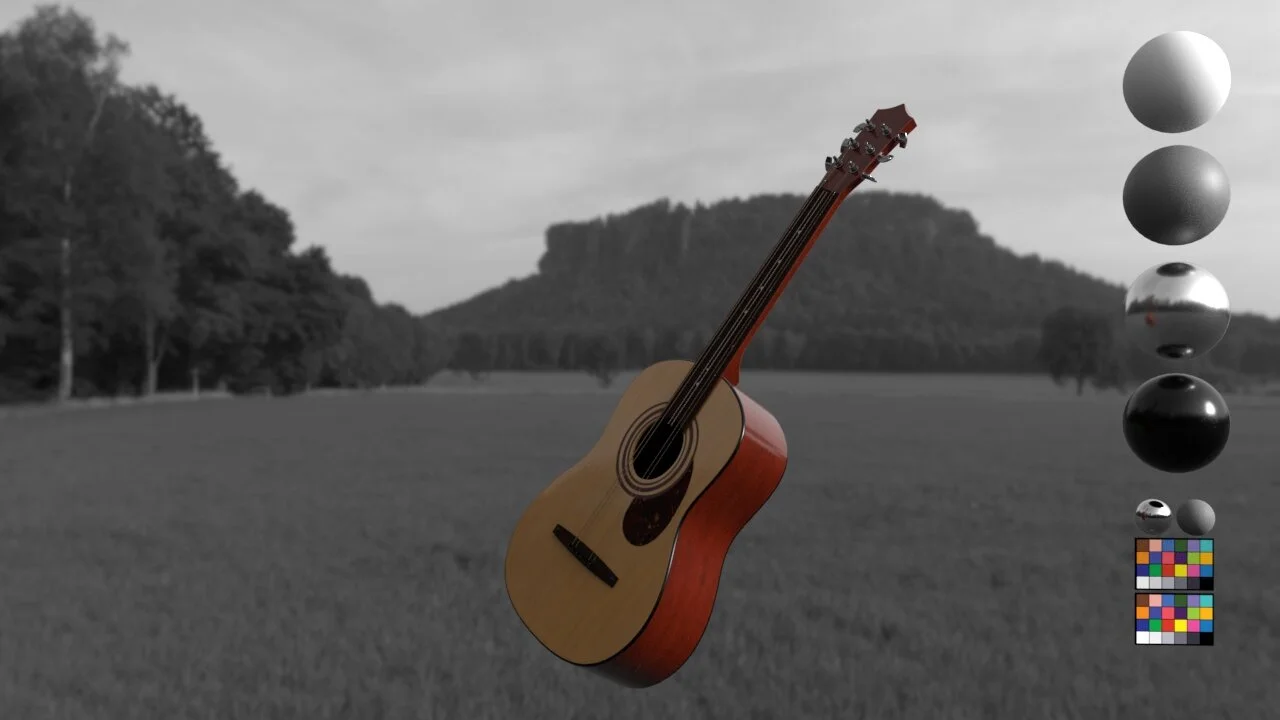
Guitar Progress 2
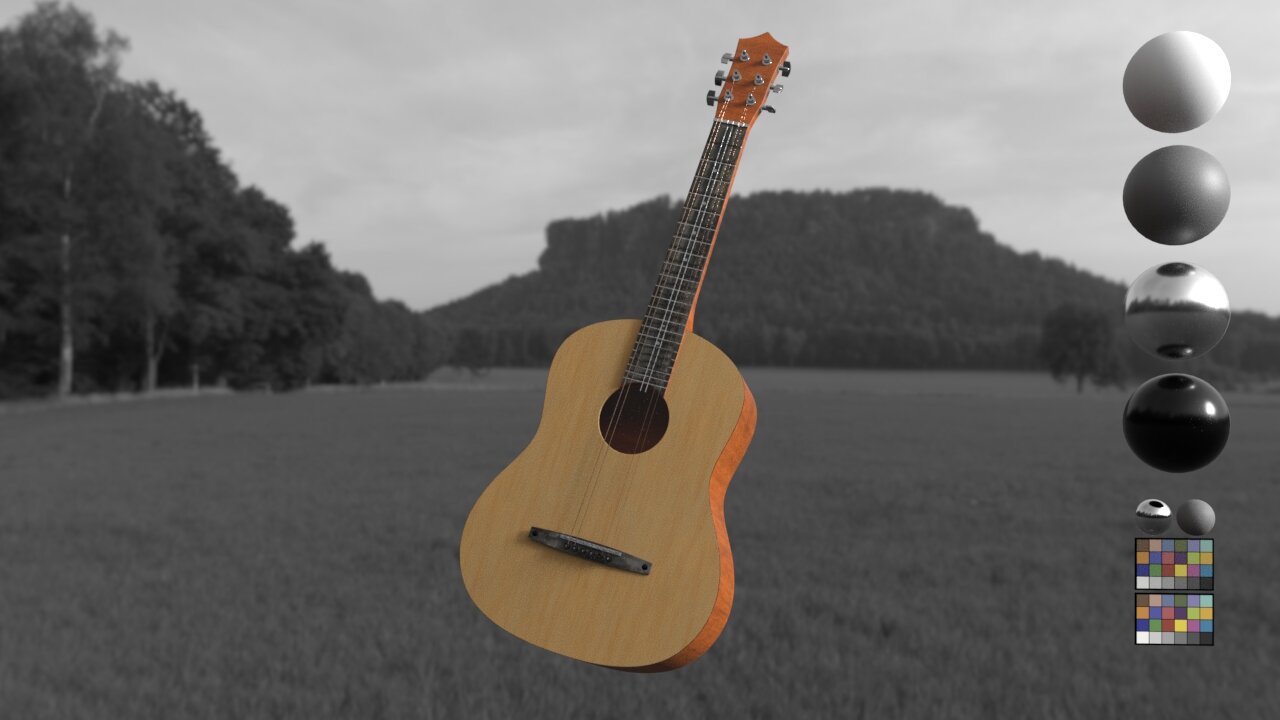
After doing those things I also retouched the shaders for my guitar. I also went into and did more close-up shots of the guitar to see how it would look when we do render them out on the Viz. I would also to hopefully touch on flaws in the guitar so that it doesn’t look too perfect. Maybe some scratches on places where there is a need for scratches.
Week 4
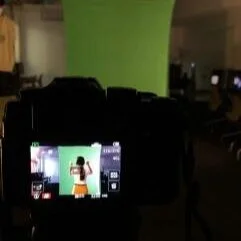
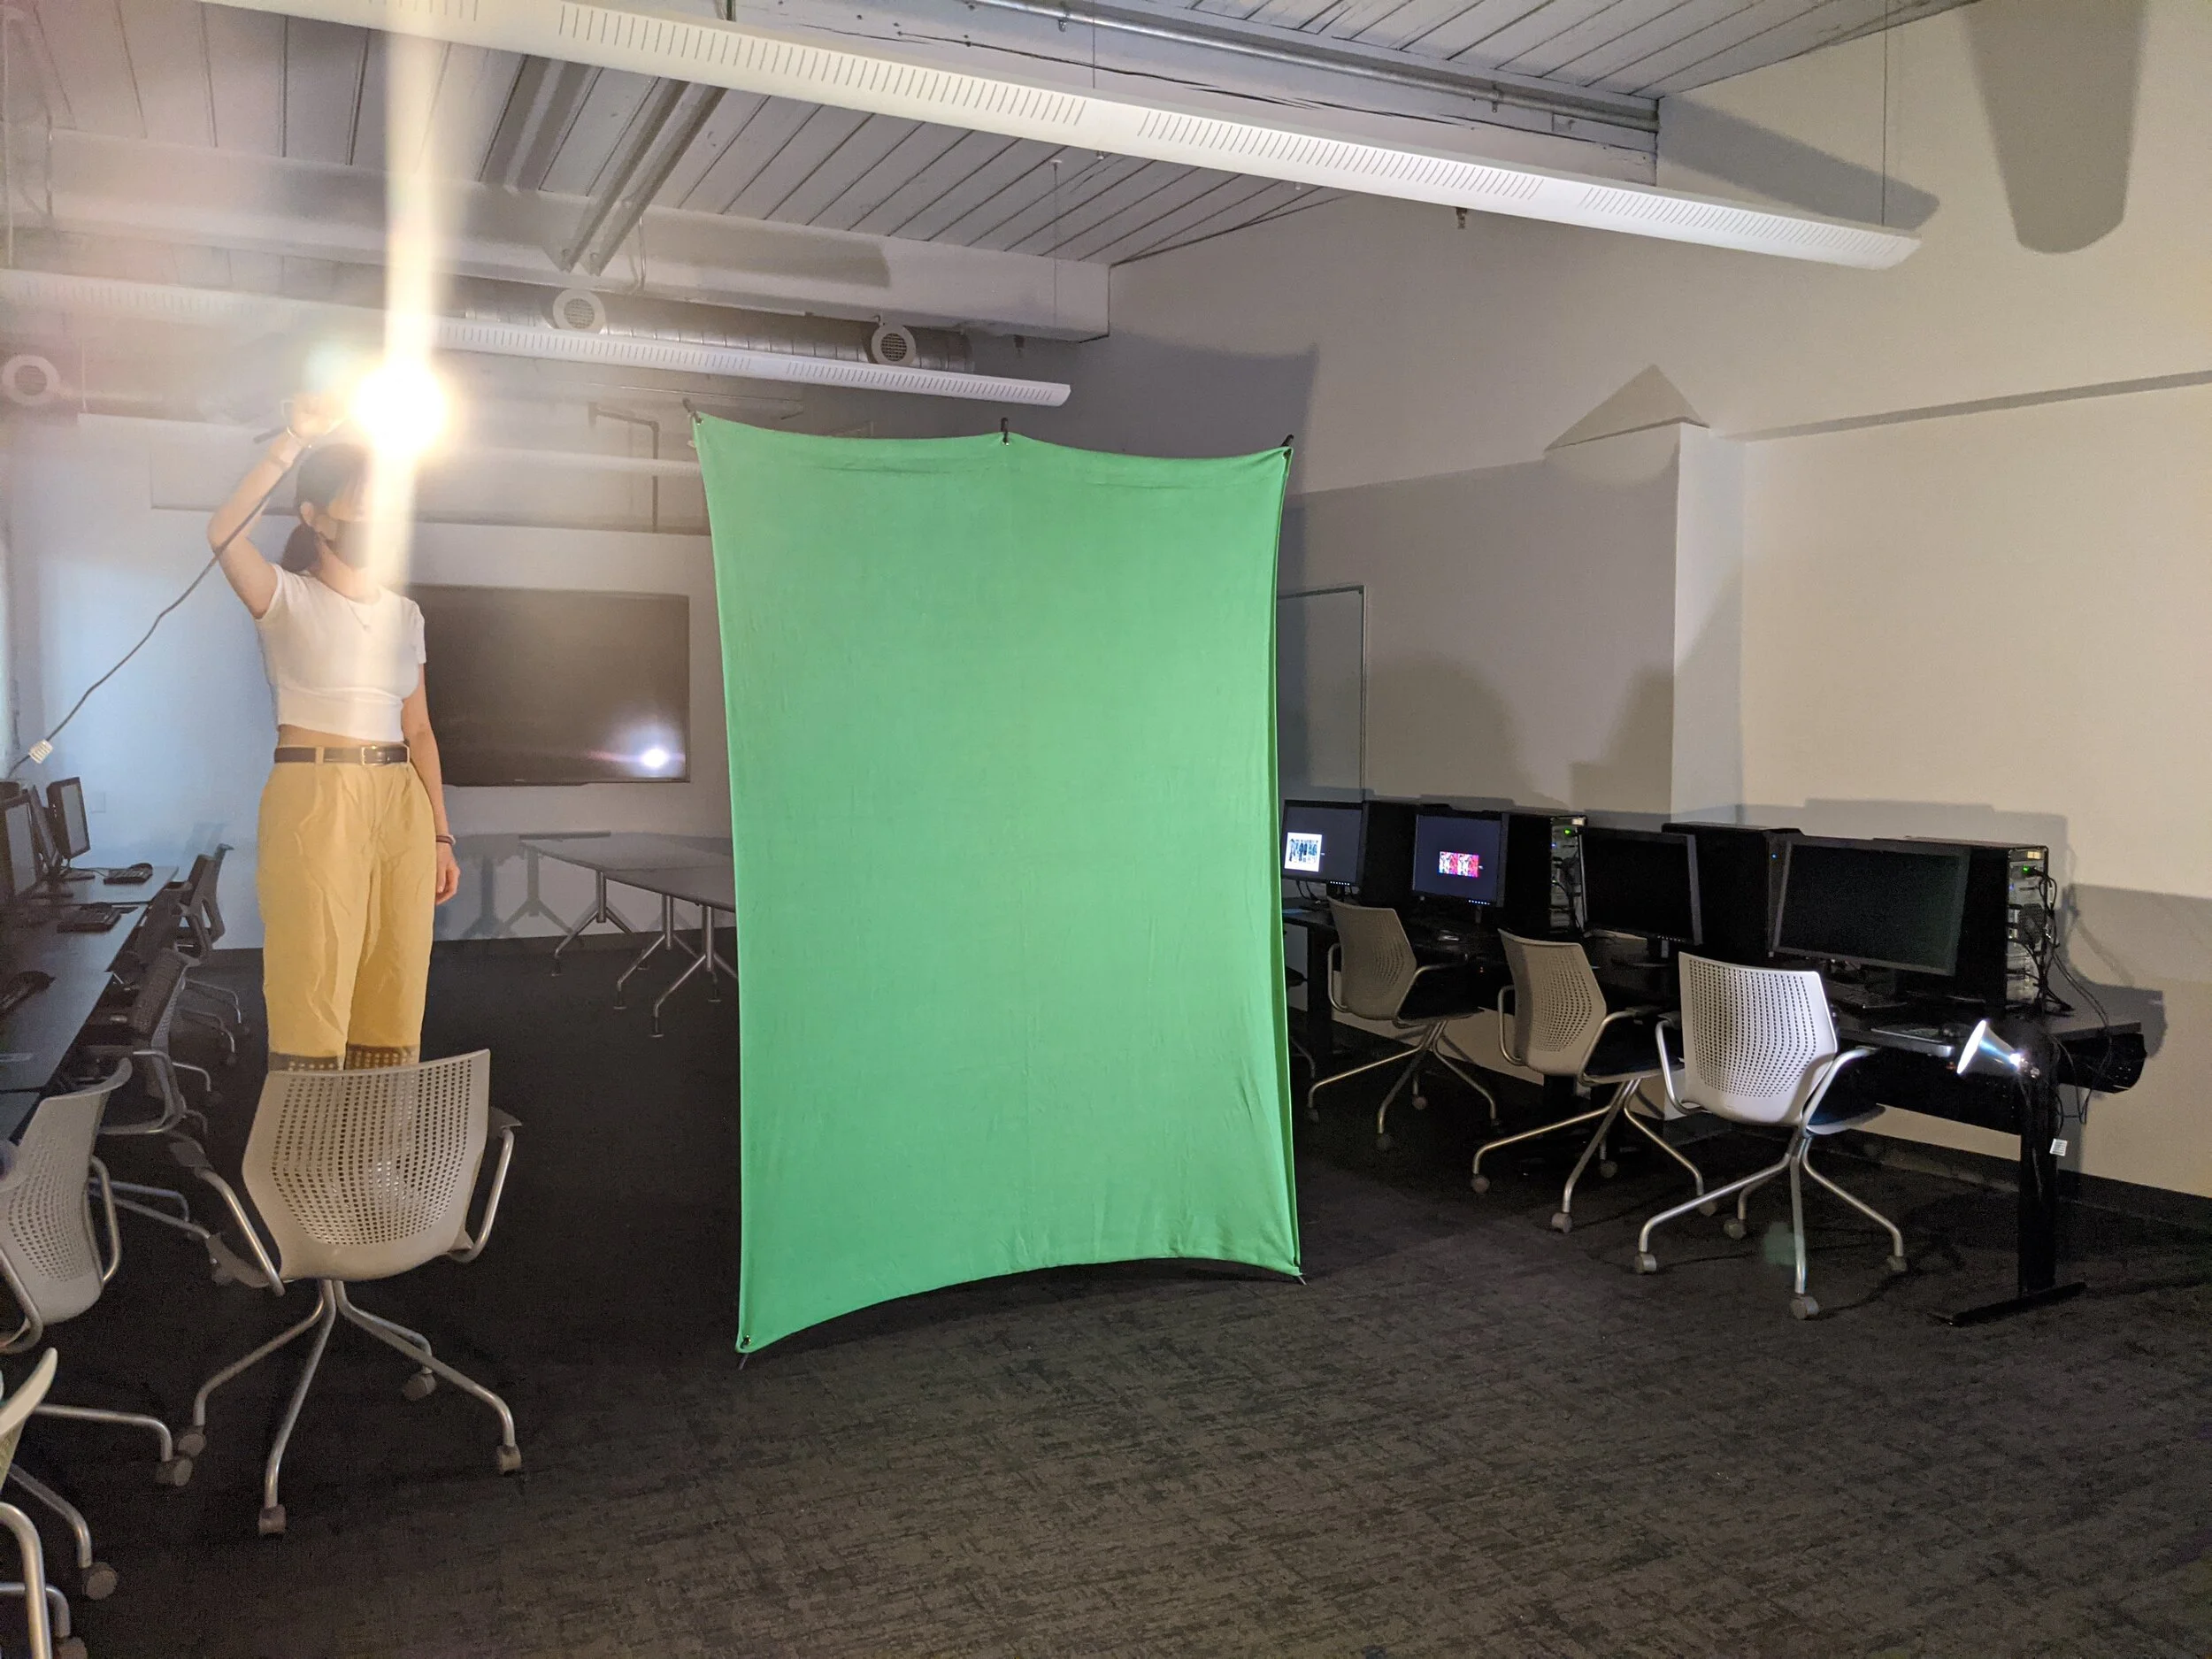
Green Screening
For the crowds, we decided as a team to meet up and have each of us go in front of the greenscreen and bob our heads to the music.
We decided to do this instead of the plate we had originally because after hearing the comments about the crowds being too jumpy and too many of them were waving hands, we decided to shoot our own. Since it would be easier than finding a plate that would match.
We also rendered out sequences for each shot with lighting for the viz as it would give a better idea of how the shot would look in the final
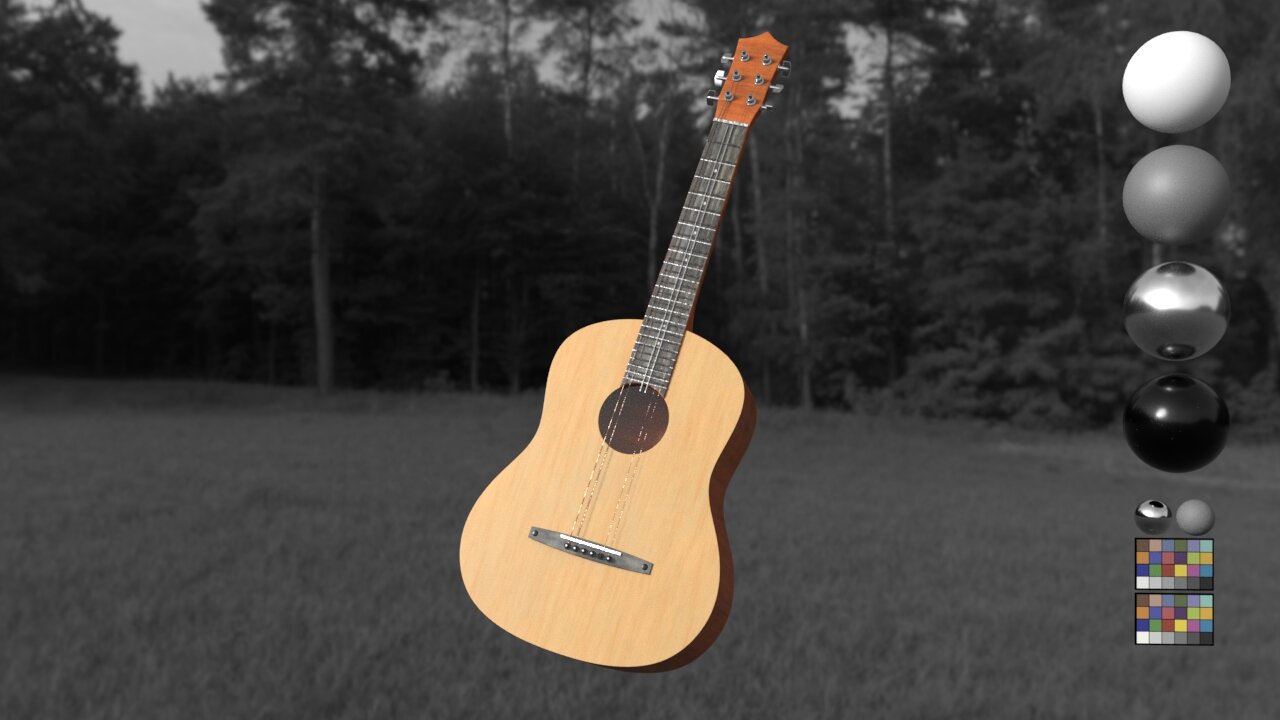
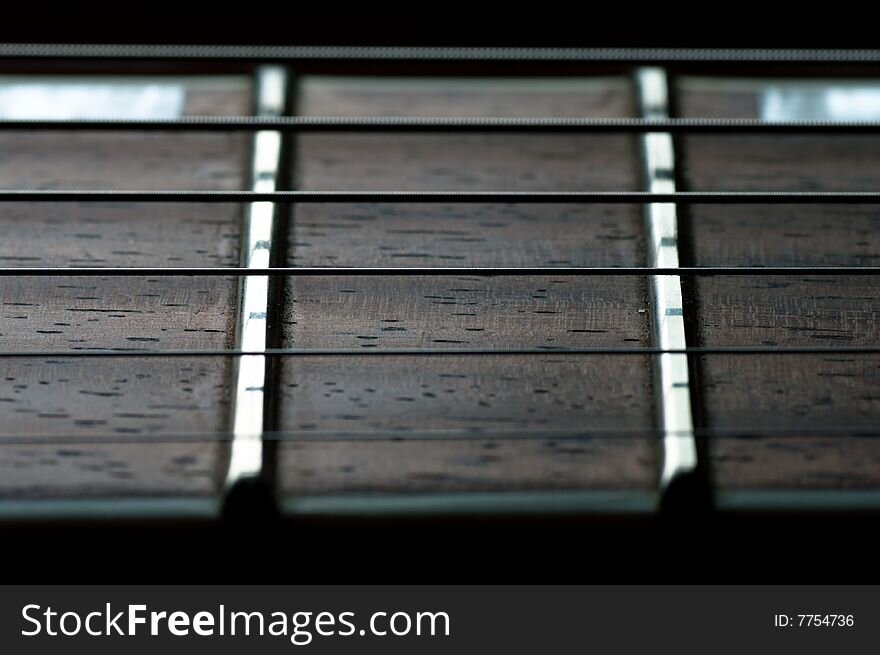
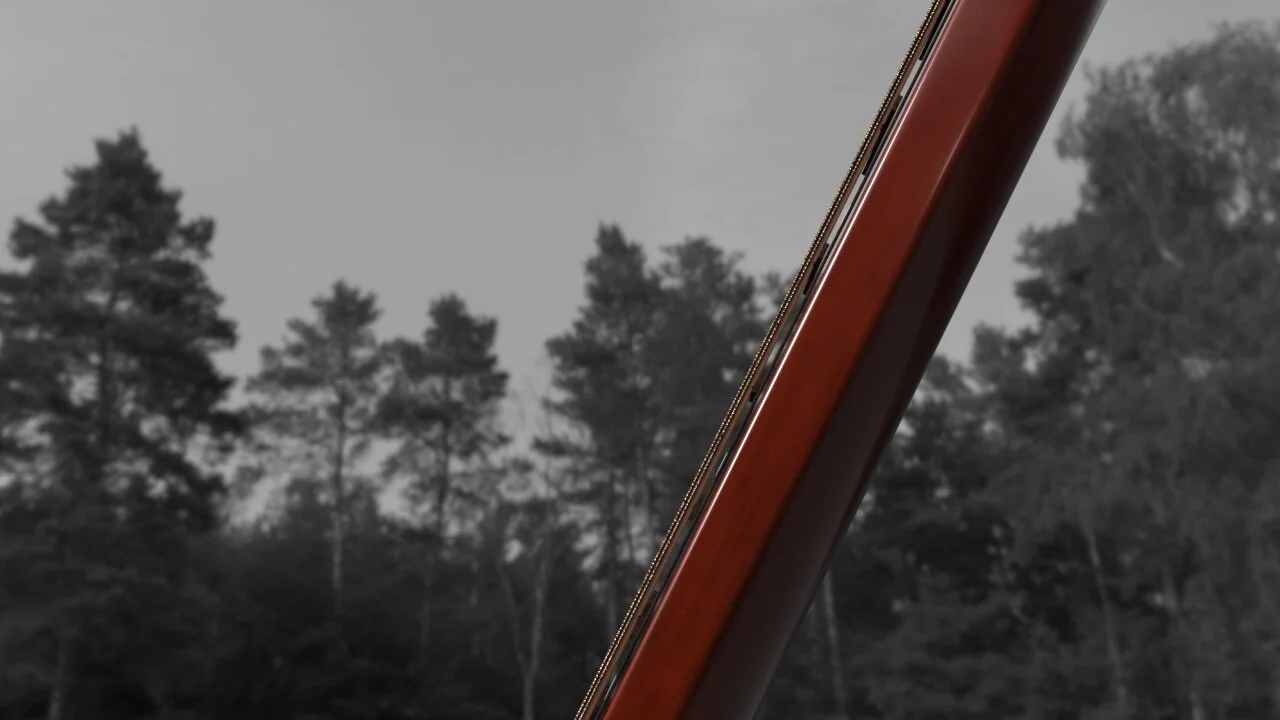
Guitar fret comparison
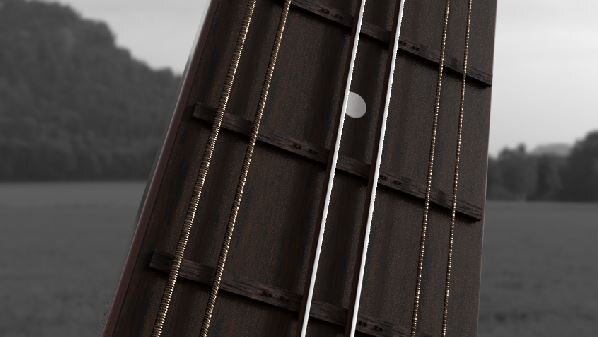
Original
We were thinking of changing the track wood as it doesn’t really seem to fit well with the guitar when we rendered them out
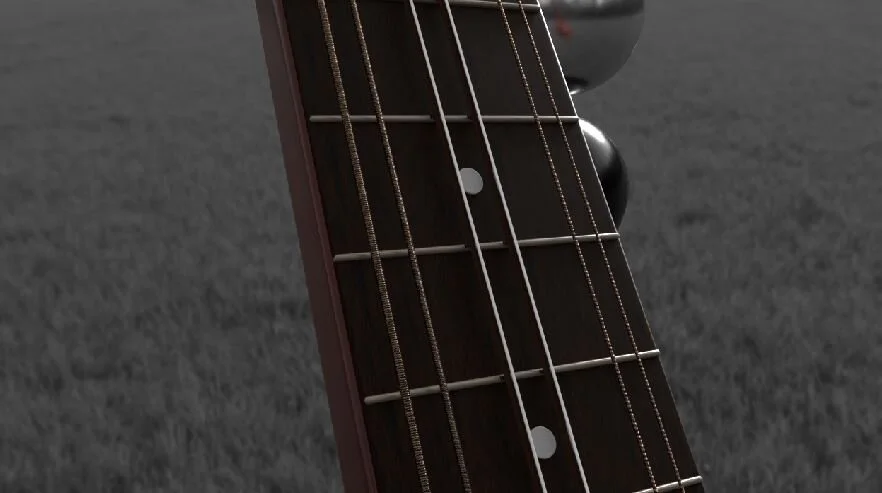
Metal frets
We thought about either changing the fret to be a metal piece like that of a guitar as there are also train tracks made of metal, and it fits well with the guitar. We also talked about making more adjustments to the track wood to see how it would come out.
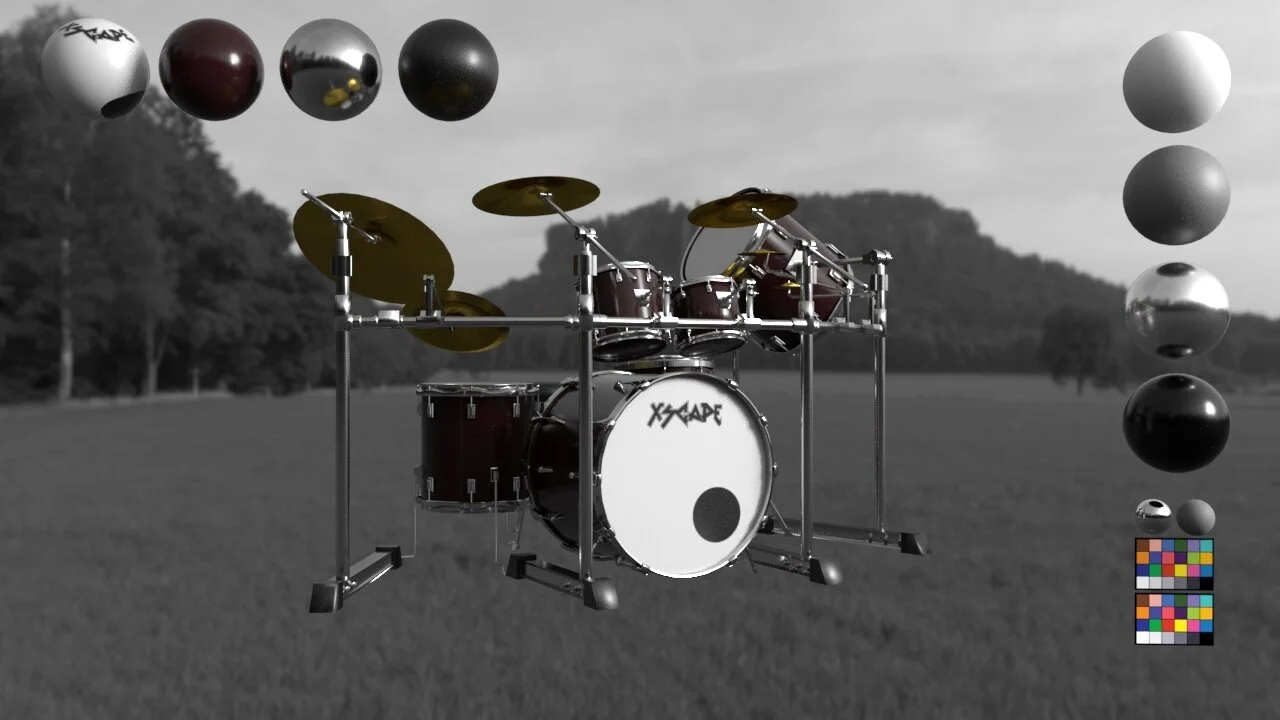
Drum Look Development
We then worked on the shaders for the drums as even though it was in the background, it was a key element of the scene. We really didn’t work too much on the shaders as the drums would be in the background and obscured mostly by lighting
For the front of the drums we looked at the font that would fit our logo and we also chose to use our team name as the logo.
Front drums logo

Photoshop
I then decided as it would be an easy texture, so we went into photoshop and made two photos for the front of the drums. to get this similar to the guitar, I made a UV snapshot to get the renders
Logo
We then rendered out the logo for the colors

Transmission
For the hole in the drum, I decided to add a white circle in the bottom and used alpha as luminance for when I added them into Arnold Maya
Week 4

Re-modeling Guitar string
So from the critic, we had from the last class I went and modeled the strings through Houdini as it would be a lot easier to do so than in Maya.

I then went into the bump of the wood and created a texture in Maya through the multiply and fractal nodes
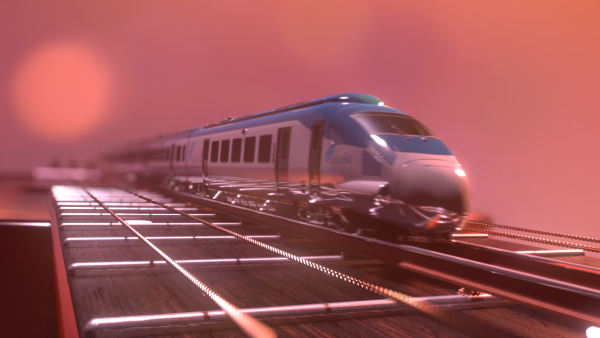
I then took all of the guitar elements and added them to shot 1 with the newly updated train with new lighting and the bokeh effect.
Week 5
First Wire test
I decided to add cables to the scene so that it would break up the floor so it doesn’t look too unrealistic
I also changed the lighting so that it would fit in with shot 2 better, and added a blue hue so for the shadows
Second Wire test
Then because the shot feels unsymmetrical with lots of movement on the right of the screen I also added another wire on the left to balance the shot

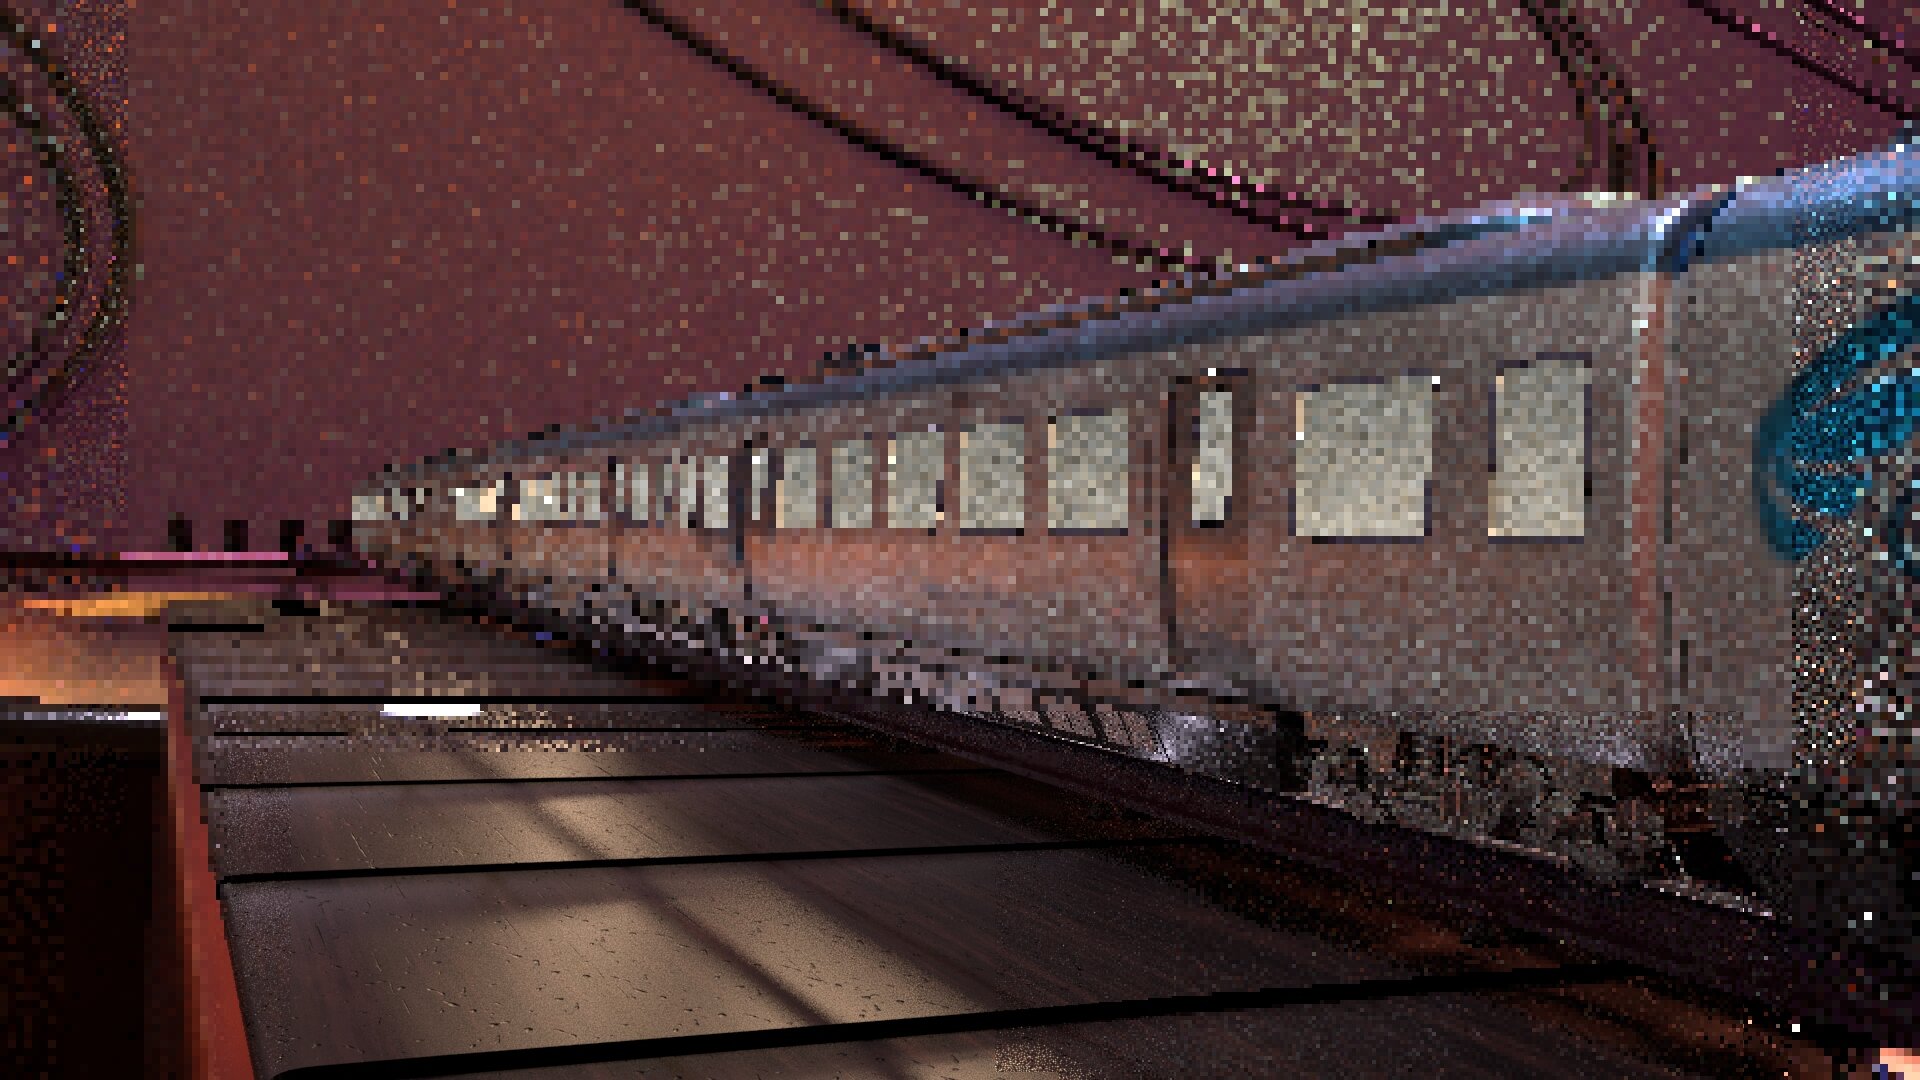
Then I added the updated train shader and model into my scene allowing the light inside the train to glow.
But when because there was a bit of an issue getting the train in the train seems to have a problem with the specularity
.
I then textured the amp assets and added an emission onto the buttons

Feedback
No Confetti
Because of adding the cables to the background, the bokeh effect seems to not be working anymore with the shot.
With Confetti
Would it be better to just leave the bokeh in and have a hint of these bokeh effects or just leave them out?
Week 6
For Week 6 we mainly optimized and added a few fixes onto the scene
Changing specular for highlights
For the highlights for the frets, the string, and the drums we tried to reduce the specular so that the bokeh isn’t as strong for those specular areas.
Fixes on train
Then we tried to add variation within the train windows and for shot 1 specifically, I matched the train specular to the rest of the sequence
Week 7
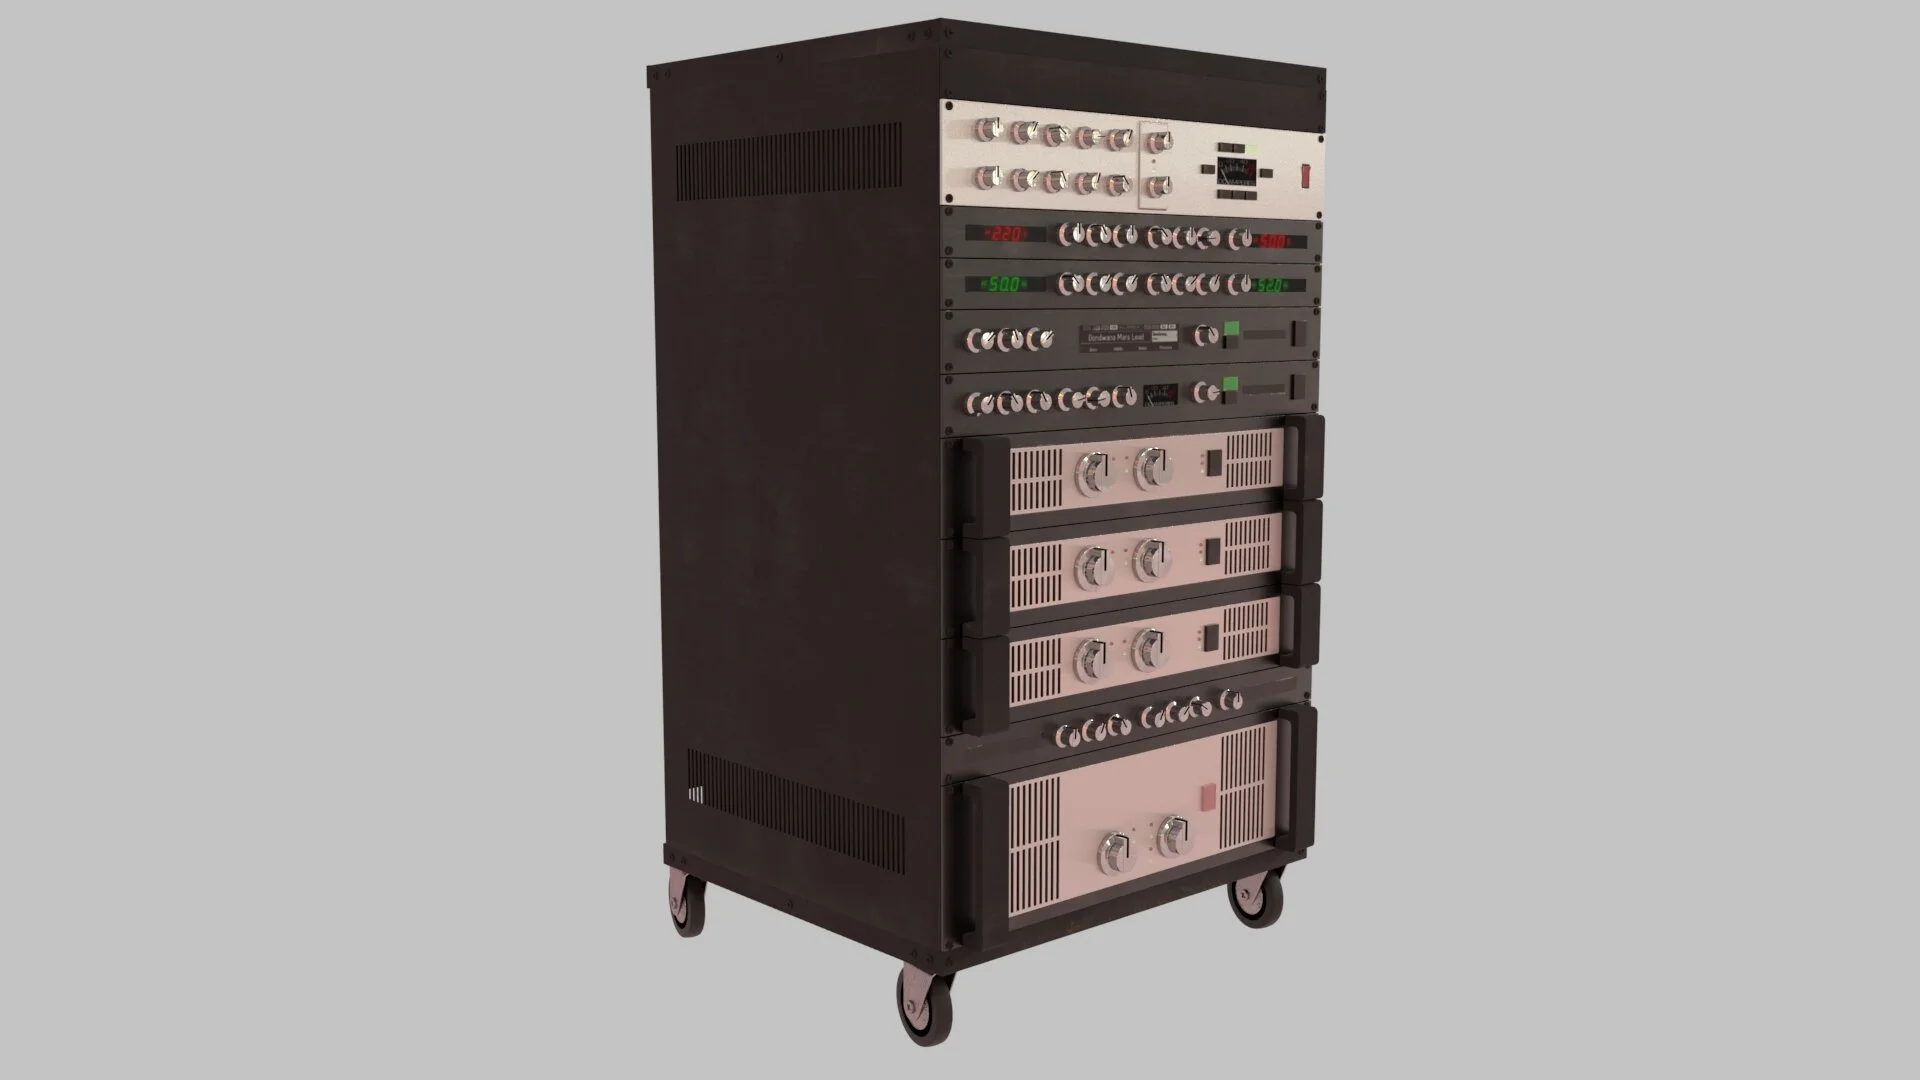
Fixes on Amp
To fix the amp I made the metal parts on the front panel a raw file with alpha is luminance to get the metal look from the substance painter.
I then lowered the bump intensity of the map to get the amp to not be so bumpy
Separating exrs
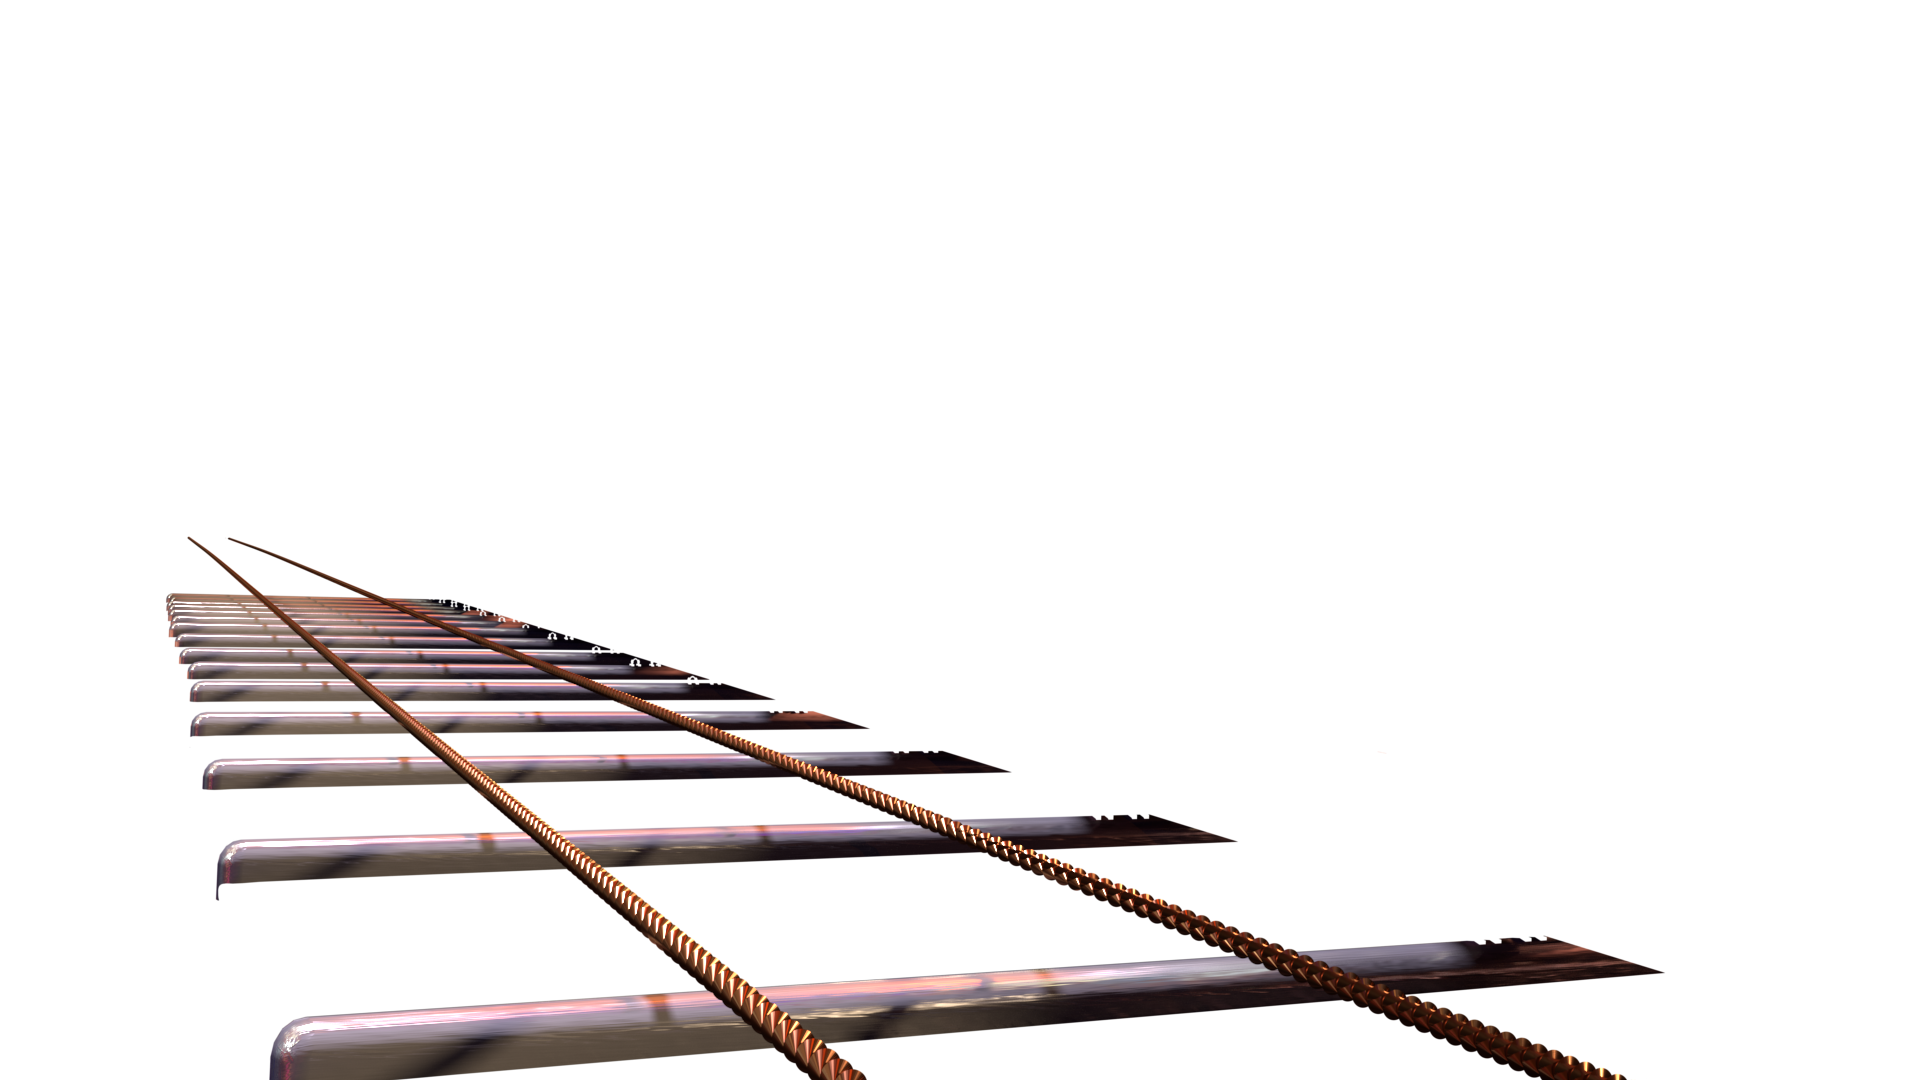
Guitar fret and string
Because the guitar strings and the frets had the most noise problem I put them in a separate layer and brought up the samples for that layer to get the renders out

Train and guitar
For the train, I re-rendered everything and changed the samples a bit to optimize for the farm. I think that because of the way I rendered it the z channel is missing so I will be instead of what it is I will try to do it by setting primary visibility off so that the z channel will not get the alpha cut
Mask
I then created a mask layer for the train and the guitar so that they can be separated from the background
Testing to get Bump and roughness
Bump 0.003
Roughness 0.45
Bump 0.003
Roughness 0.36
Bump 0.003
Roughness 0.64
Additional detail
Added Anistrophy and another bump map that allows the wood grain to show more