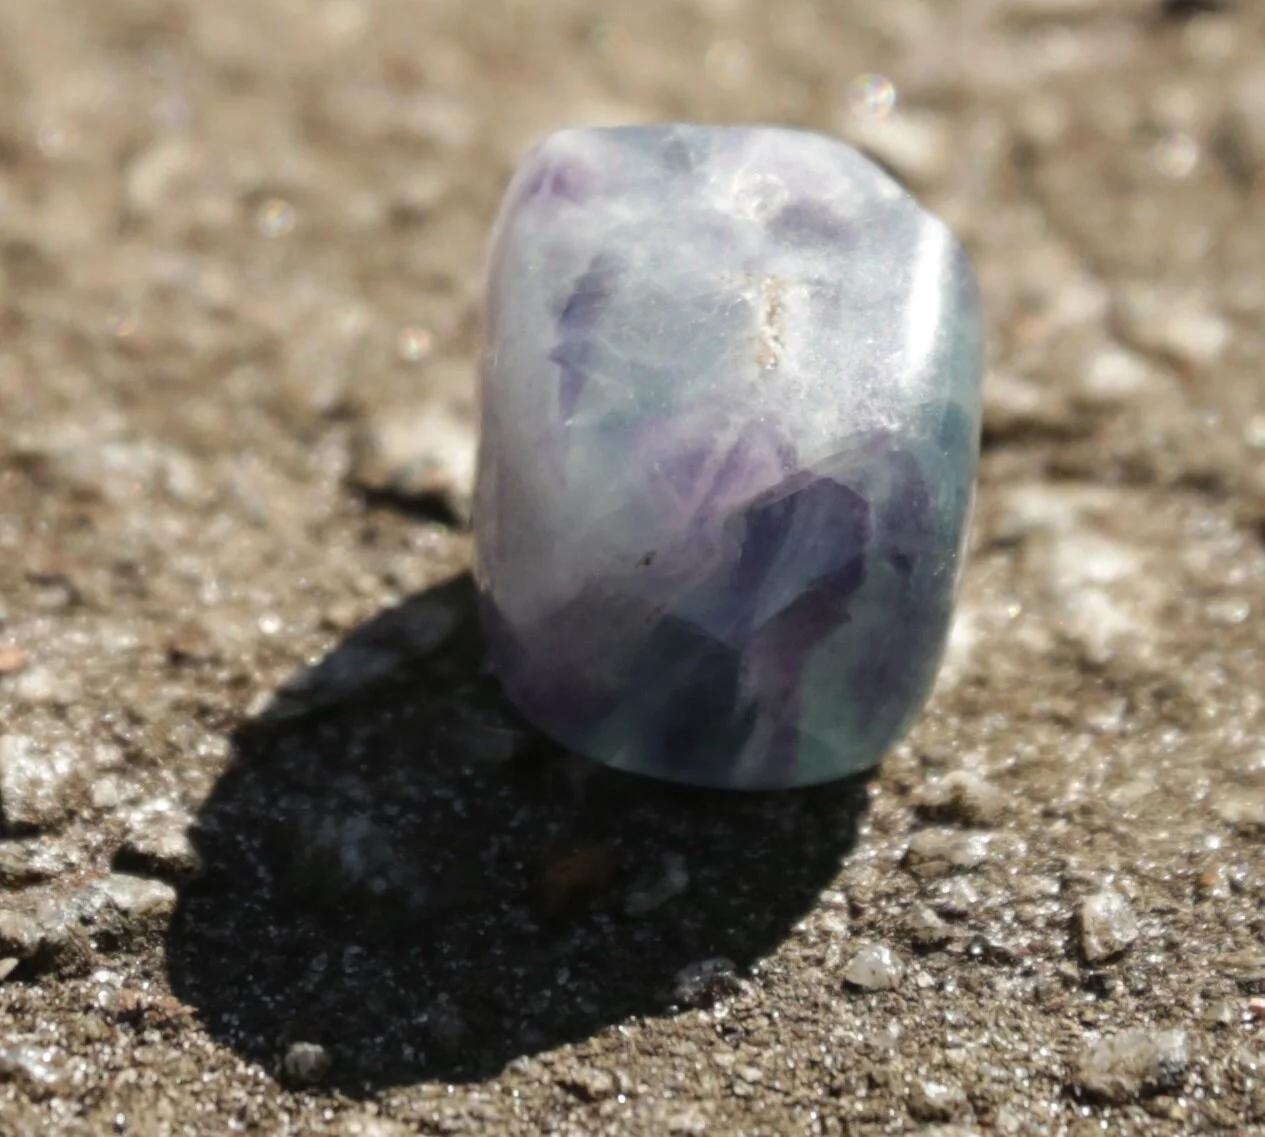
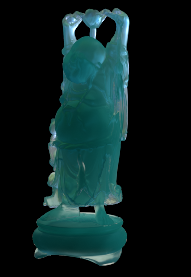
Buddha Rock
For Project 2 What I did was took a rock from a rock collection and see if I could recreate the material using Maya and composite the material using nuke.
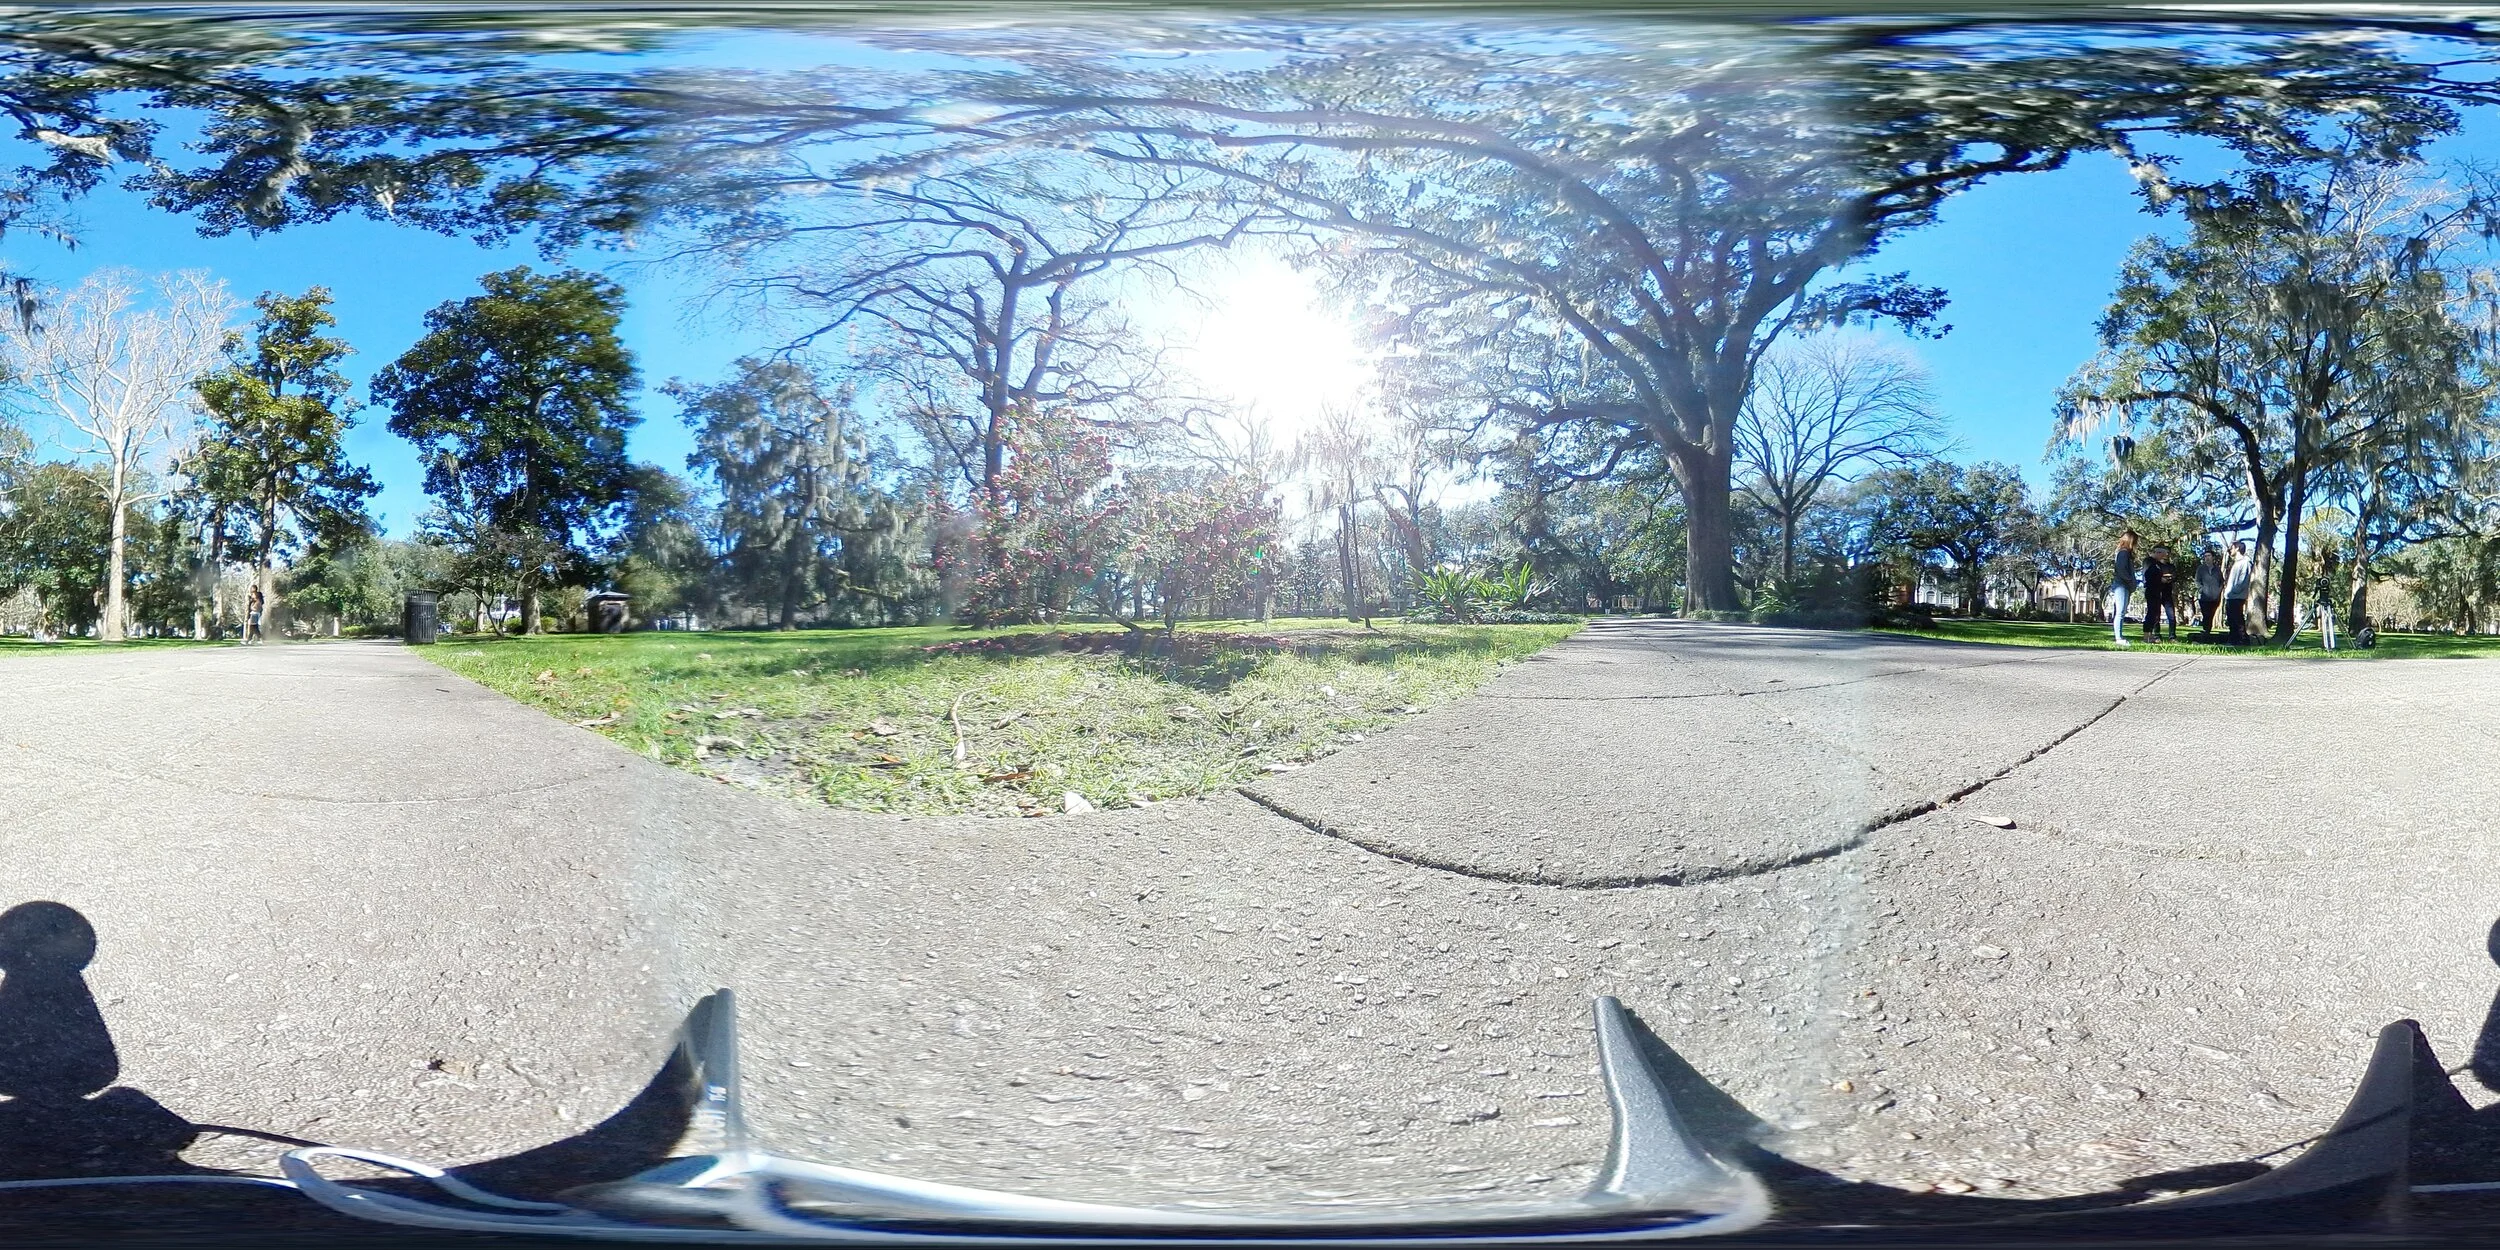
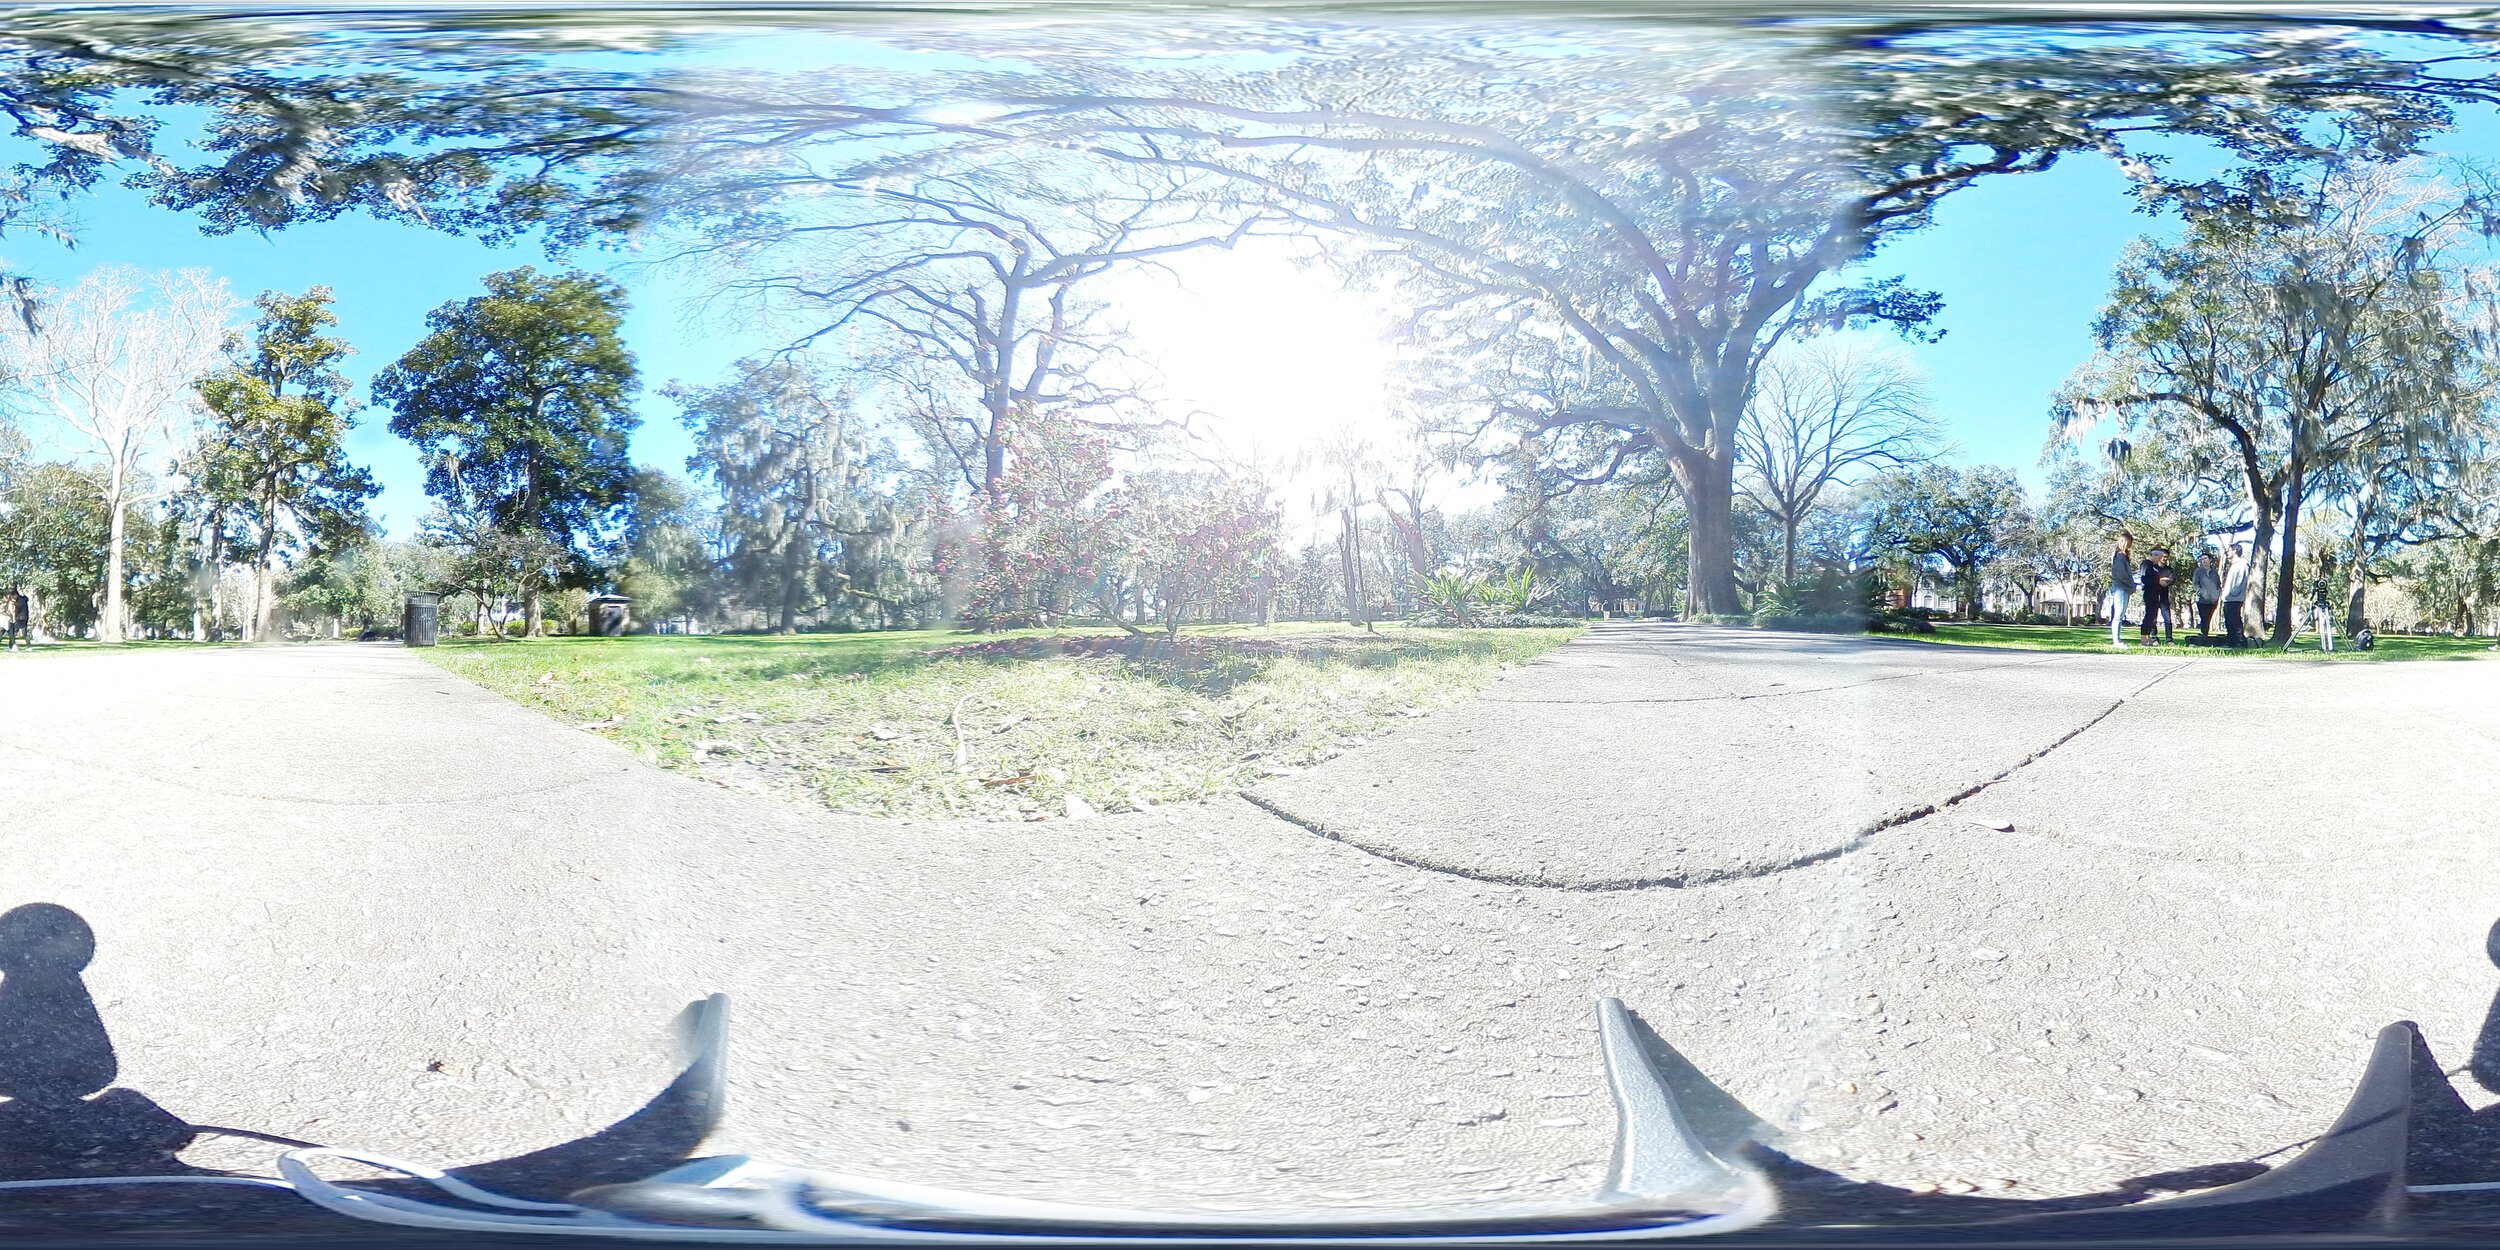
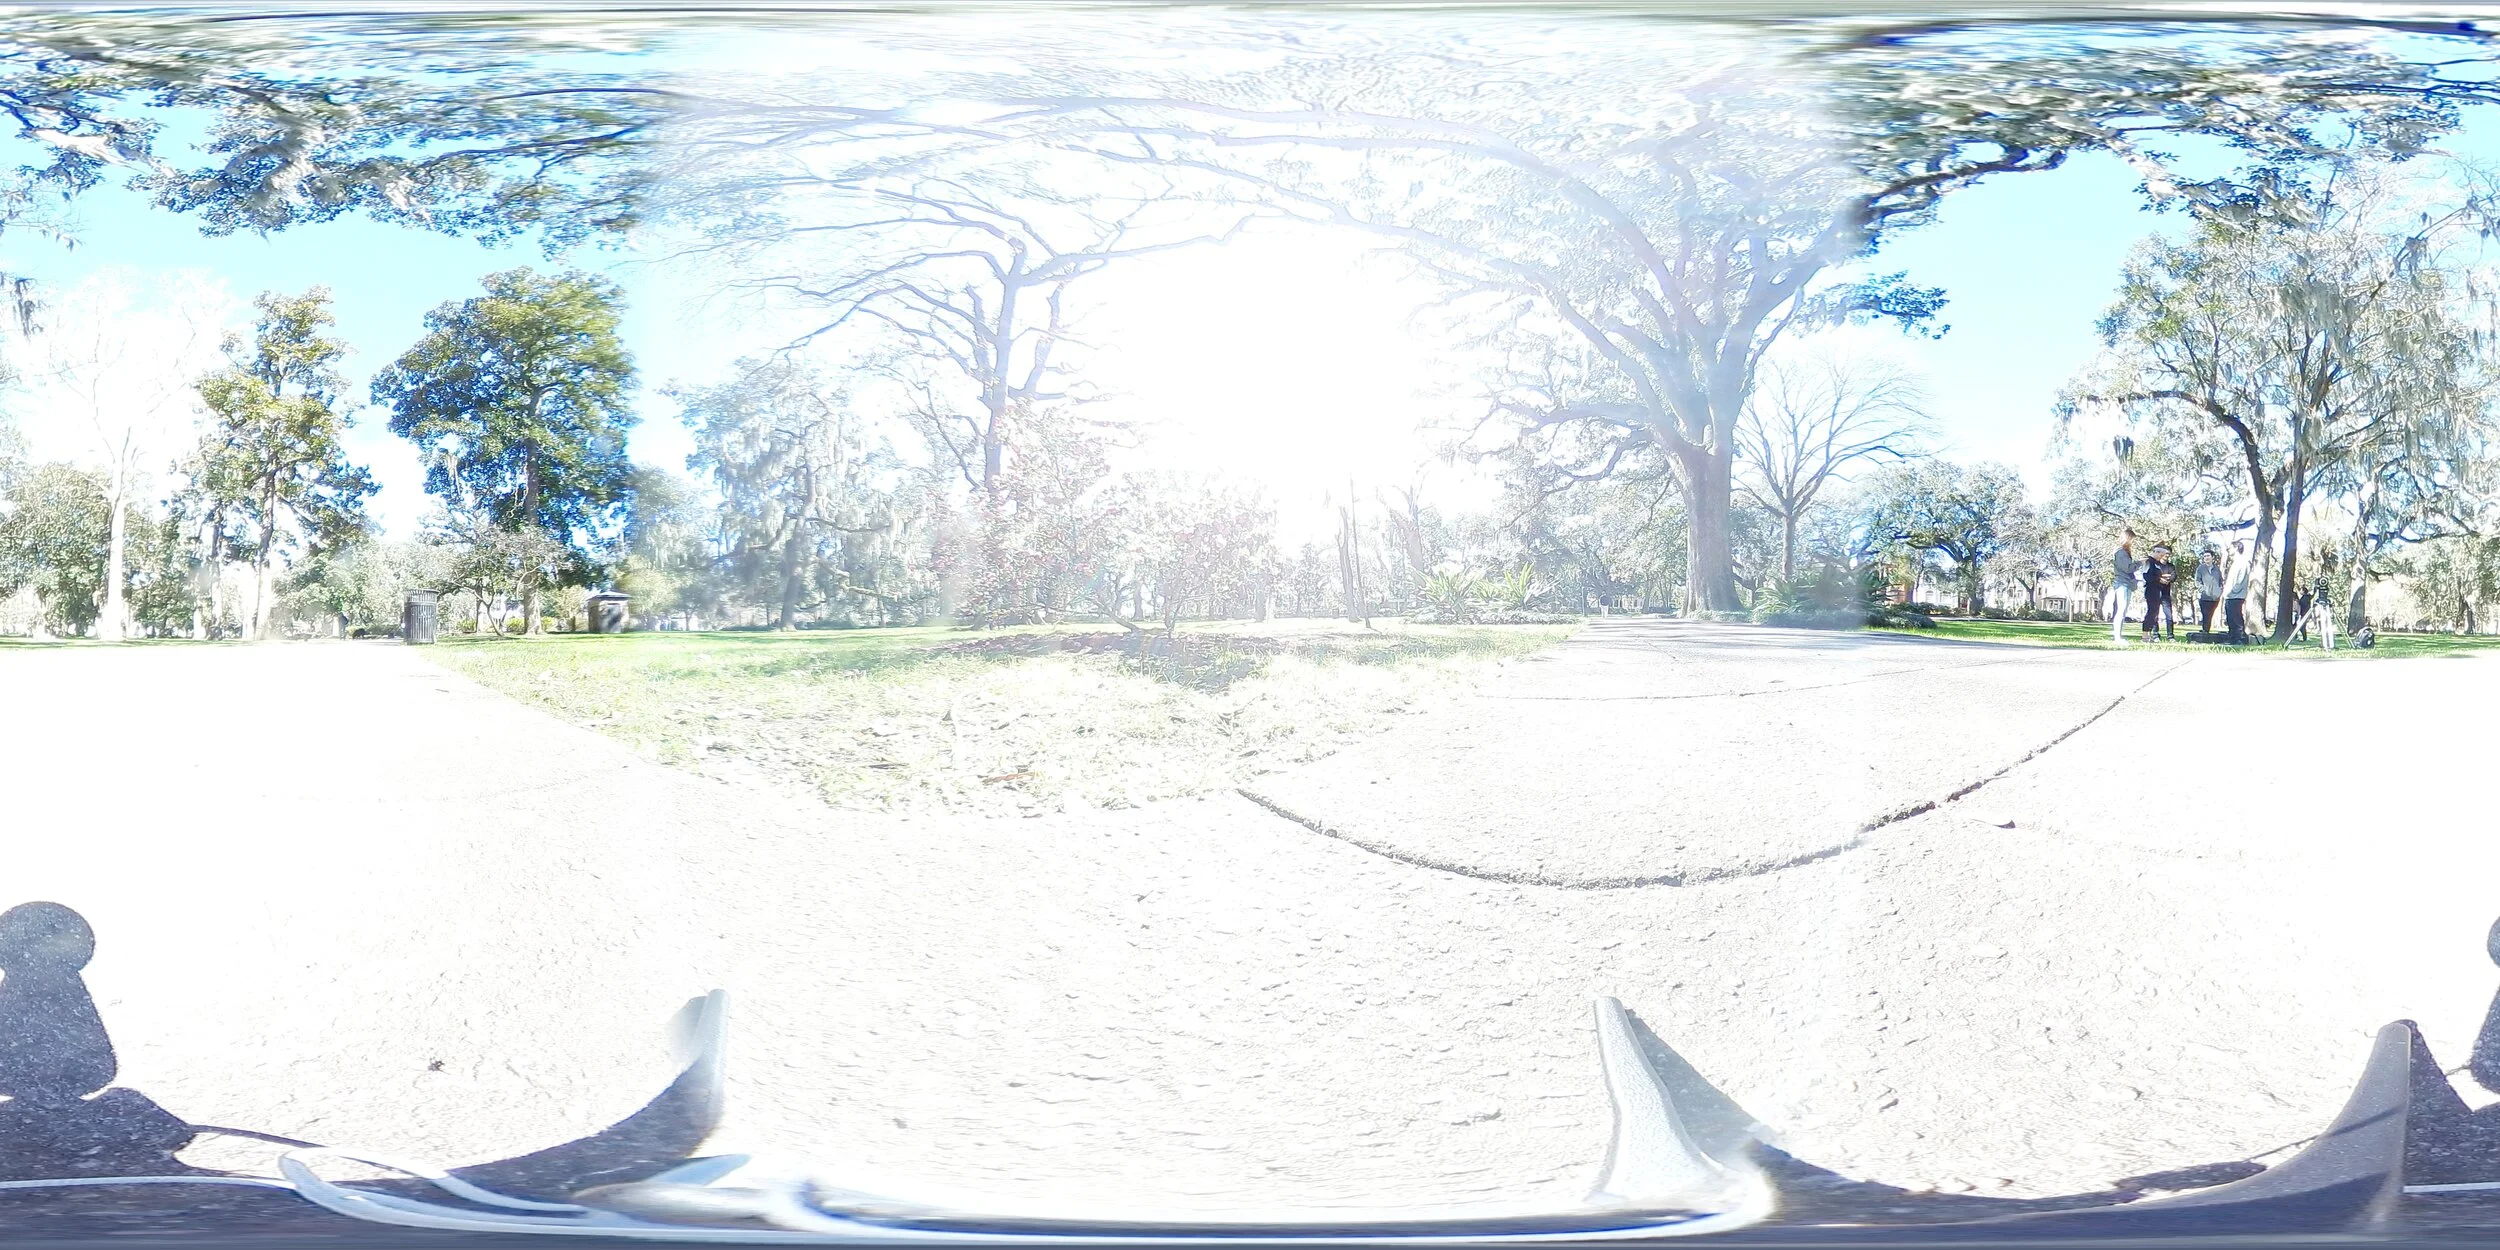
Taking Photos Outside
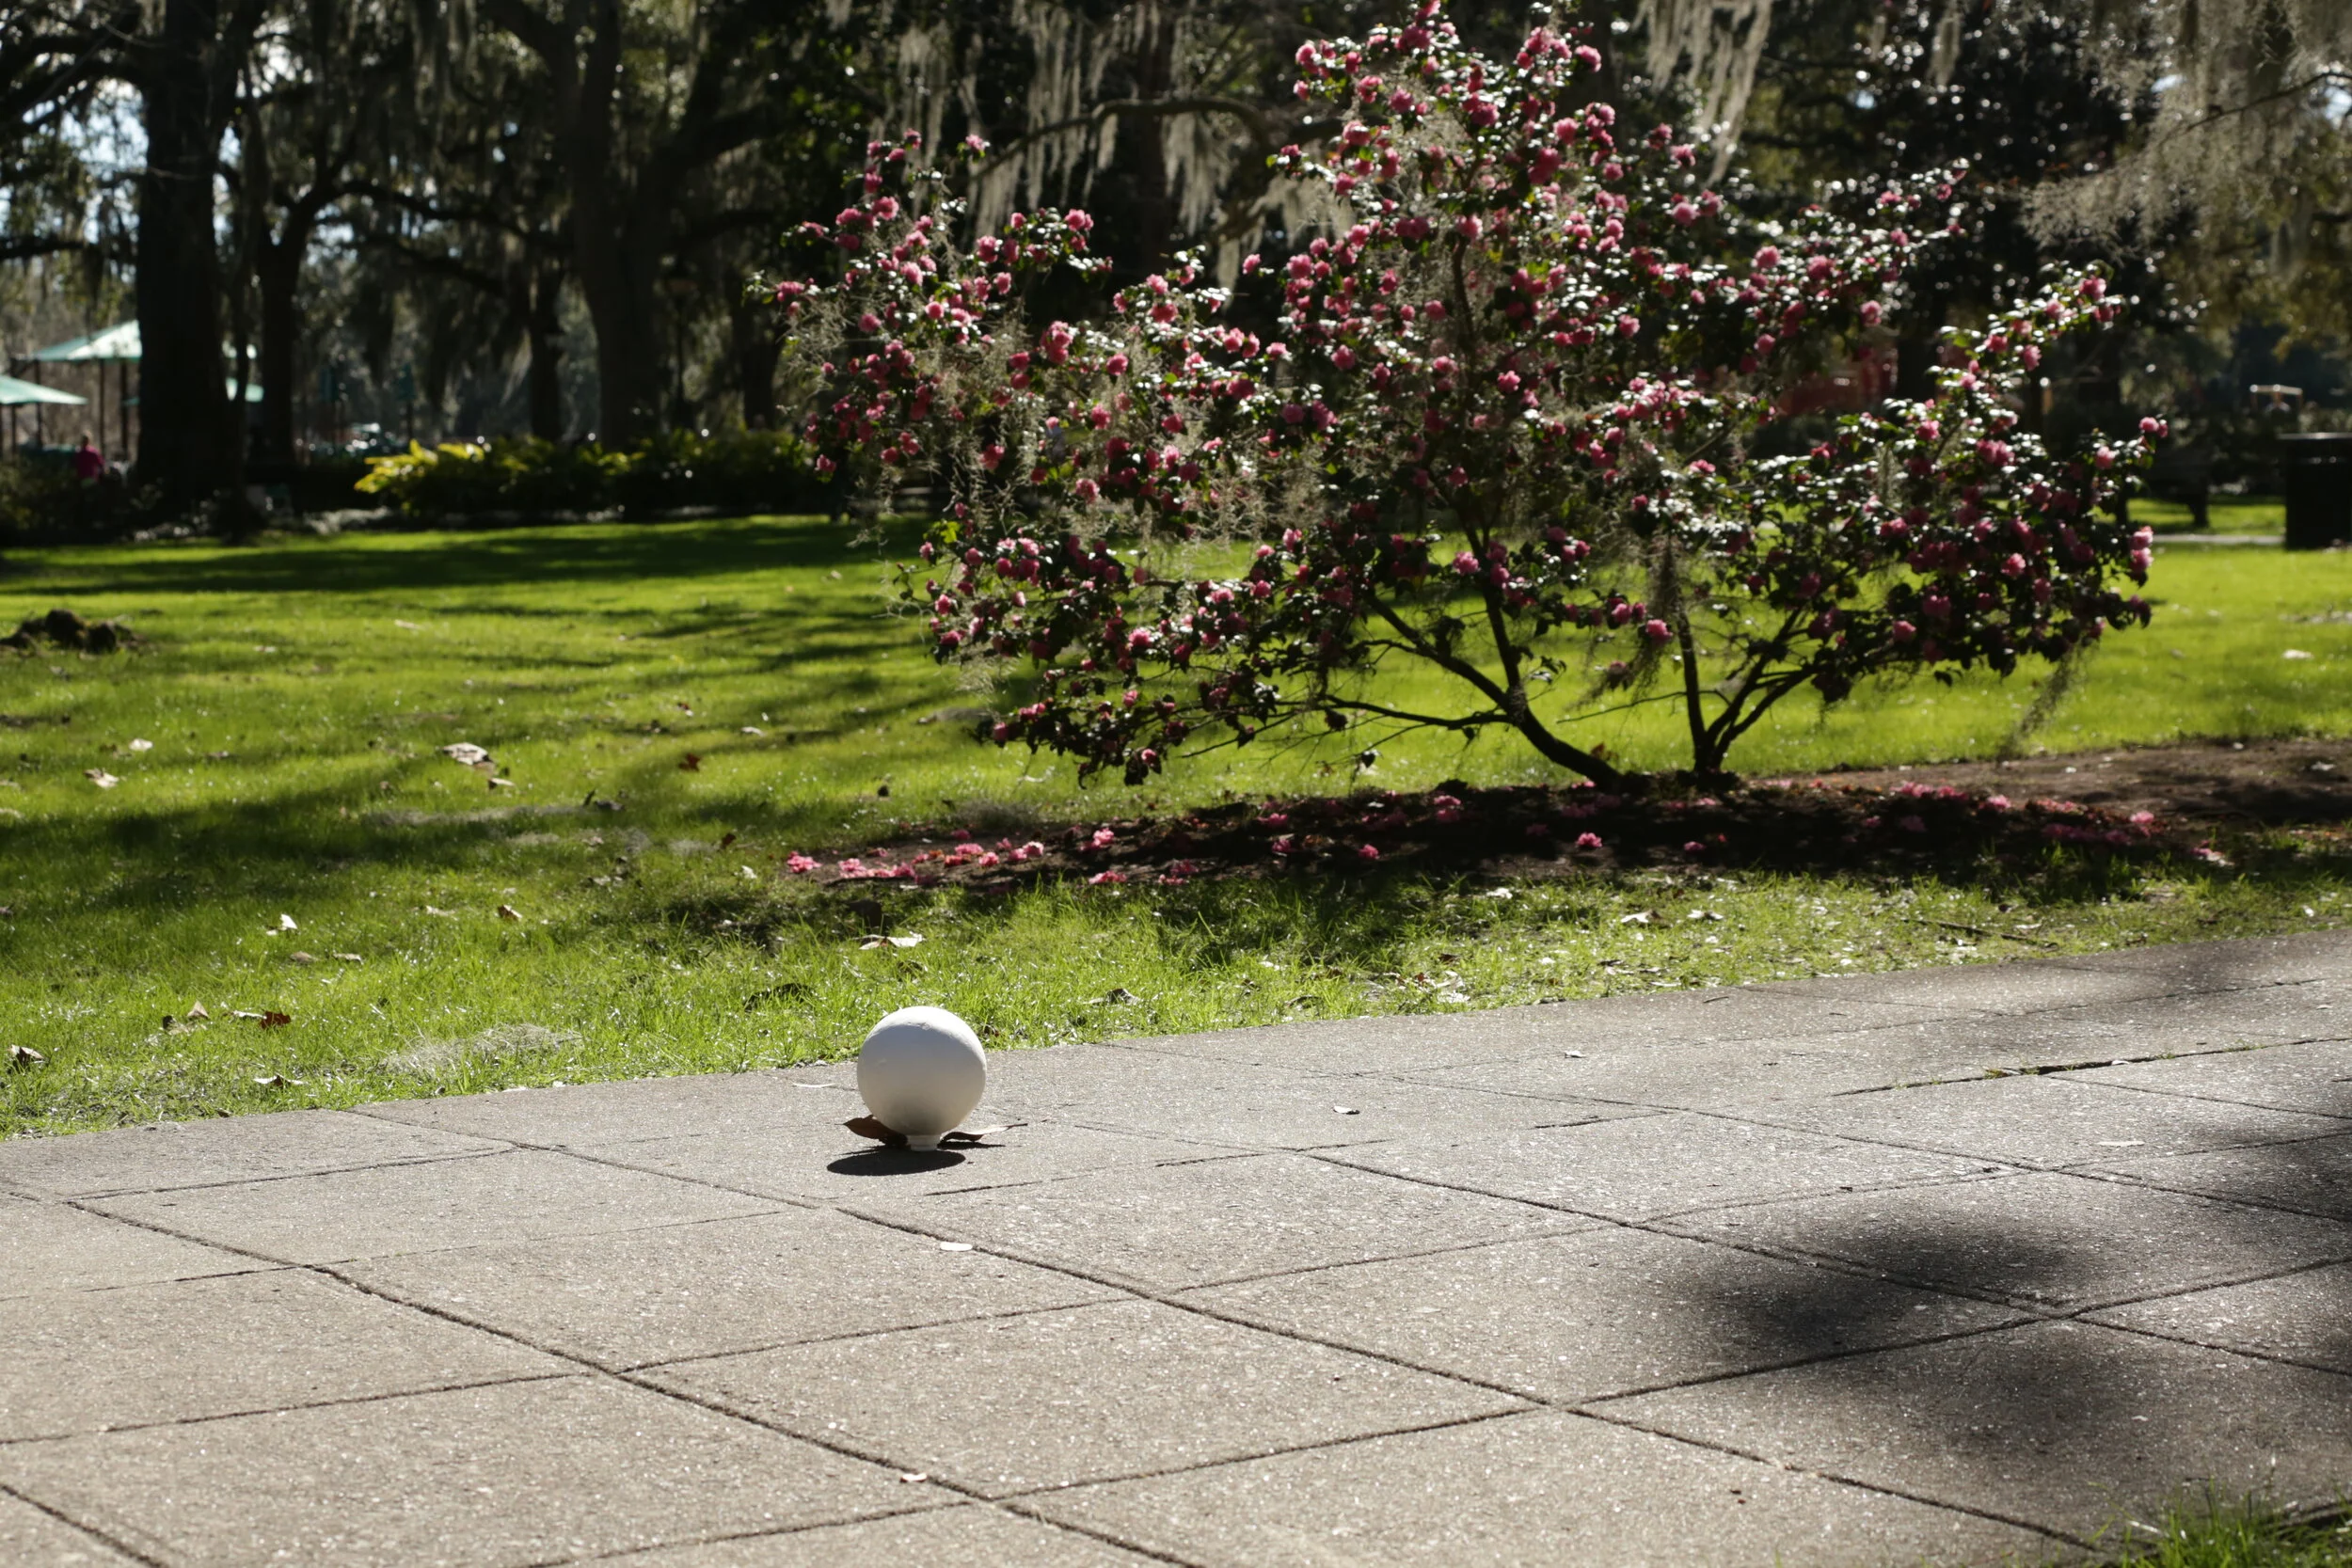
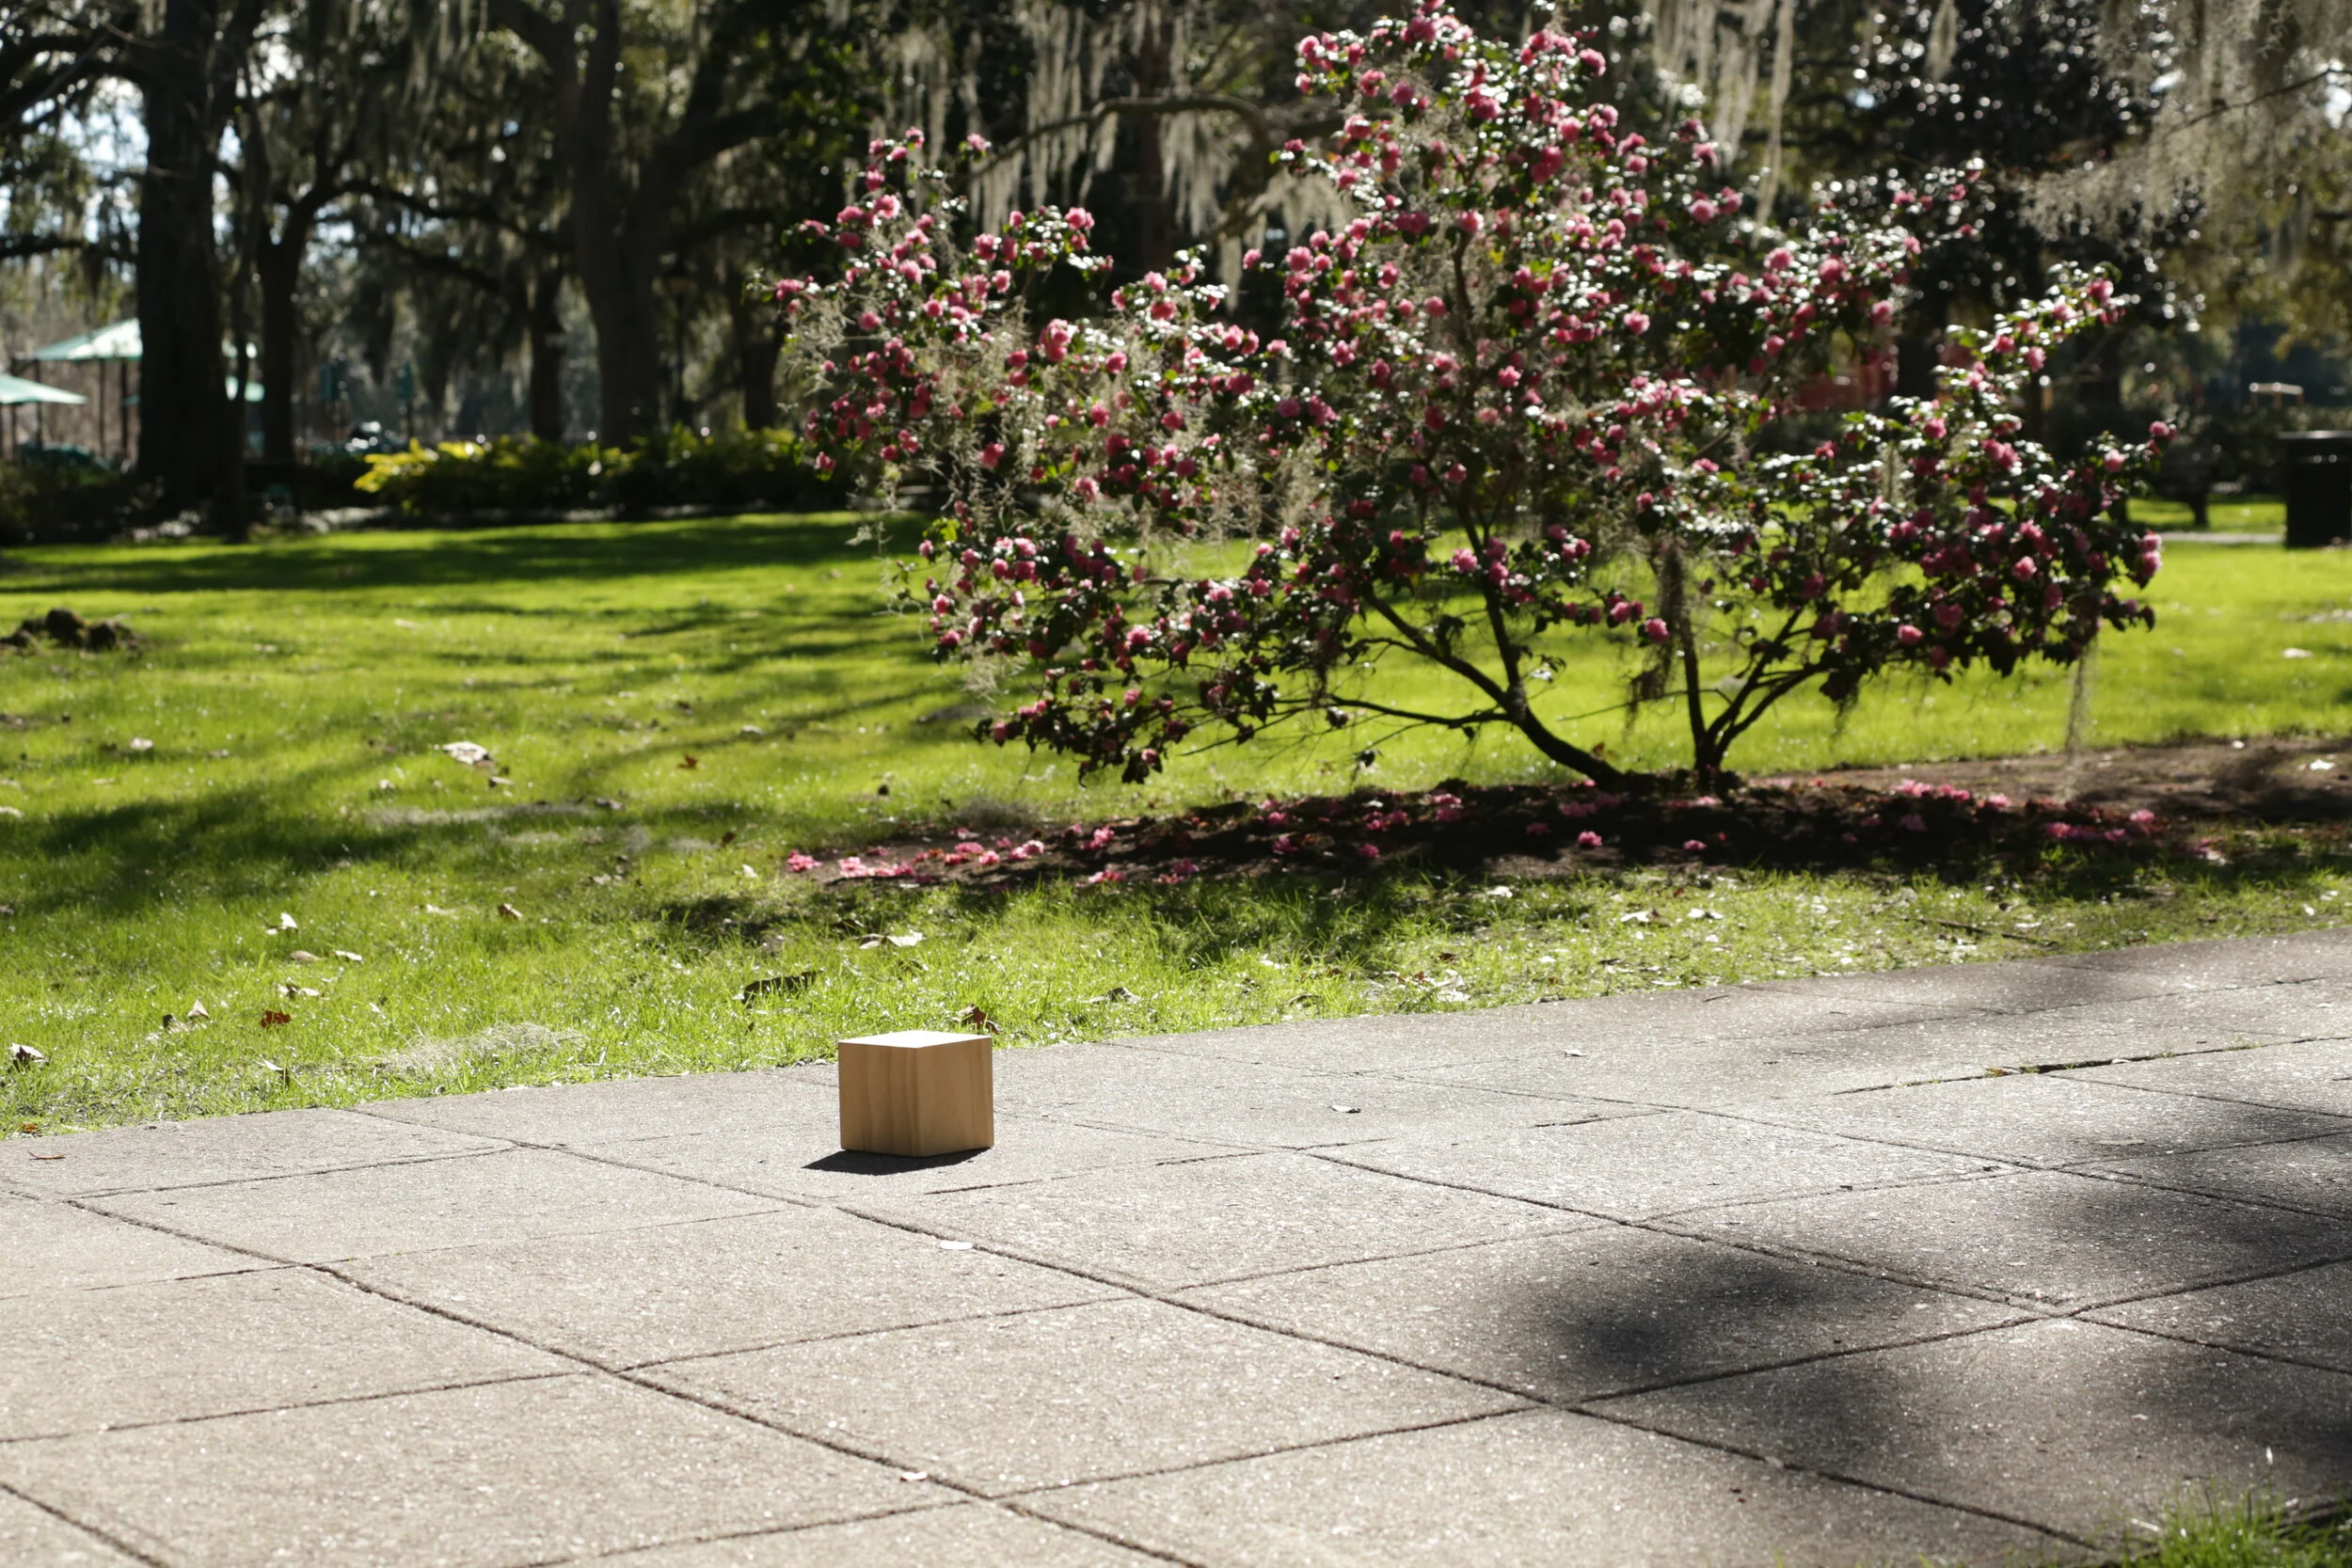
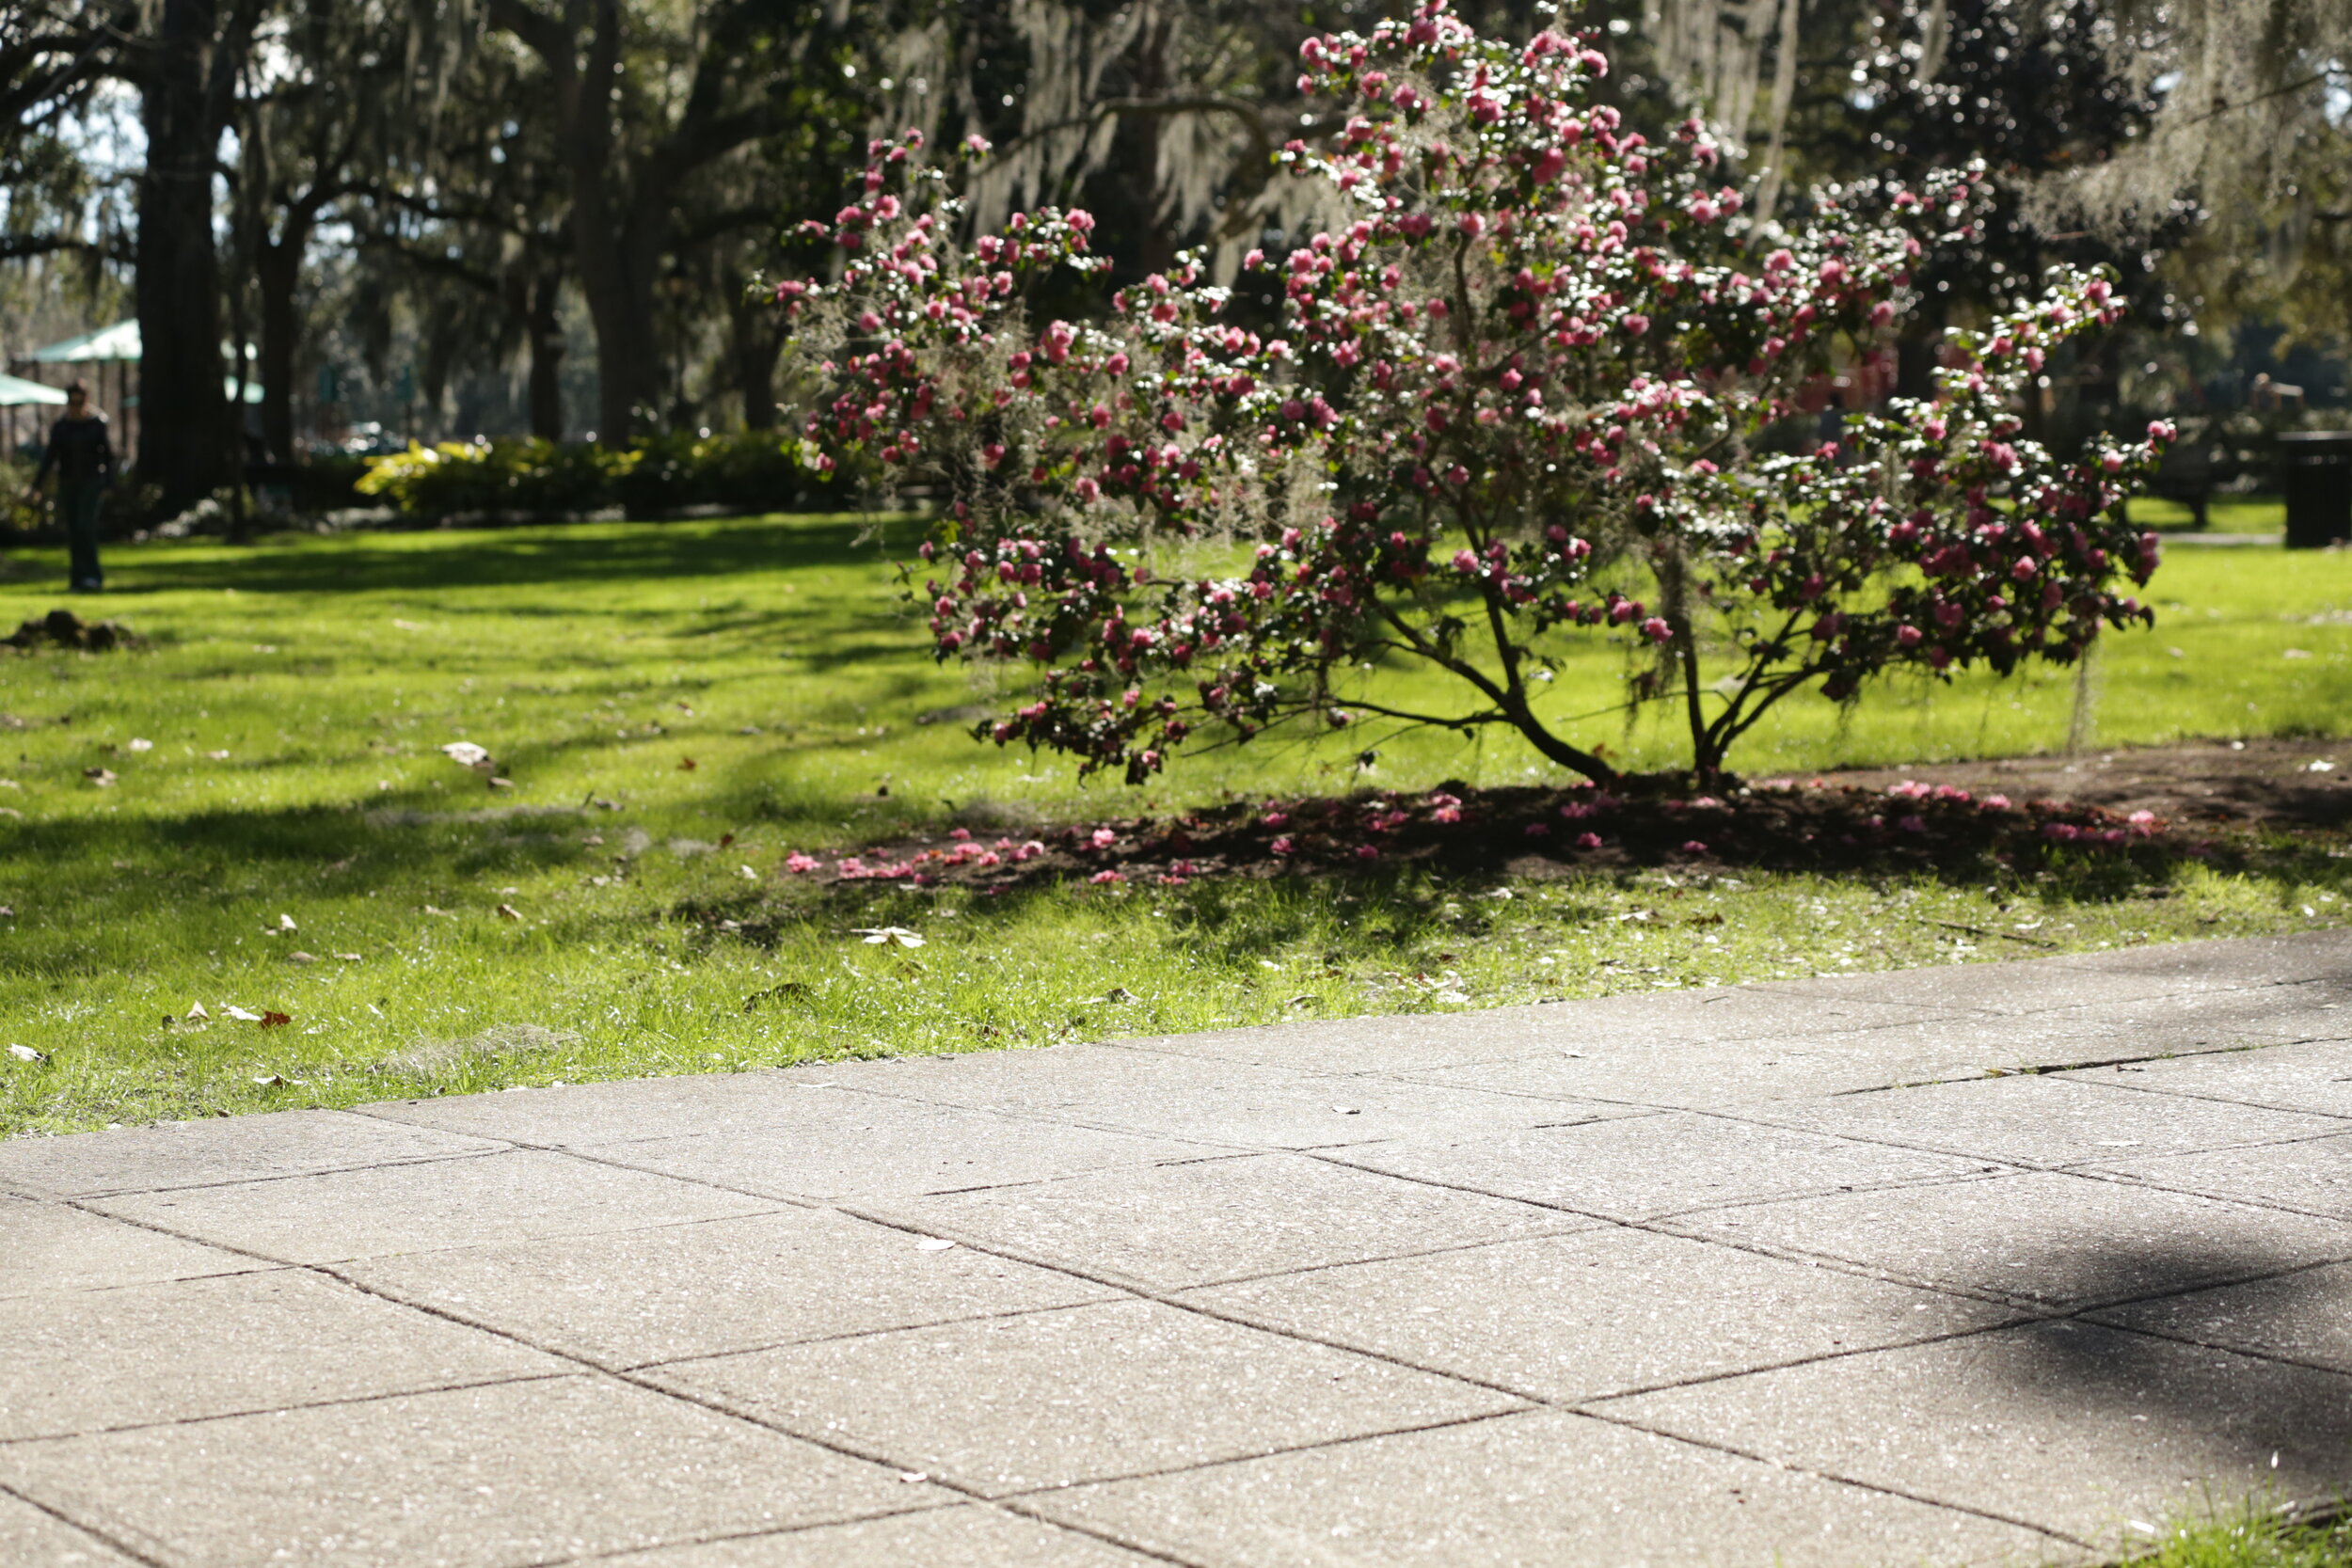
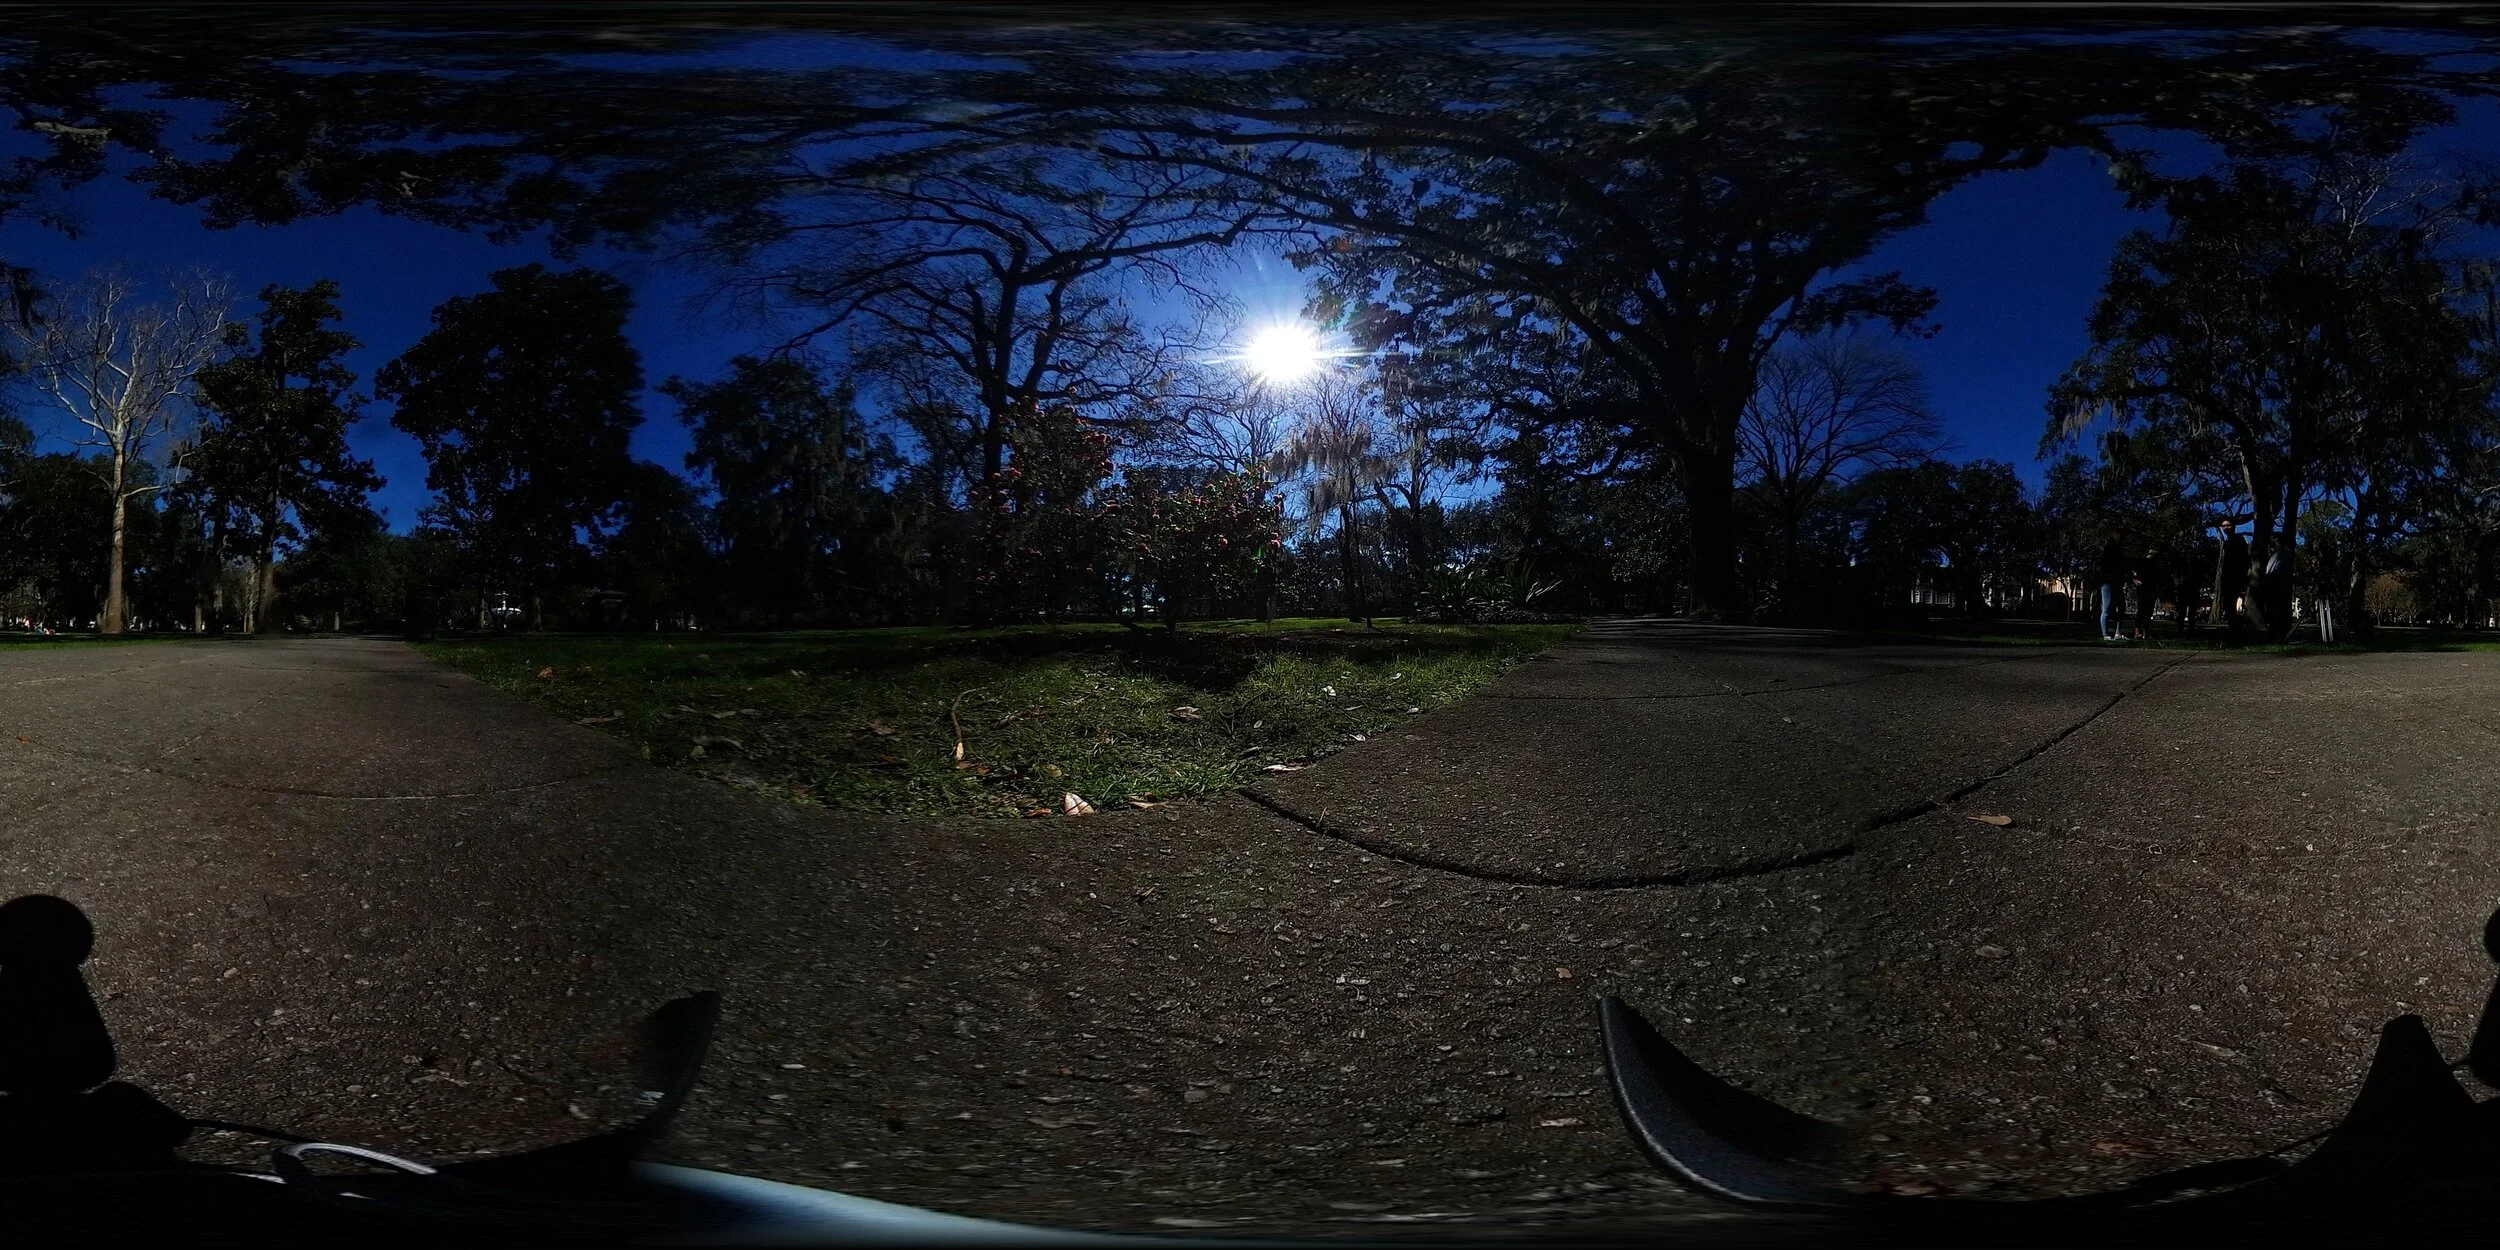
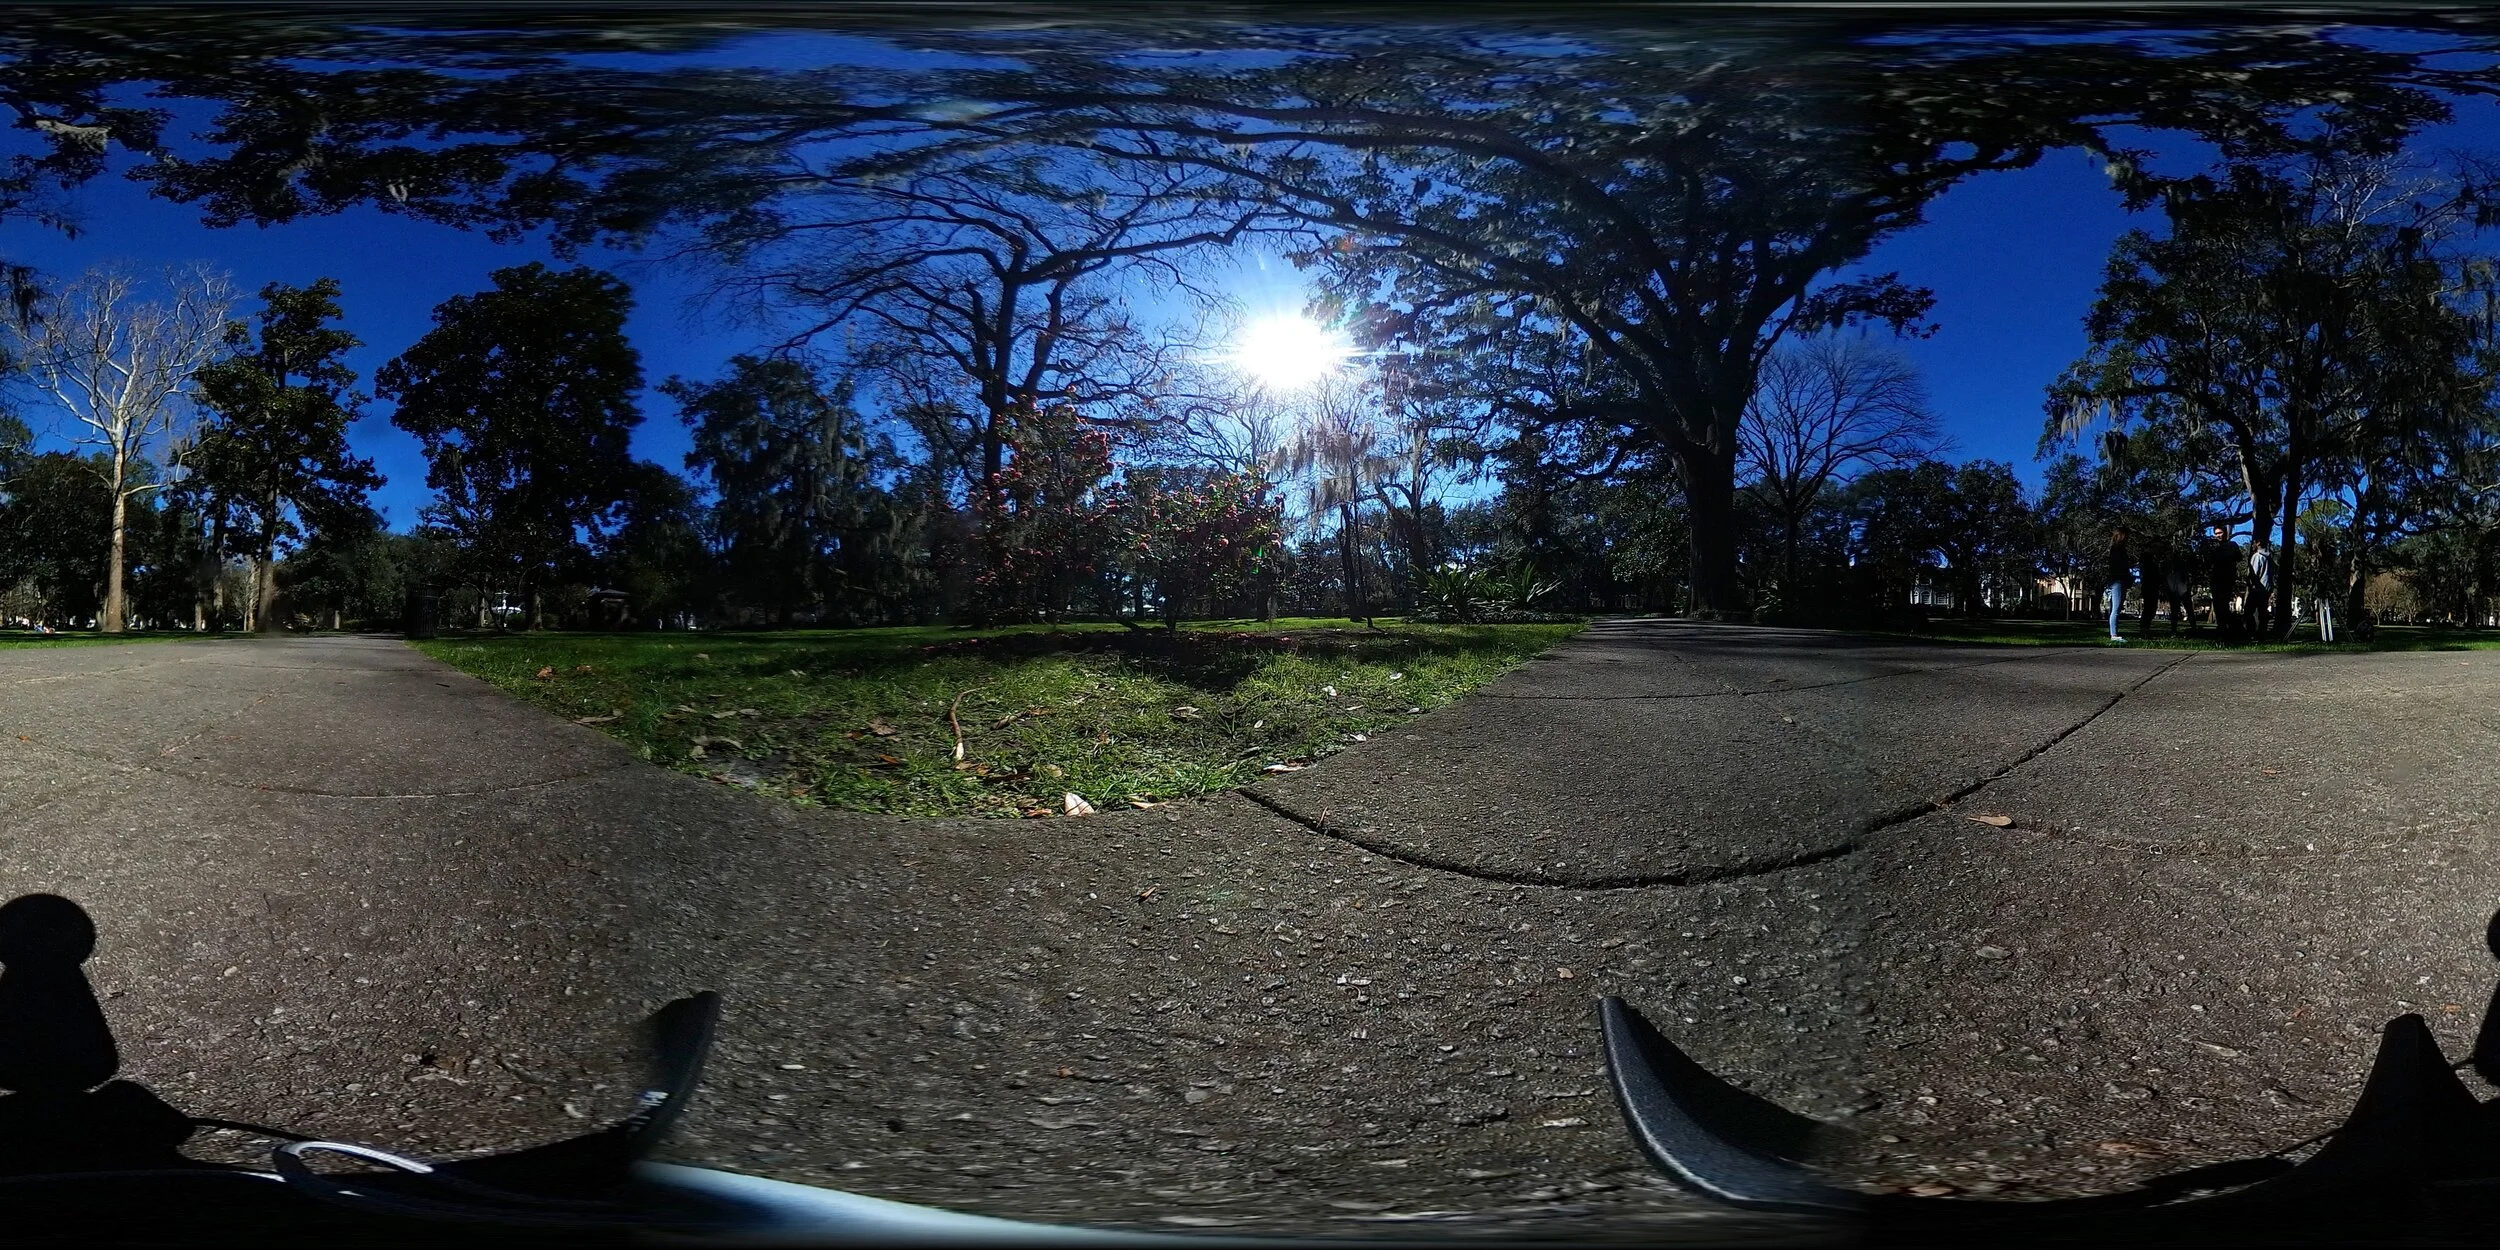
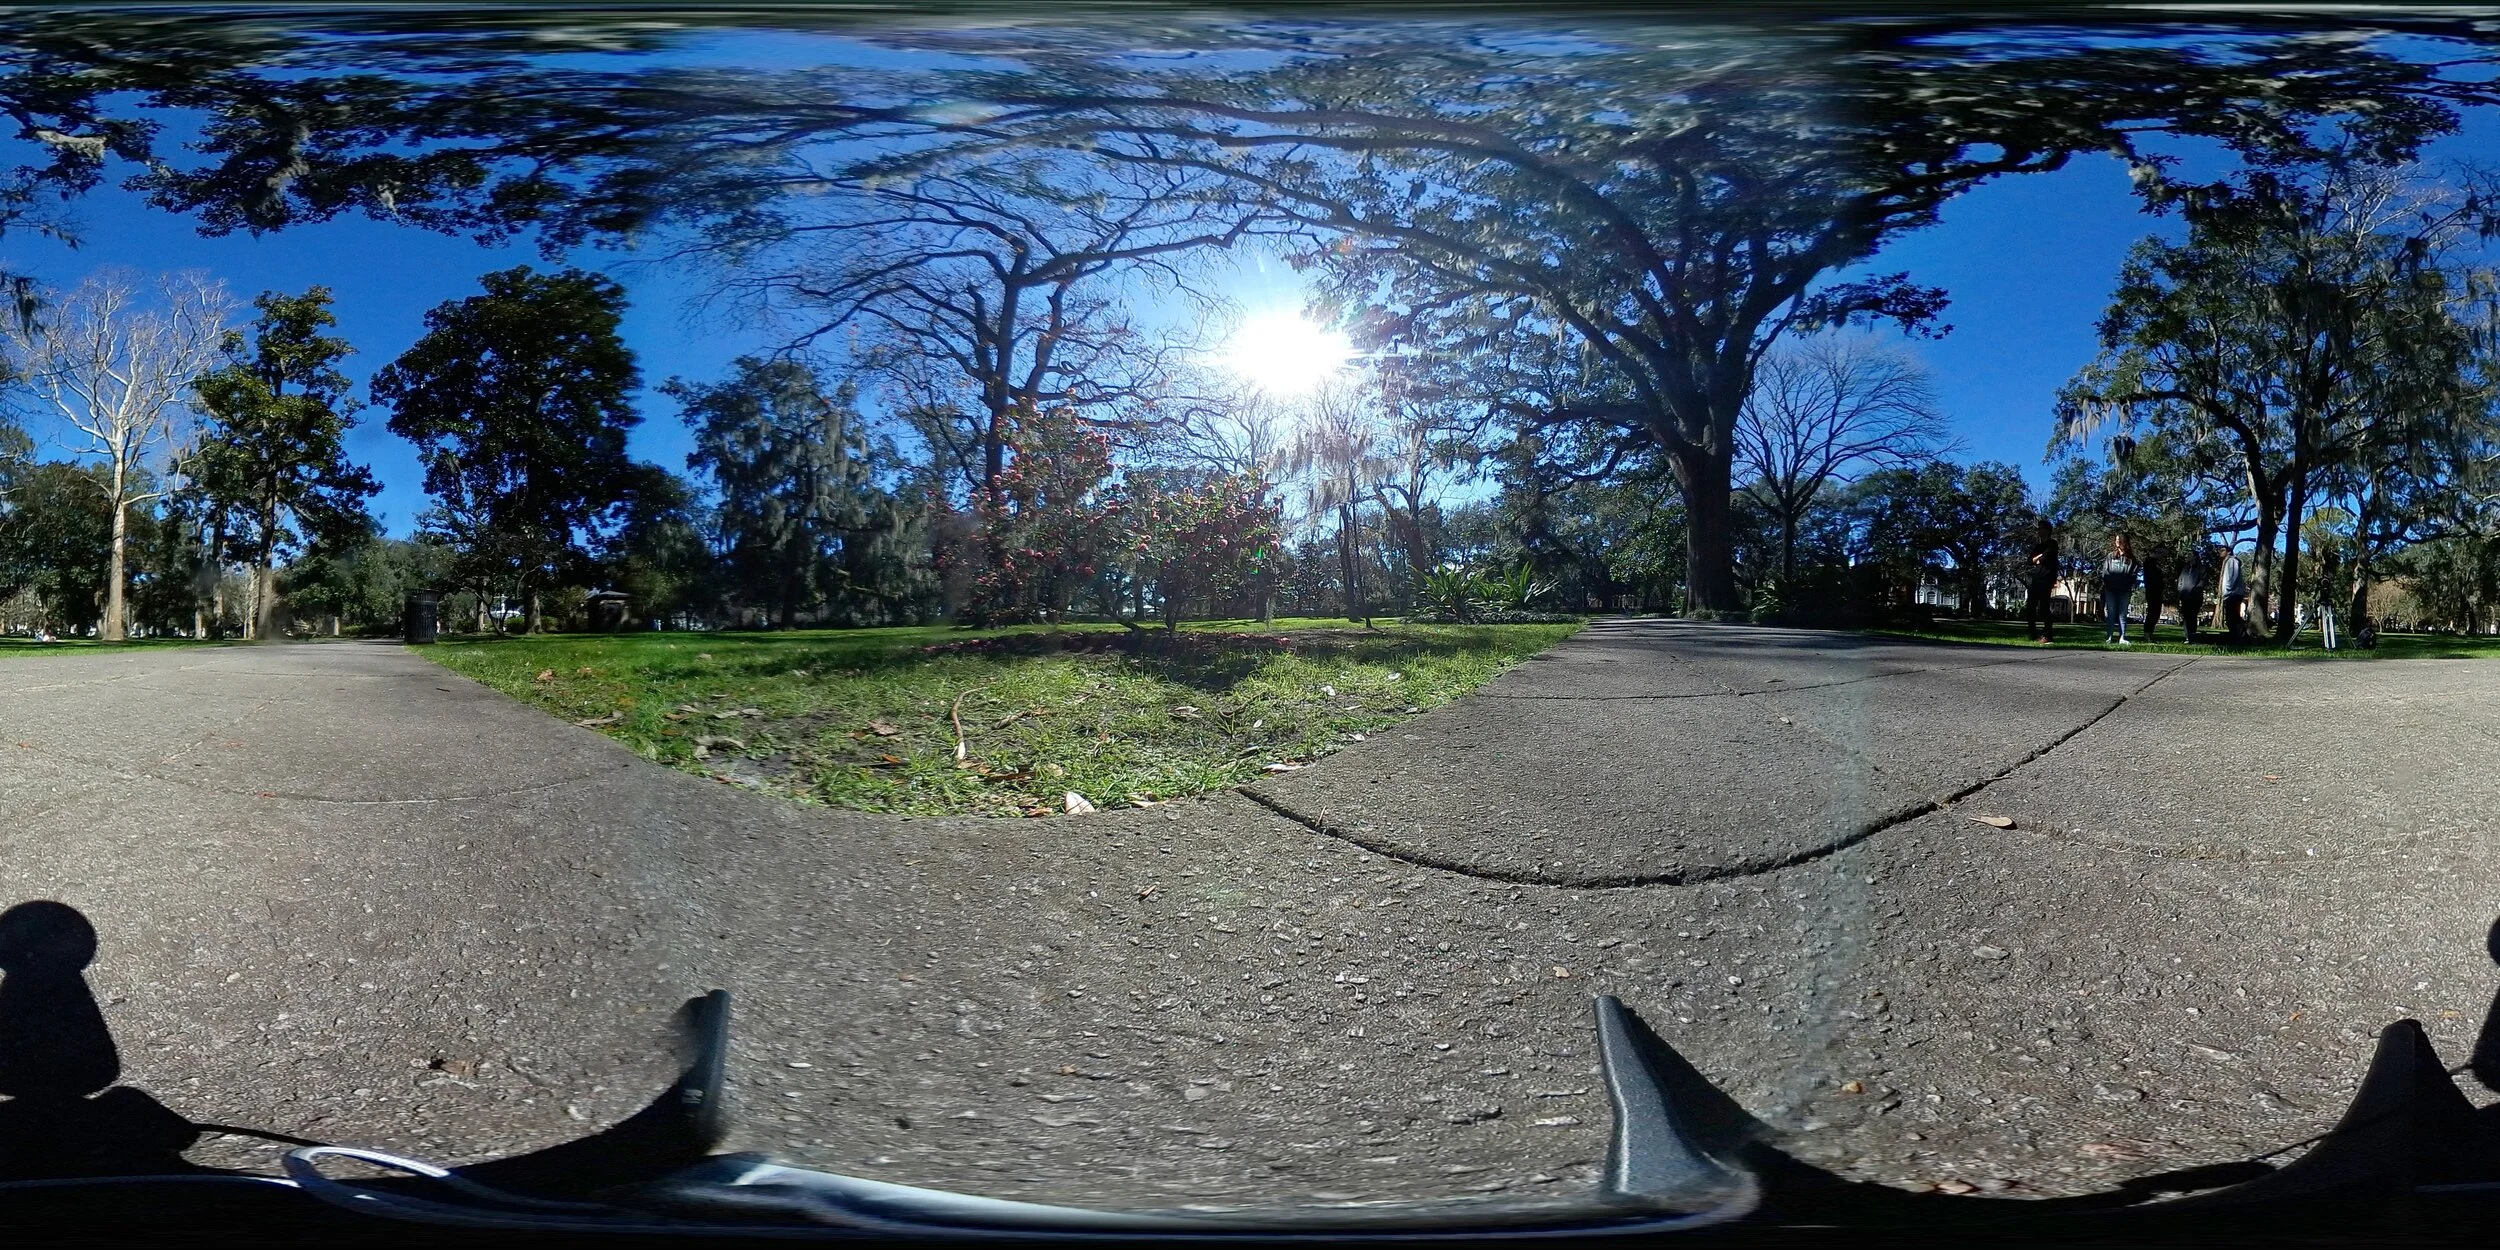
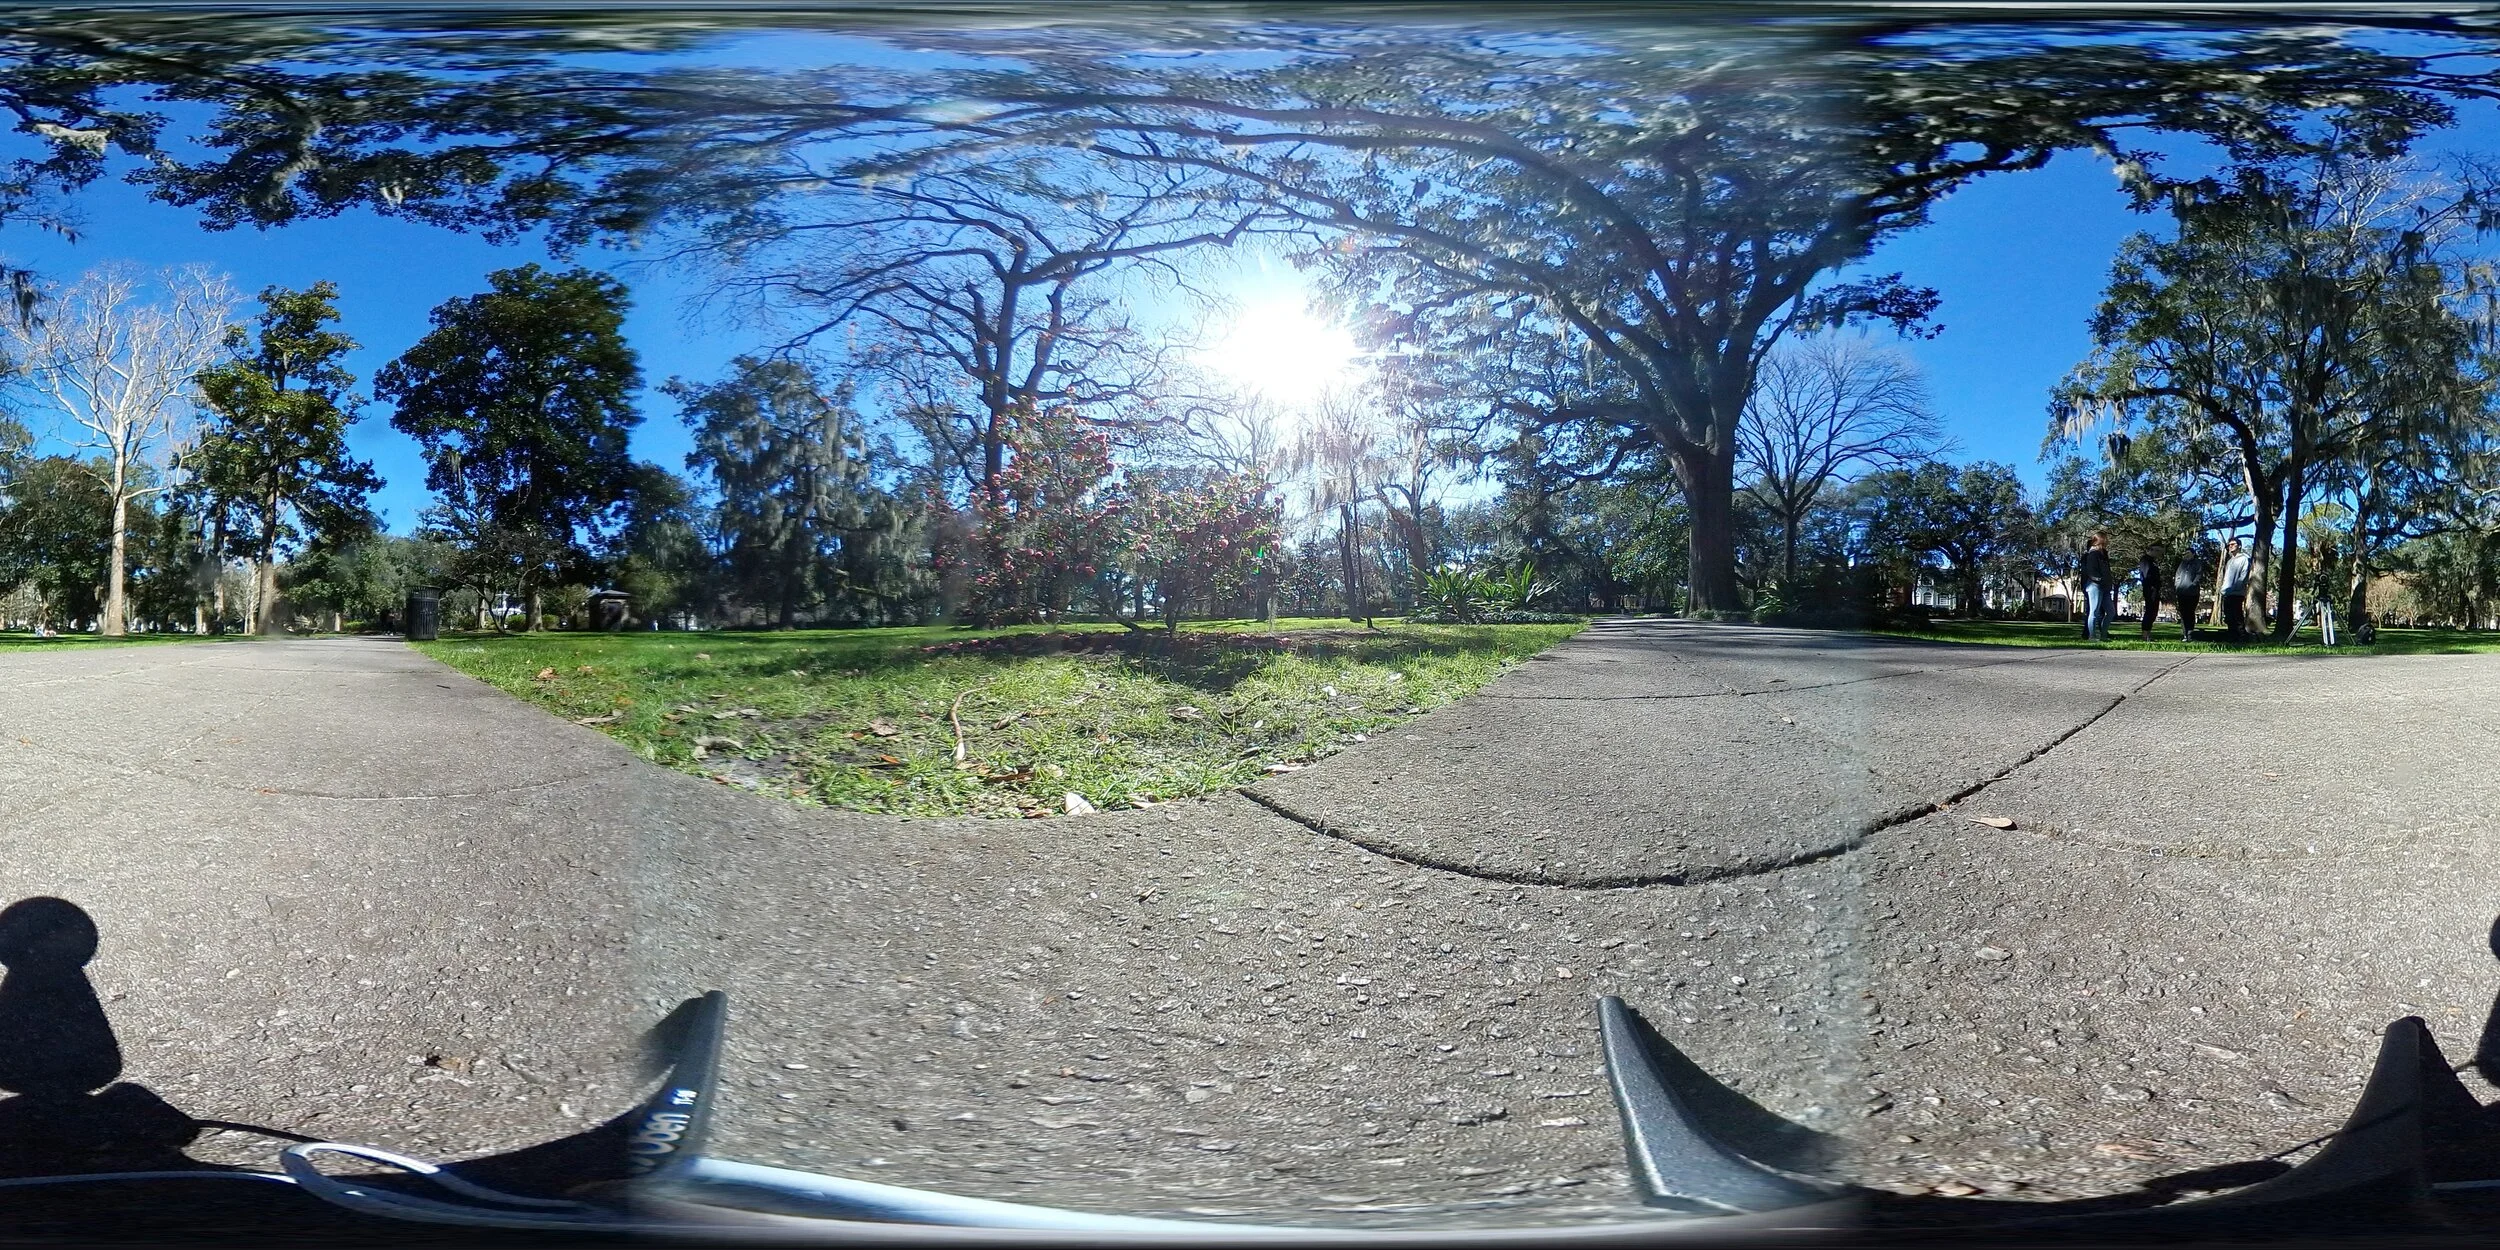
To start I took photographs and videos outside to get the footage and reference photos.
To get the HDRI I took 7 separate exposures with the Samsung 360 gear, which is a 360 camera
Creating the Material
What I did to create the material in Maya

What I did first was to add a Stanford model in Maya so that I can create the base material of the object
Looking at the rock it is transparent but only at the edges and places where the the depth of the object is low. Then in the rock there are purple veins that are like separate objects in the rock.
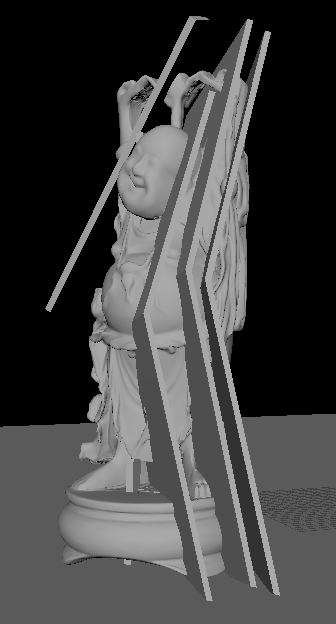
In Maya I started by adding the veins inside the Stanford model.
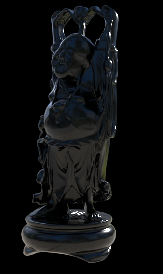
Then added the shaders to the object vein.
To create the material I rendered out 5 separate renders for the object.
Then later composite the materials back in nuke
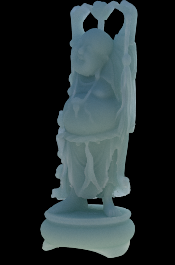
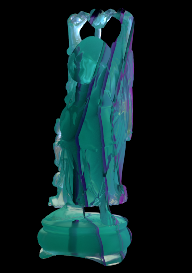
In Nuke I used the Fernel to mask out the Transmission, Subsurface, and the layer with the Veins.
First I used the Transmission layer as the Background, use the Red channel in the Fernel as the Veins layer, and use the Blue mask as the Subsurface layer.
Then over all the layers I used color correct and used the specular layer as a mask to get the specular part of the object.

Compositing in Nuke
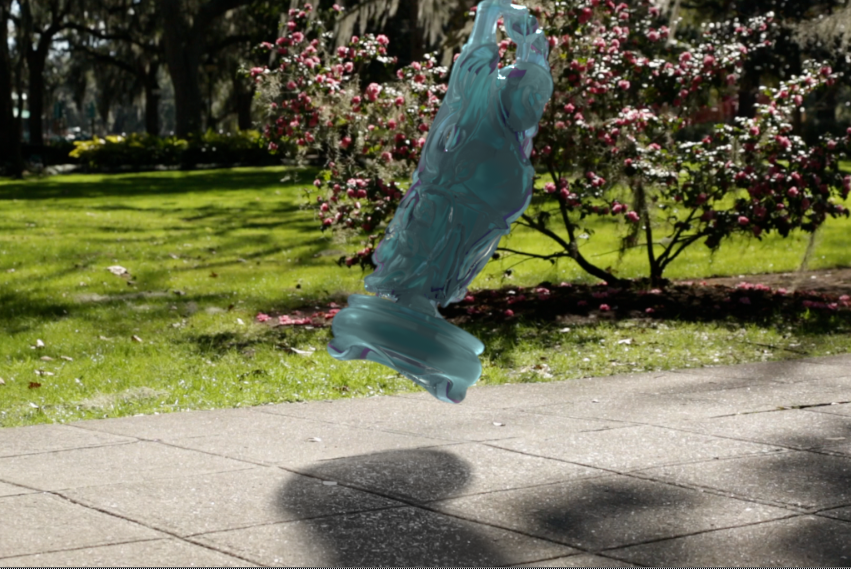
For the Final step I put all the layers into nuke and composited the object into the video.
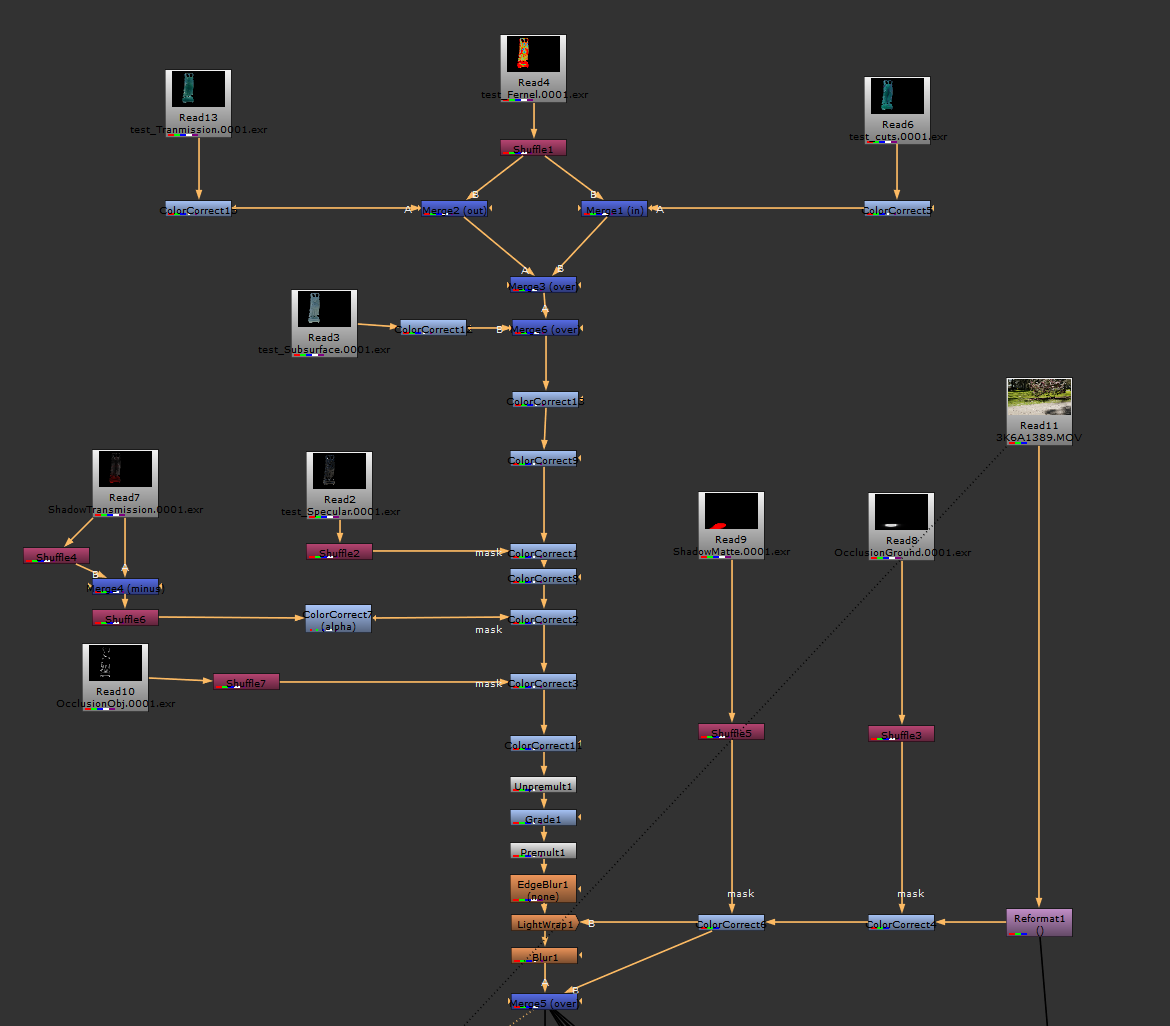
In Nuke I took the renders and composited the renders together. I mostly composited the renders because I had a problem with the rendered image as it was too saturated.